Over the past few years, I have made a big effort to surround myself with uplifting art and messages. Finding favorite sayings and quotes sprinkled throughout our living space is a welcome reminder to be grateful, to cheer me on during tough times, and to keep me motivated. It sounds simple and maybe even a little bit cheesy, but it really works!
That is why I can’t wait to share this simple and budget-friendly way for you to create your own inspirational decor. It’s also a super fun way to use up wood scraps that may be taking up space in your garage or shed. And this project makes for a great little personalized gift anytime.
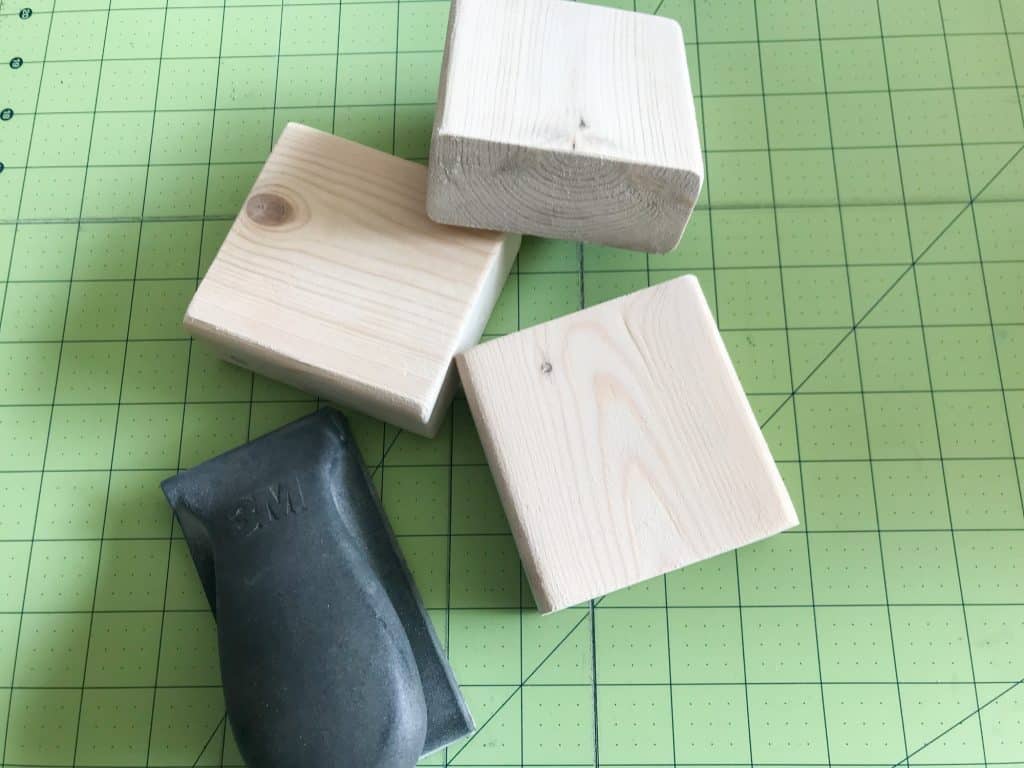
For simplicity’s sake, I decided on just one size for this particular project – square cuts of a regular 2×4 that are available at any home improvement or lumber store for dirt cheap. You may have a piece of this very common size wood in your garage right now, making this a true bargain! 2×4’s have the added advantage of being a bit thicker, which makes them perfect for little stand-up signs. Of course, life would make too much sense if 2×4’s actually measured exactly that. The actual size of these little wood squares comes out to 3 1/2″ x 3 1/2″ (that comes out to 8.9 cm x 8.9 cm if you are doing this with metric measurements).
To make it easy for you to create these easy mod podge signs, all of the art you see in this post and more is available to you as a free printables in the Resource Library. And as soon as I am adding more I’ll give you a heads up in my newsletter. Just sign up here and the password is on its way to your inbox.
This post contains affiliate links for your convenience. That means if you make a purchase through one of those links I earn a little commission at absolutely no extra cost to you. You can read the full affiliate link policy here.
HOW TO CREATE REVERSIBLE ART WITH WOOD BLOCKS
As I mentioned above, I created the artwork you see in this post as free printables available to my subscribers. But you can also make your own in a simple-to-use online program like Canva, which is what I love to use, or PicMonkey. PicMonkey used to have a free version, but you can always check out their free trial and see which you like better. While I have access to the pro version of Canva, you can absolutely create something amazing and personal in the free version. If you are not sure how to use it, Canva offers a number of video tutorials to get you started. This is not a sponsored post, I just love Canva.
To create your own art in a program like Canva or PicMonkey, always start with a US letter-size document. This will allow you to export your document in a PDF (printable data file) format. Within this letter-size document create one or more square(s) that is 3.5 x 3.5″. You can then fill the squares with any graphics and quotes you like, save as a PDF and print.
Tools and supplies for mod podge art
- square wood blocks cut from a 2 x 4 measuring approximately 3 1/2″ x 3 1/2″
- sandpaper in 120 and 220 grit (this is my absolute favorite sanding tool of all time for my sore hands)
- mod podge decoupage medium
- foam craft brush
- brayer or dough scraper
- graphic print (from Free Resource Library)
- optional acrylic paint
Steps to create the mod podge blocks:
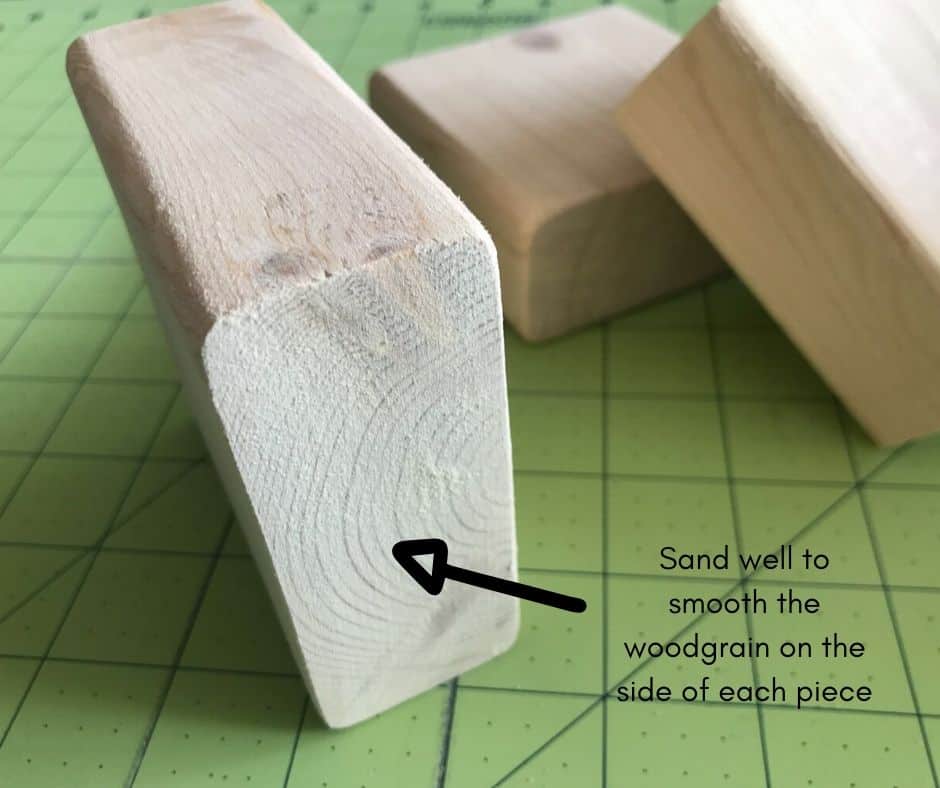
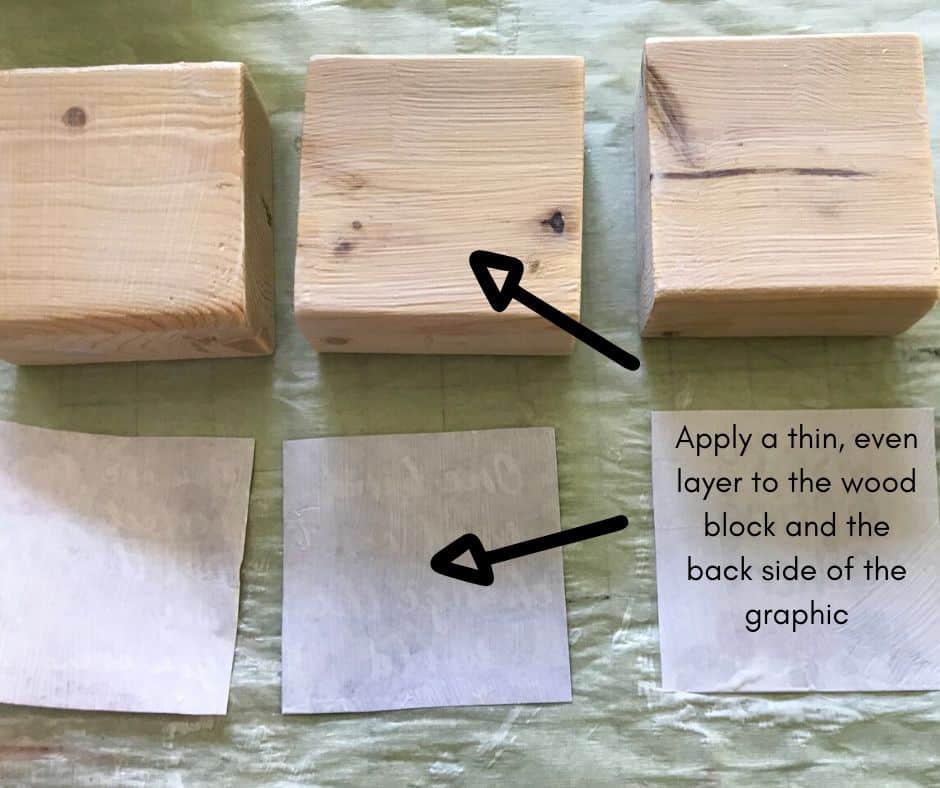
Sand the woodblock(s) all around with 120 grit then 220 grit sandpaper until smooth on all sides. Make sure to pay particular attention to the cut sides of the block as they tend to be a bit rougher. If the sides are particularly rough, start with 80 grit sandpaper. After sanding wipe off any remaining dust particles with a damp rag.
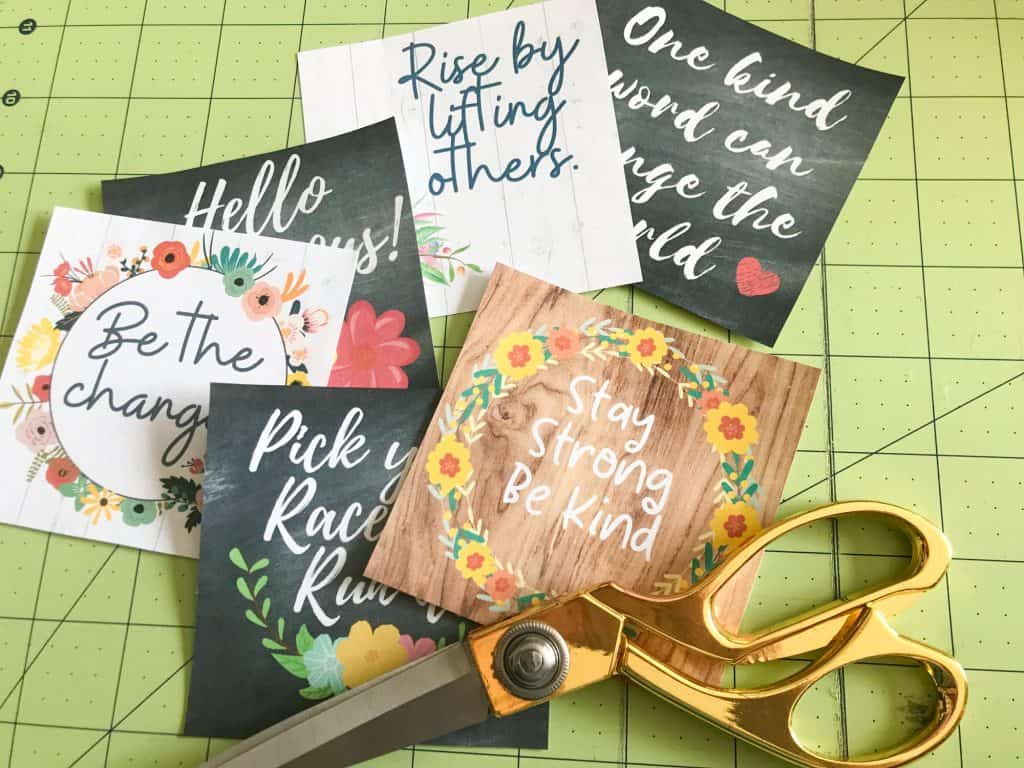
Trim the graphic print you will be using to the proper size. If you printed yours from the Resource Library, it should fit the block just right. Orient the block so that the slightly rounded edges are at the top and bottom respectively.
Determine which graphic you would like to use on either side. I love the look of a darker graphic on one side with a lighter one on the other, but it’s entirely up to you. You could also group them by the quotes you decide to use.
You have the option to paint your little woodblock or apply the graphic print to the natural wood. If you choose to paint, leave the sides where the graphic will be applied unpainted. Alternately you can add accent paint to the unfinished edges before the final coat of mod podge is applied. I left mine bare as I love the organic look of the wood grain.
Next, apply a thin but even layer of mod podge to the front of the woodblock and the back of the graphic. Carefully place the graphic on top of the woodblock and adjust so it is nice and straight.
Now push out any air bubbles gently with your hand and/or use the brayer to smooth it out completely. If you don’t have a brayer handy, use a plastic dough scraper.
If you enjoy mod podge crafts, a brayer is a definite must-have tool to ensure good results without much effort. Remember that the mod podge can make the paper very soft and it cause it to tear easily.
Make sure all of the edges have adhered well. Once any air bubbles are removed, let the block dry face up for at least 30 minutes.
To make your block double-sided with one message on the front and one on the back for versatility, just repeat the mod podge steps on the backside with another graphic of your choice. Let the first side dry well before applying the graphic to the other side.
I love anything that does double duty so that is what I opted for. Not only does it save space but you only need to prep one block for two different looks.
After the mod podge is sufficiently dry apply a layer to all but one side (it needs to rest on that side to dry). Wait another 30 minutes or so before applying mod podge to that side as well. One coat is normally enough to seal the piece.
While these little blocks are designed to be displayed on a shelf, they could also be hung on a wall. Just remember that the double-sided method won’t work for this. You can either drill a hole in the back top center to accommodate a nail or attach a sawtooth picture hanger.
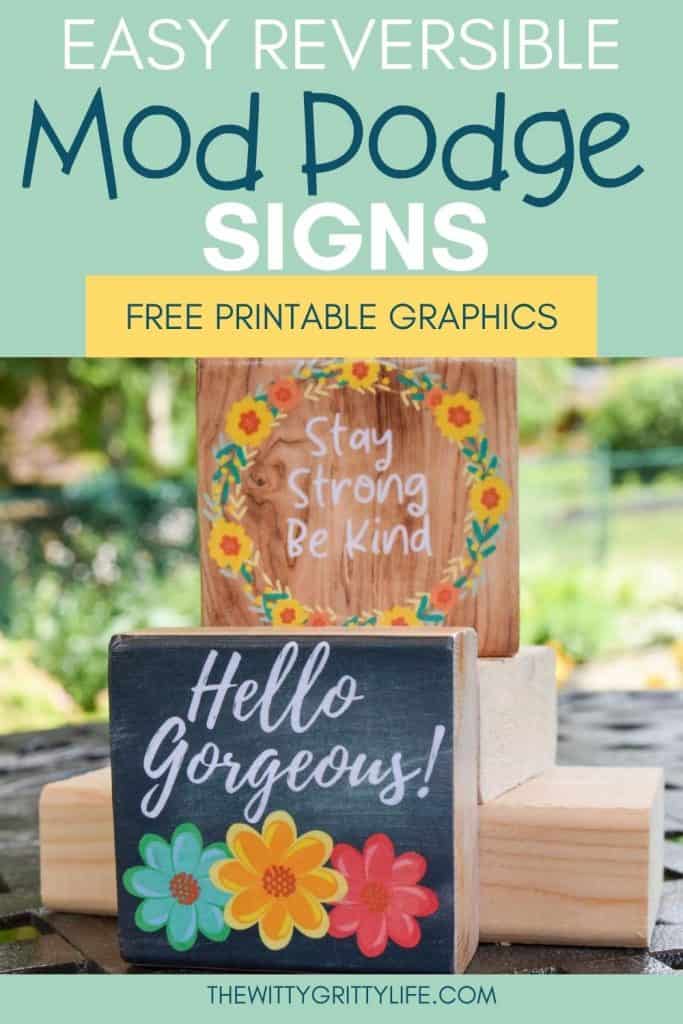
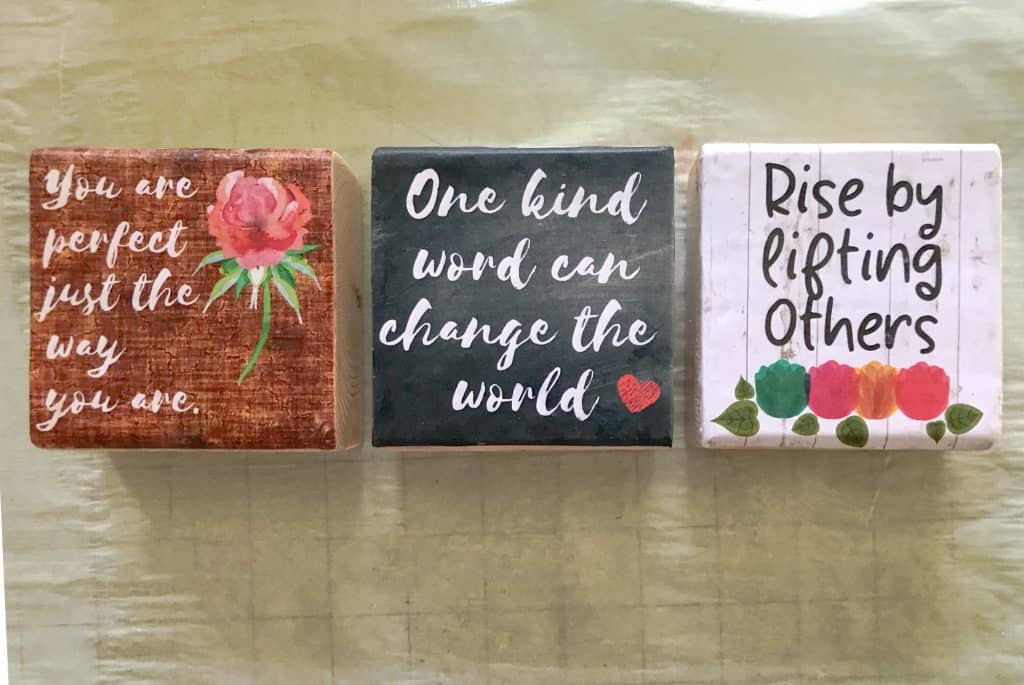
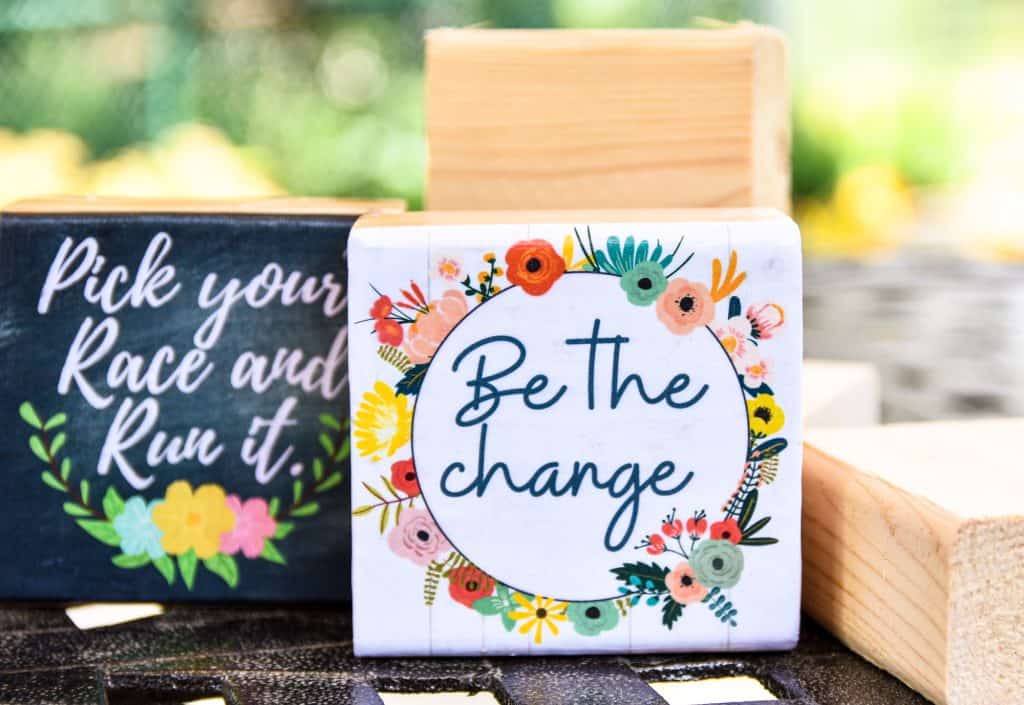
How cute are these? Don’t you love the contrast between the backgrounds and floral elements? And the wood pattern on the top sign, although printed, is surprisingly realistic.
Wouldn’t this be a cute little gift for someone who needs a little encouragement? You can add thoughtful touches to even the smallest spaces throughout the house.
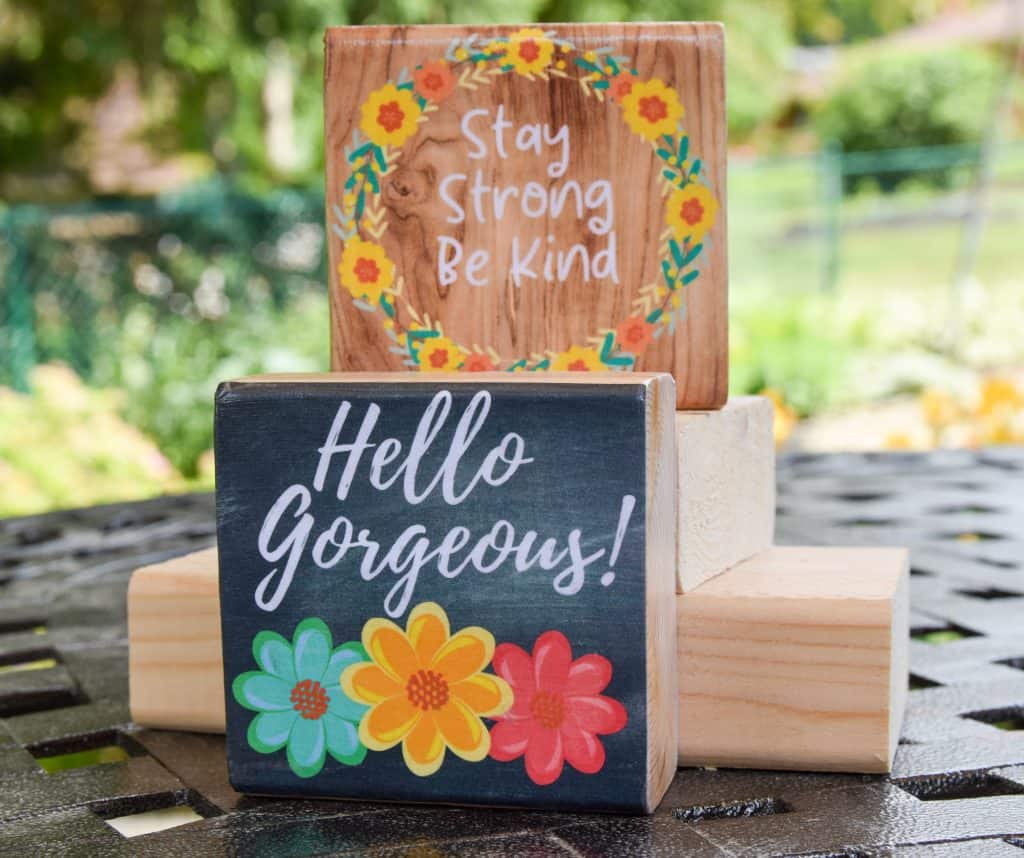
Here is the other side of these two beauties. I love that you can easily flip them over to display a different message. Why not put seasonal decorations on one side and just turn them around for year-round enjoyment once the holiday is over? So many possibilities…
ADDITIONAL MOD PODGE TIPS:
- Always let printer ink dry well
- Pay extra attention to corners and edges – make sure they are well adhered
- If working with bright colors on light backgrounds, be sure to apply mod podge to light areas first before going over color to avoid or cut down on smudging
- Keep brayer clean and free of debris that could lead to an uneven finish, frequently wipe with a damp cloth
- To prevent foam brush from drying out between coats, wrap in aluminum foil or place in a zipper bag
To see how I used this same method to create larger art on canvas be sure to check out this post.
Don’t you agree that this is a fun and simple way to create little pieces of art throughout your home? Why not use this method to create little photo blocks by printing out a favorite photo in the right size and applying it to the block instead?
You can also cut out a picture and/or a quote from a magazine. Make it your own, it’s so easy. These little blocks would also make lovely decorations in a nursery or to spell out a favorite word. More printable art can be found in the FREE Resource Library.
If you give this easy mod podge art project a try, be sure to share the result in our TWGL Facebook group, so we can admire your creative handiwork! To get a sneak peek at some of the other projects I am working on, be sure to follow me on Instagram as well!