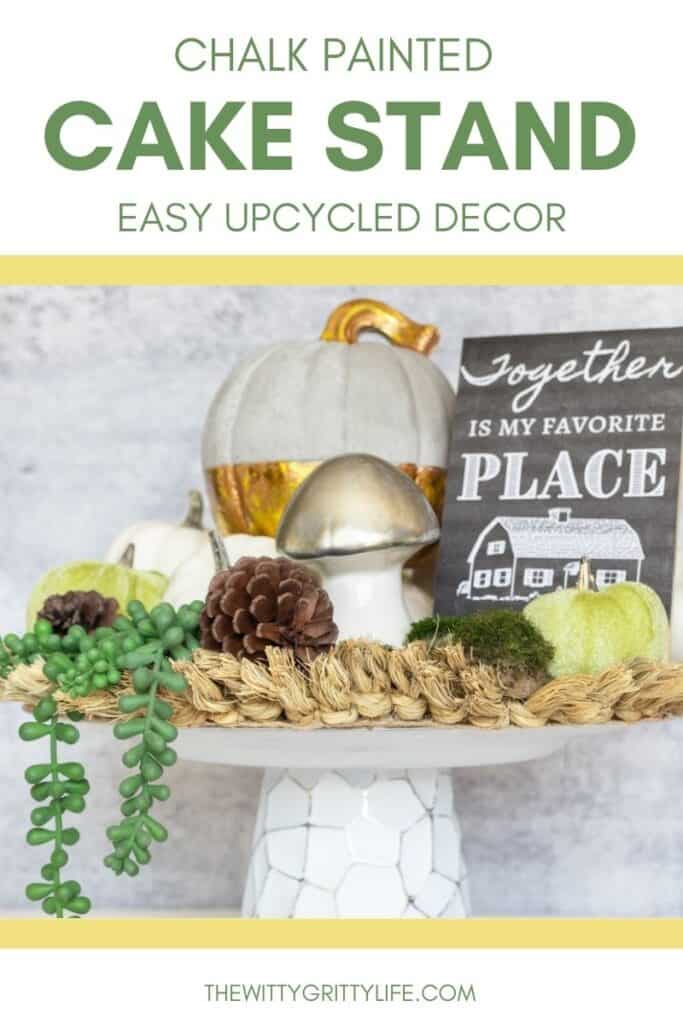
ELEVATE YOUR DECOR WITH AN EASY UPCYCLED CAKE STAND
Today I am popping in with a super simple project even a person with ten thumbs can make – a cake stand created from stuff you probably already have!
When it comes to adding interest to decor, cake stands and tiered trays are fun home accessories that can be used in so many different ways. Adding some height and interest, keeping decor off a counter, giving a little lift to planters, organizing small collections, they have sooo many uses!
I have been using cake stands as decorative accessories sprinkled thoughout our home for some time.
Recently I cleared all the sewing stuff from my big face mask project off of our dining room table. It was also pretty clear that my best and probably only chance to keep the table clutter-free was to decorate it.
Because who would want to mess up a pretty table, right? And since the table is rather large, it seats eight comfortably, something a little more substantial and dimensional was in order.
Right away, the idea of a cake stand came to mind, because it would definitely add the height, dimension, and heft this space was craving. Besides, I have been wanting to create something in that vein for a while.
When it comes to materials to transform into new decor, I usually shop our house first because I almost always find exactly the bits and pieces I am looking for. I mean, I am not a hoarder, but I tend to hang on to items that are sound and have potential that exceeds their original purpose.
An orchid pot, a thrift store find purchased long ago, had the proper height and dimension. Sadly, when it comes to orchids, my thumb is decidedly brown. That is why this pretty pot had languished waiting for good use. But it turned out to be the ideal base for this cake stand project.
Well, I am definitely loving the end result! You will want to try your hands at making one of your own after you see how easy it is!
If you spend any time on Pinterest, you already know that there are numerous versions of cake stands and tiered trays. Many simply involve gluing two pieces together and calling it a day.
This decorative stand is just as simple to create. The only difference is that it uses something that really gives this project that little something extra – chalk spray paint.
Spray paint is hands down one of my favorite fast and easy ways to refresh or transform tired worn out items. I love it so much that I recently wrote a whole long post covering all the spray painting basics you need to know. But I had never used chalk spray paint until now. It turned out to be the perfect paint choice for this project as you will see in a moment.
* This post contains affiliate links. If you make a purchase by clicking on an affiliate link, I may earn a small commission at absolutely no additional cost to you. You can view my complete affiliate link policy HERE.
Before we go any further here, I have to tell you about my Free Resource Library. Created just for you, my dear reader, it is full of useful printables, tutorials, recipes, and printable art. Just sign up here to get your password and to stay up to date with the latest happenings on the blog.
DIY CHALK PAINTED CAKE STAND STEP BY STEP
Here are the basic materials needed to create this simple chalk-painted cake stand:
- base and top – see below
- E-6000 or any strong paintable multipurpose craft glue
- chalk spray paint and chalk paint sealer spray
- fine-grit (320) sandpaper
SELECTING THe BASE AND TOP OF YOUR CAKE STAND
When it comes to selecting the base and top for this project, you have numerous options. With a few basic considerations, you can make sure that your finished project will stand the test of time.
It is best to stick with sturdy materials like ceramic, glass, wood, or stone. Certain types of rigid plastic can work depending on how you plan on using your stand. For my particular stand, I knew a glass or wood charger plate would work best. Charger plates like the one I used are pretty easy to find at thrift stores. I happened to snag mine at our local Hobby Lobby for 90% off.
The best way to figure out what will work for your space is to play around with different options. Testing out various bases and tops allows you to get a feel for overall proportions and stability. Some pieces may have structural components that make combining them difficult. For example, I had also considered creating a smaller stand with a square plate as the top, but a rigid line at the bottom of the plate made gluing them together impossible.
use the correct adhesive for proper hold
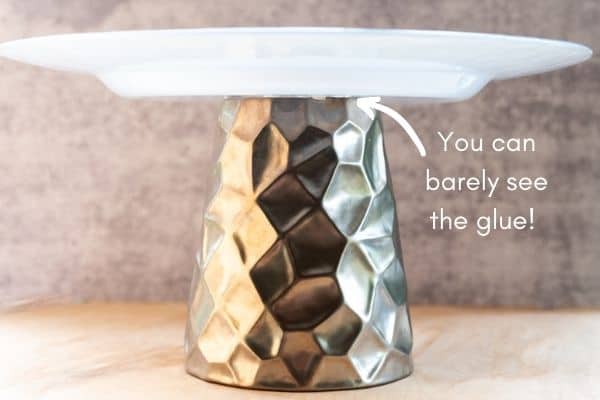
Choosing the proper adhesive for this project was easy. Several other instructions suggested hot glue. But I can only highly recommend my all-around favorite: E-6000 multipurpose glue.
I use this stuff for so many different things in crafting and our household, no home should be without it. It adheres very well and is easy to work with – no glue gun needed. E-6000 glue is a versatile adhesive that will hold all kinds of materials securely. It dries clear, can be painted, and is even safe for use with photos. And, unlike some other types of glue, it isn’t too runny. Like I said, a must-have for every crafter.
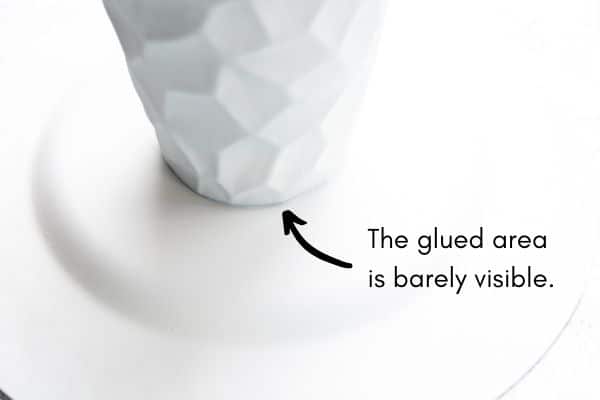
Gluing the pieces together is simple. Always make sure that each piece is clean, free of any oils or dust, and dry. Of course, the bottom rim of the pot should be completely level as well.
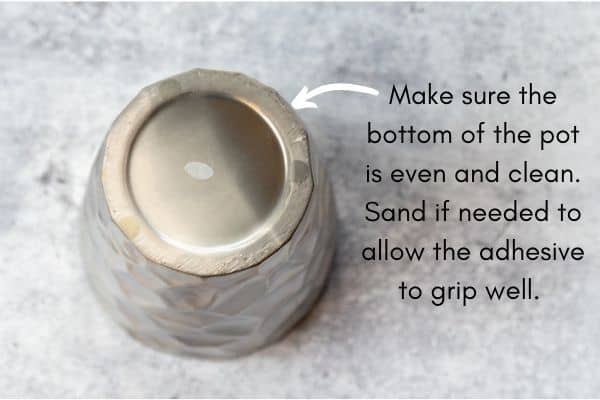
Apply a thin and even layer around the bottom of the base. Place the glued part of the base onto the bottom and in the center of the plate. Let the glue cure for several hours, at least overnight before handling. E-6000 cures well within 24 hours and fully after 72.
Once the glue has cured for a few hours, it is time to move on to the next step: painting and sealing.
PAINTING AND SEALING THE ASSEMBLED CAKE STAND
Since I knew that this stand was created for purely decorative purposes, spray paint was the obvious choice. It is a quick way to give irregularly sizes pieces a smooth and even coat of paint that will look professional.
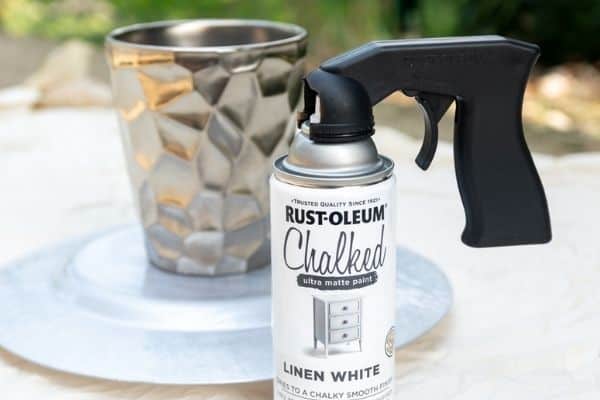
As I mentioned, for this stand I chose chalk spray paint. I adore a matte finish for home decor items and this paint definitely delivers that.
By the way, the grip you see on the can of paint is a total lifesaver for anyone with sore hands! It helps so much when it comes to controlling the flow of paint and I highly recommend it!
Painting the entire cake stand unifies both parts into a cohesive piece.
After applying three light coats of the chalk spray paint, it was time to sand off the raised details. This gave the base added depth and interest.
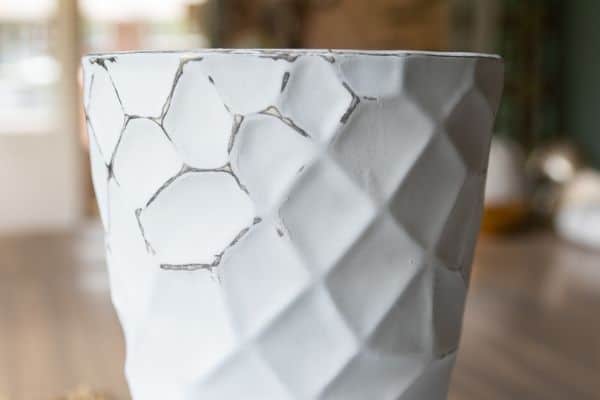
Then I sealed the entire cake stand with two additional coats of clear sealer spray made specifically to work with chalk paint. The matte sealer allows for easier cleaning without disturbing the chalky finish. Be sure to take a look at my spray painting basics post for useful tips to ensure your spray painting project is a success.
DECORATING AND STYLING TIPS FOR CAKE STANDS
Of course, putting the cake stand together is only half the fun. Now it’s time to make it shine in your room!
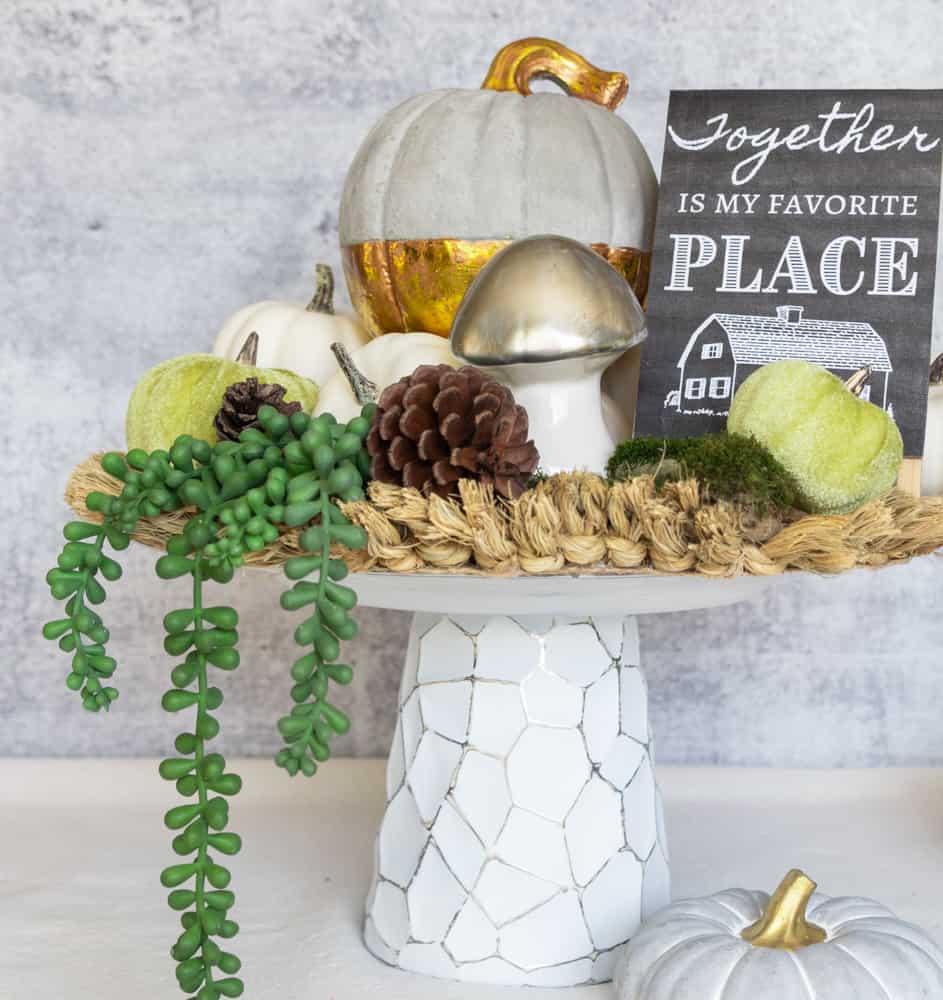
What makes a platform like a cake stand a great accessory is that it can be viewed from all angles. In this case, I wanted to make sure that any decor placed on my stand would look good all around.
It lends itself to creating a nice seasonal scene. The charger plate on top is large enough to accommodate a variety of different items. Little pumpkins, natural elements found in the garden, artificial succulents, and accessories from the dollar store work well. Instructions on how to make the little easel sign shown here are coming soon!
Placing the slightly larger pumpkin on a bowl in the center, but also letting artificial greenery drop down from the edge, gives this centerpiece even more dimension. A candleholder would also work very well!
What do you think? I love being able to decorate my table for the season and better yet, being able to update it quickly as the seasons change.
All that for just a few dollars! I sure hope you give this project a try. It was so easy to turn items I already had on hand into something I can be proud of. And I am already working on upcycling a few more pieces into stands for other rooms of our home. I cannot wait to share them with you on the TWGL FB group and on Instagram as soon as they are finished!
If you liked this upcycling project, be sure to check out my other easy DIY and craft posts!
A MID-CENTURY MODERN COFFEE TABLE FROM UPCYCLED WOOD
8 WAYS TO ADD AFFORDABLE WALL ART TO YOUR HOME
PUT TOGETHER A SIMPLE SUCCULENT PLANTER IN MINUTES