Creating a mosaic tile tray has been on my list for a long time. But to be honest, I just wasn’t sure how it would turn out. So when I recently decided to challenge myself to creating three completely different crafts from Dollar Tree wood trays, I thought this would be perfect.
If you missed the little succulent wall planter I created from one of them, be sure to check it out! It turned out so well, I can’t wait to show you how to completely transform another boring wood tray, this time with mosaic tile.
Before we get into the details of this easy DIY, I have to confess that it wasn’t without hiccups. If you have ever tried to just make something for the first time and without real instructions, you’ll know that things don’t always work as planned.
My main mistake was to choose the wrong color and the wrong way to paint my wood tray in the beginning. Normally, I love spray paint for most of my projects, but not for something this small. That set me back as far as time was concerned. Lesson learned.
So make sure you really love the color! As it turned out for me, bright fire engine red was not the way to go. I’ll let you in on my other little missteps below.

For more tips, tutorials all of my beauty and cleaning recipes, and lots of unique printable art, check out the FREE Resource Library. Just sign up here and your very own password is on its way to your inbox!
* This post contains affiliate links. If you make a purchase by clicking on an affiliate link, I may earn a small commission at absolutely no additional cost to you. You can view my complete affiliate link policy HERE.
The little tray I created for this project came from Dollar Tree. What makes this DIY fun is that you are not tied to a specific tray size. You can find similar, slightly larger ones at pretty much any craft store.
And with that let’s get started!
SMALL MOSAIC TILE TRAY
As I mentioned above there are a few tricks I learned with this project that I will share with you. Because of that my supply list will reflect not only what I actually used, but also what I would recommend now.
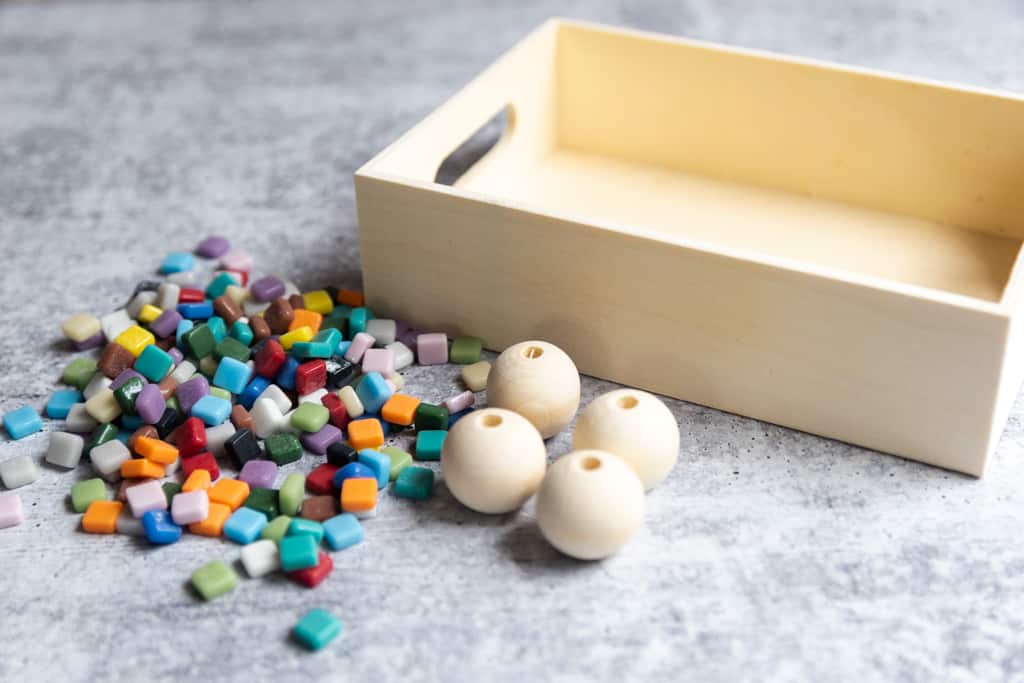
Supplies needed:
- Small wood tray from Dollar Tree or similar
- Bag of small square glass mosaic tiles in various colors
- (4) 1″ (25 mm) wood beads
- Premixed grout *
- E-6000 glue
- Sandpaper – 120 grit
- Acrylic craft paint in light blue and gold (or the colors of your choice)
- Sponge, clean cotton rag
- Small spatula or plastic knife
- Disposable gloves – optional
*The grout I used was a dual purpose premixed adhesive and grout. I found it a little more difficult to apply the small tiles using grout as an adhesive and therefore recommend using glue to adhere the tiles instead. The video below demonstrates how to best attach the tiles with glue.
If you opt for dry mix grout, only mix enough at one time to complete this project. Once mixed, any unused grout will harden and you won’t be able to use it later. Don’t ask me how I know.
See additional useful tips below.
PREPARE THE TRAY For Tile
Get your wood tray ready by sanding off any rough spots. Pay extra close attention to the inside of the handles and the top edges. Most wood trays are made from fairly smooth, soft wood and 120 grit sandpaper will work fine.
Once the tray is sanded, it is time to paint. Give the entire piece, including the surface to be tiled, a couple of coats of paint. Let it dry thoroughly.
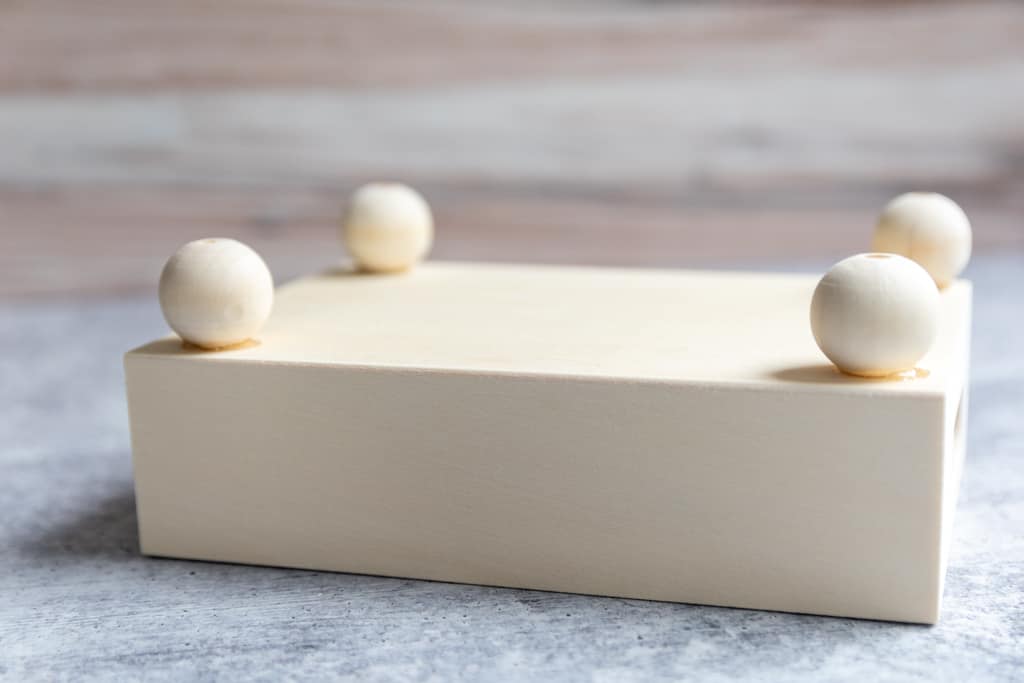
When I created my project, I opted to glue the little bead feet on before painting. At the time I had planned for the entire piece to be the same color. But this was definitely one of those crafts that kept evolving as I was creating it. I consider that the most fun part of the creative process.
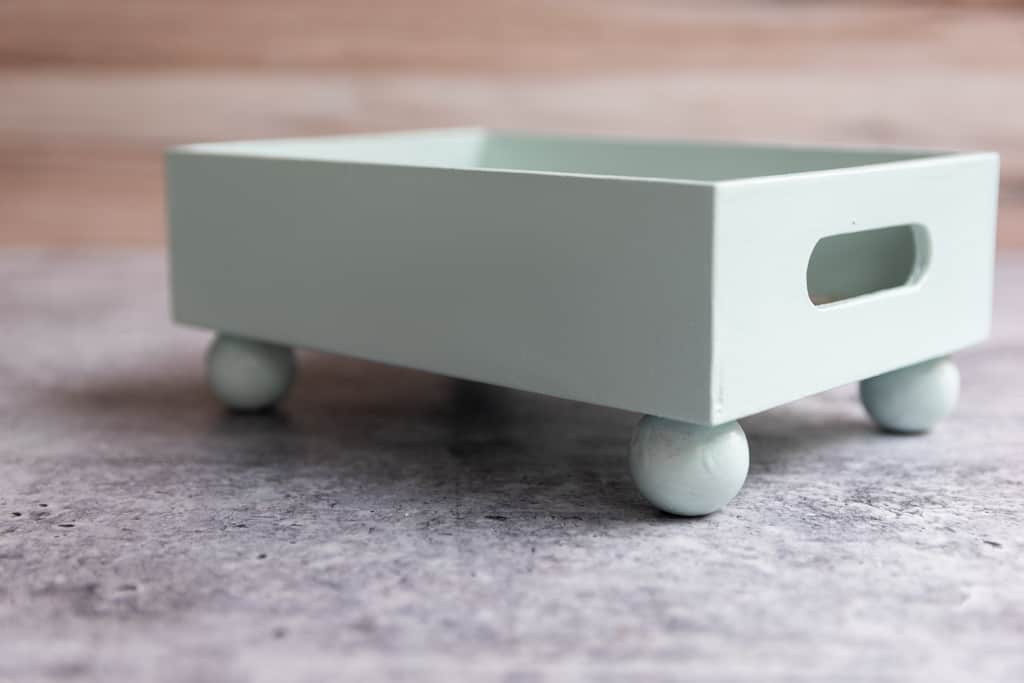
If you want to recreate the mosaic tray as shown, I would recommend painting the body of the tray without the bead feet. That way you can give the beads a couple of coats of gold paint in the meantime and let them dry separately.
Here is a video I found for you (after I actually made my tray). Other than attaching the feet, it shows exactly how to use the glue and grout.
There is only one thing I would change about this video tutorial, but it is an important detail. You have to paint the entire tray prior to tiling. Putting water-based adhesive and grout on top of any unsealed wood will cause it to fail and possibly even rot. Just paint the whole thing, you’re already there…
Setting the mosaic tile
As you can see in the video, glue is fairly easy to manage. Just don’t apply too much. I would highly recommend laying down a bead of glue and then setting the tiles.
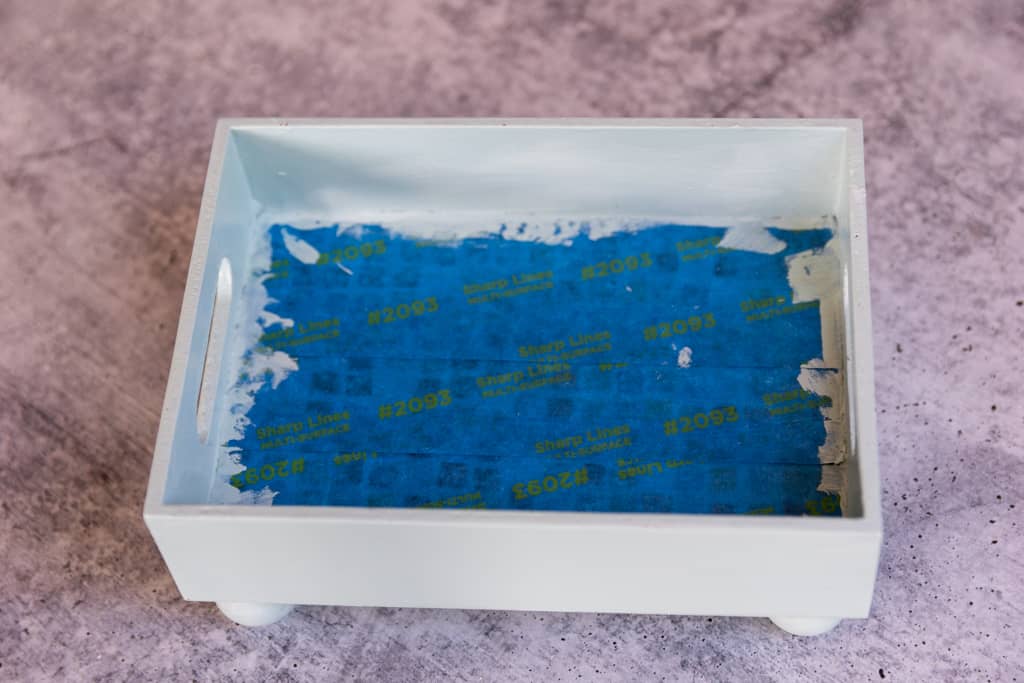
When I set my little glass tiles, I made it much harder on myself by individually “buttering” each tiny tile with the adhesive grout. It works, but it’s much more tedious.
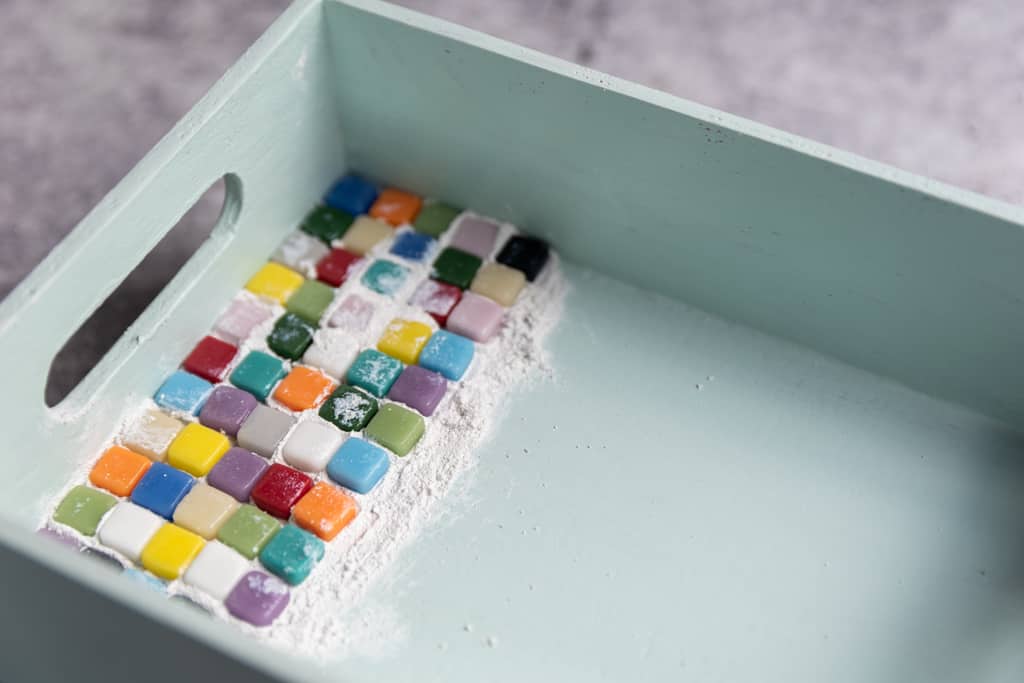
When setting the small tiles, all you need to do is keep them somewhat evenly spaced apart and make sure the rows are straight. We’ll save the fancier patterns for another time soon. You can see in the picture above that using grout as an adhesive can get a little messy.
GROUTING THE MOSAIC TILE Tray
Grouting can be the most intimidating part of any tile job, large or small. It shouldn’t be. The purpose of grout is to fill in any gaps between the tiles and around the edges.
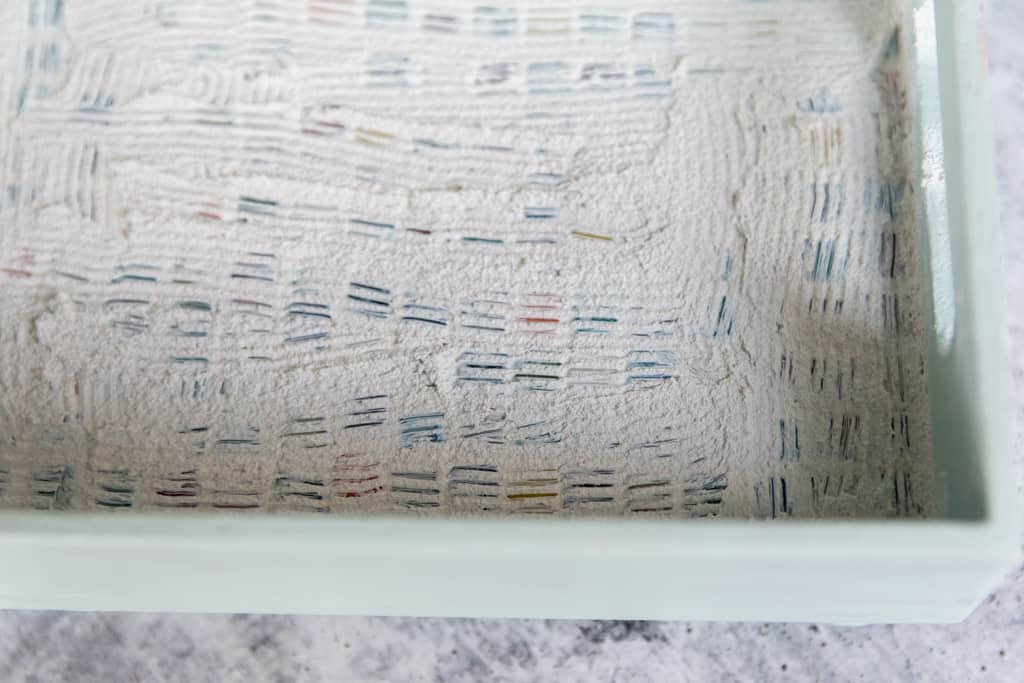
Once the adhesive has dried completely and the tiles are set firmly, spoon on a small amount of grout and work it in between all the gaps and along the border. An old credit card or a plastic dough scraper works well. Don’t use too much grout. Remember you want to merely fill in the gaps, not obscure the tile. Here it is all covered in a thin even layer.
After you are finished filling in the gaps, wipe off any excess grout with a damp sponge or rag. Be sure to rinse the sponge often under clean water. Now let it dry completely. Overnight is best.
When the grout is completely dry, wipe off any excess with a damp cloth.
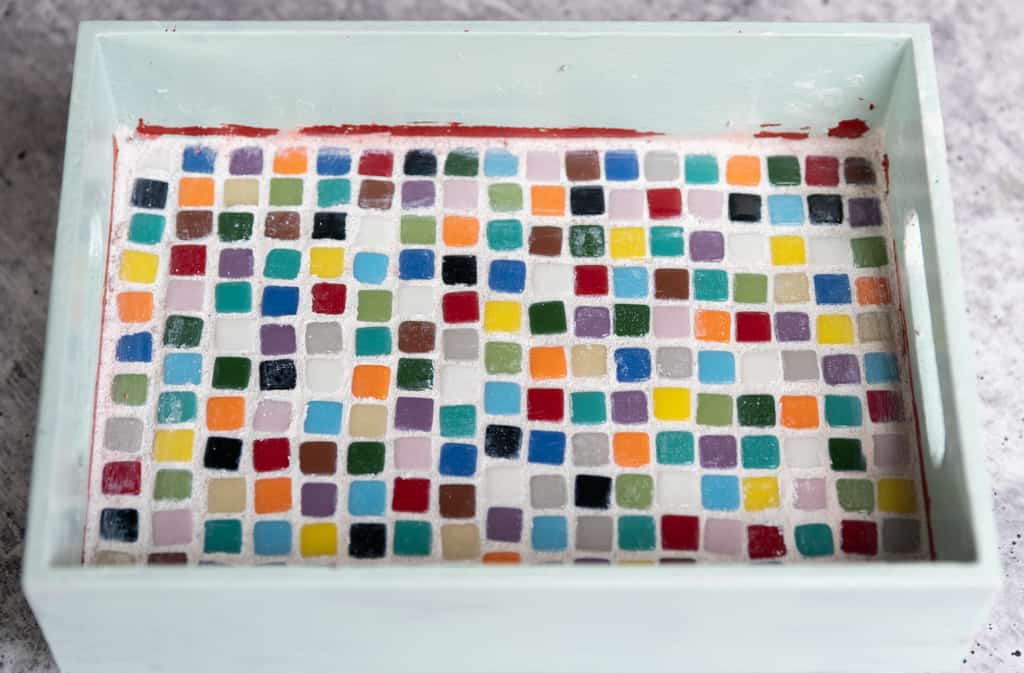
Are the tiles a little crooked? They sure are, but that only adds to the charm of this piece!
The finishing touches
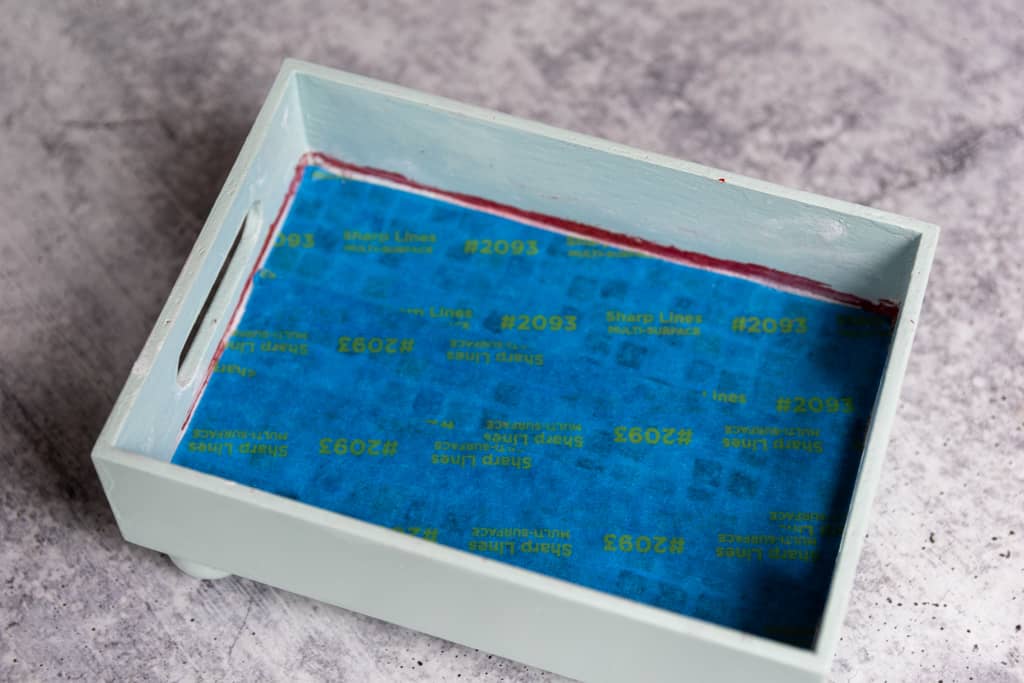
Grouting can get a little messy. Sanded grout is abrasive and has a tendency to remove the paint along the edges, especially if the surface hasn’t had time to cure fully. Therefore it will likely be necessary to touch up the paint along the inside edges just a bit. To do that, cover the tile with painters tape, touch up the paint as needed.
You can see my original color choice peeking through but a little paint takes care of that!
While the paint is drying you can flip over the tray and attach the bead feet. E-6000 glue gives a strong bond but takes some time to set completely. Add a little bit of hot glue in addition to the E-6000 adhesive for instant hold.
Once the glue is set, you can flip the tray back over and apply the gold paint along the top edge and inside the handle cutouts. This step is completely optional, but I really like the added detail and whimsy.
Of course, I had to gild the lily and add even more gold to the side. This, my friend, is completely optional. I just happened to have my trusty gold oil-based sharpie lying around begging me to use it.
For overall added protection you can seal the entire mosaic tile tray with acrylic sealer spray.
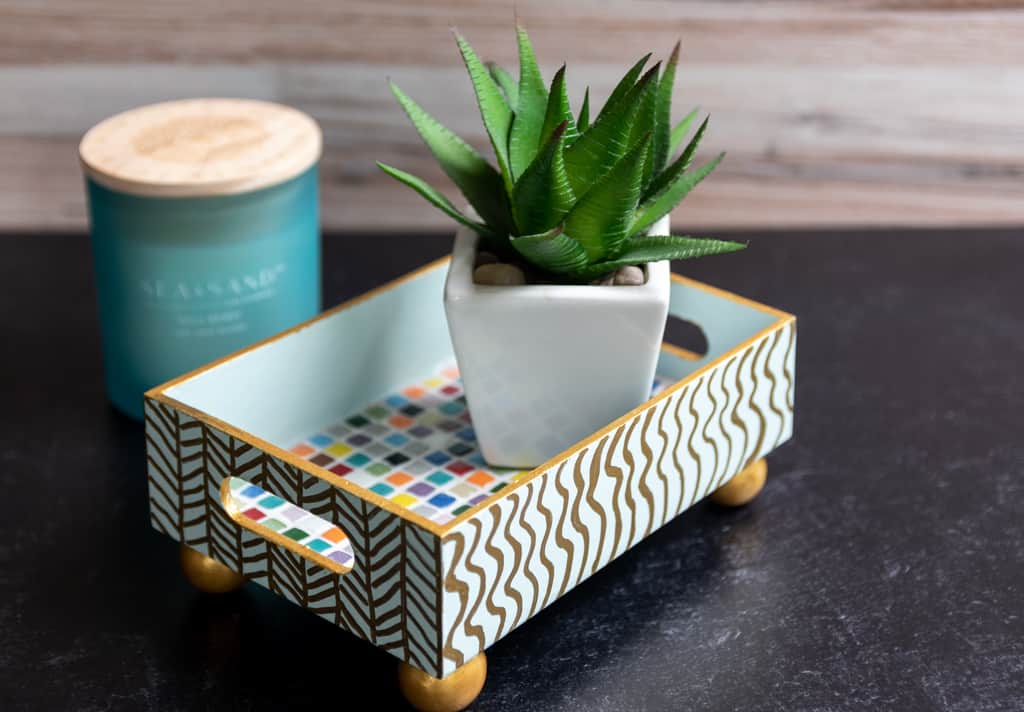
And here is the finished mini mosaic tile tray! Ain’t she cute?
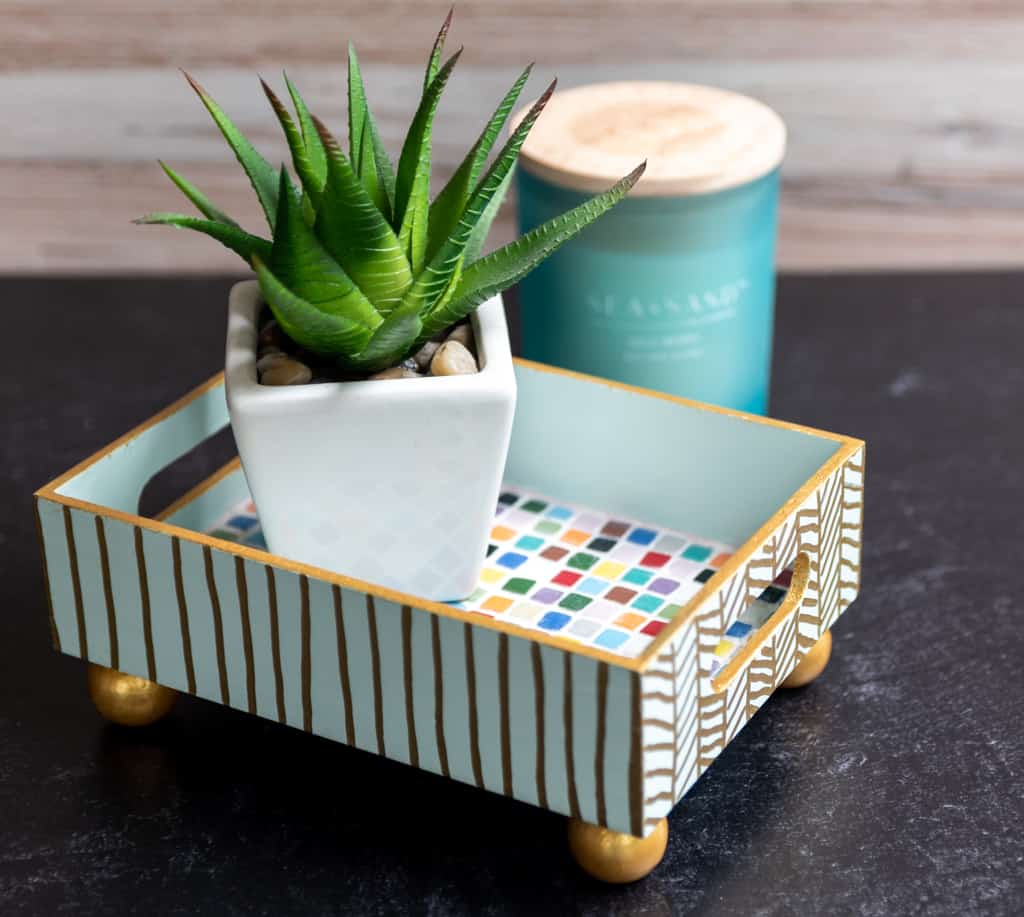
Wouldn’t this make a great little gift? I can see this on a nightstand or in a bathroom holding lots of little things. It would work really well for essential oil bottles! Now that I am over my first mosaic tile tray, I already have plans for more, bigger projects. Of course, I will share them with you when they are done!
ADDITIONAL TIPS
- Latex paint works well for this project. If you have a color leftover that you like, go ahead and use it!
- Pick up small glass tiles and wood beads at your local Hobby Lobby or craft store – don’t forget to use a coupon!
- Slightly larger tiles are easier to handle – make sure they are not too thick
- Make sure all tiles are the same height
- Use glue to adhere the tiles and squeezable grout in a tube for less mess.
- This also works well with other small glass tiles in different shapes – just keep the spacing the same between all pieces.
- You can add more details to the outside of the tray with painted stripes or polka dots.
- Make it your own and most importantly: Have fun doing it!
HERE ARE SOME ADDITIONAL EASY PROJECTS YOU MIGHT ENJOY
HOW TO CREATE A FAUX SUCCULENT WALL PLANTER
EASY FALL SIGNS WITH MOD PODGE
MAKE A MID-CENTURY MODERN COFFEE TABLE FROM UPCYCLED WOOD

This is a really good post and one of the first times that the directions say PAINT the wood before tiling! I see so many posts for tables, whatever and I think OMG that tile is going to pop up when the wood flexes!!! If I could give you one tip….there is a mending tape that is mesh and has an adhesive on it; it is sold to put over the seams of concrete board used in showers. My guess is that you could place the little tiles on the sticky mesh where you want them and then lay the mesh on your bed of adhesive grout. Good Post!
Thank you so much for your suggestion! I also wondered why so many tutorials skipped the very simple but necessary step of painting/sealing a bare wood surface before placing tiles. I learned a lot just from this little project and plan on creating more posts with additional tips. I am also planning on creating my own video. I will definitely give the mesh tape a try!
Hi-would it be preferable to place painter’s tape on the adjoining painted surfaces just prior to applying the grout? I was thinking the painters tape shouldn’t adhere to the painted surfaces, so long as they have fully cured, and it should make the clean up easier and protect those painted wood surfaces…what do you think?
That should definitely work!