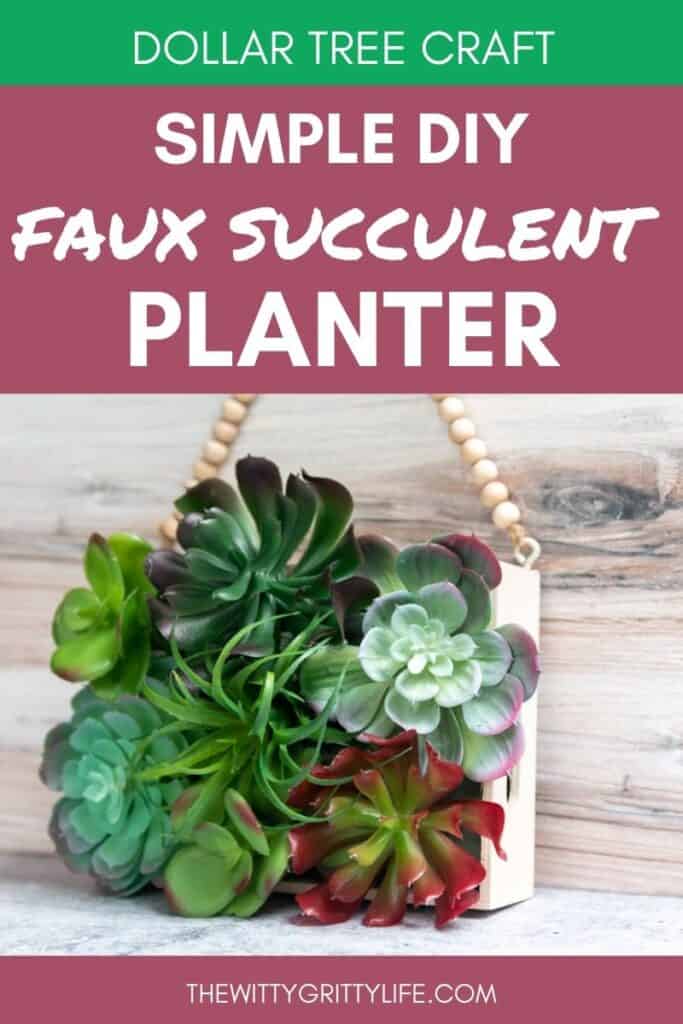
On one of my most recent trips to the Dollar Tree store, I instantly fell in love with the cutest little wood trays. Of course, I had no idea what I would do with them, but knew I would come up with something. And indeed I did. I actually came up with three super cute projects for them, and today I’ll begin by showing you how easy it is to create a succulent wall planter.
Succulent plants have gained a tremendous following over the last few years. They were the first kind of plants I dared bring home after not having any houseplants for a while. Because – kids.
Since then, my succulent collection has grown at a steady clip. While I am mostly successful at keeping them happy, there have been a few losses. That is what makes today’s project perfect for even those with a black thumb because we are using fake plants!
Have you seen some of them? They look stunningly real! And as luck would have it, Dollar Tree carries a nice little variety. So this project is not only easy and cute, it is also very budget-friendly.
While I already had some of my supplies on hand, you can get everything you need for this fun craft right at the Dollar store. If you love decor that only looks expensive and is easy to make, this is the project for you.
It also makes a wonderful gift! With the holiday season not too far off, I know I will be whipping out several more of these.
* This post contains affiliate links. If you make a purchase by clicking on an affiliate link, I may earn a small commission at absolutely no additional cost to you. You can view my complete affiliate link policy HERE.
Before we get to the good part, I have to let you know about my FREE Resource Library. It is filled with all kinds of useful information, tips, tutorials, cleaning and beauty recipes as well as printable art for you to use. It keeps growing all the time! Just sign up here and the password is on its way to your inbox.
HOW TO MAKE A SUCCULENT WALL PLANTER
This, like so many of my crafts, doesn’t require much skill. If you know how to use glue, sandpaper and a paint brush, you are good to go.
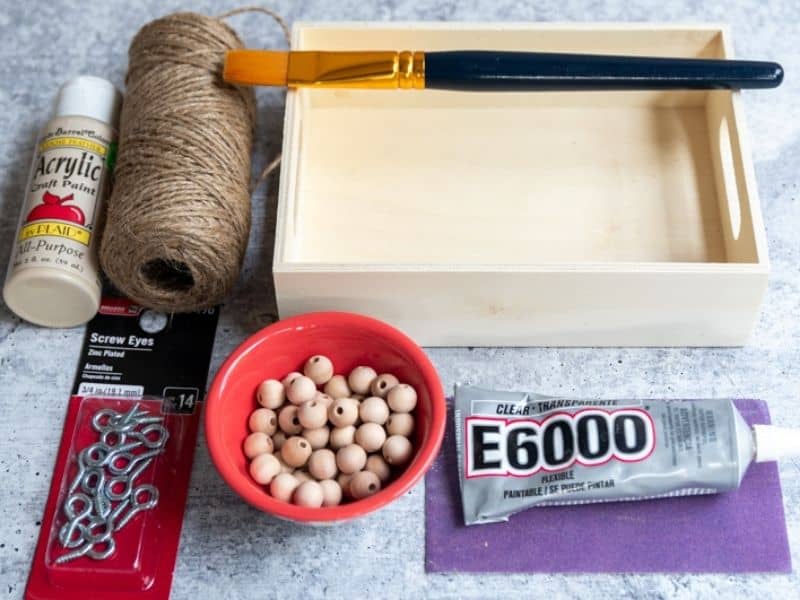
SUPPLIES AND TOOLS YOU WILL NEED FOR YOUR WALL PLANTER
- small wood tray – from Dollar Tree
- several small faux succulent plants (7 or 8 depending on size)
- sandpaper
- acrylic craft paint in the color of your choice
- paintbrush
- 2 screw-in eye hooks
- packing string
- 10mm raw wood beads (approximately 35)
- floral foam
- hot glue or E-6000 craft adhesive
Note: Even though I listed online links for all supplies, I was able to purchase everything I needed from Dollar Tree with the exception of the small eye-hooks, which were found at Walmart.
HOW TO MAKE YOUR SUCCULENT PLANTER
Begin by sanding any rough edges smooth. Pay particular attenting to the handle area. Having a smooth surface makes painting much easier and gives the finished project a more professional look.
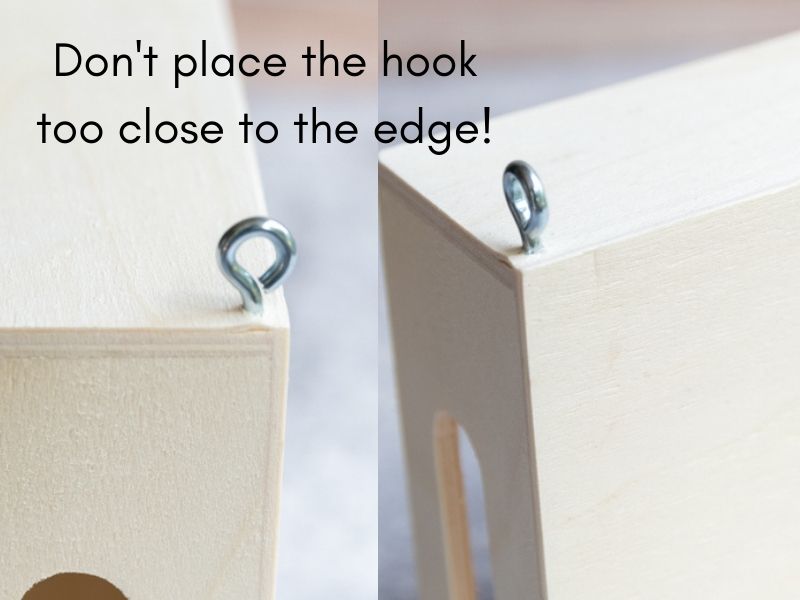
Next, screw in the eye hooks in the upper back corners like this. I decided to do this prior to painting, so the hooks could be painted as well. You may find it easiest to drill a very small pilot hole to allow the hook to be screwed in easily.
Once the hooks are in place, it’s time to paint. You can use pretty much any paint you like. Spray paint is easiest. I happened to have acrylic paint in a neutral beige color on hand, so that is what I used.
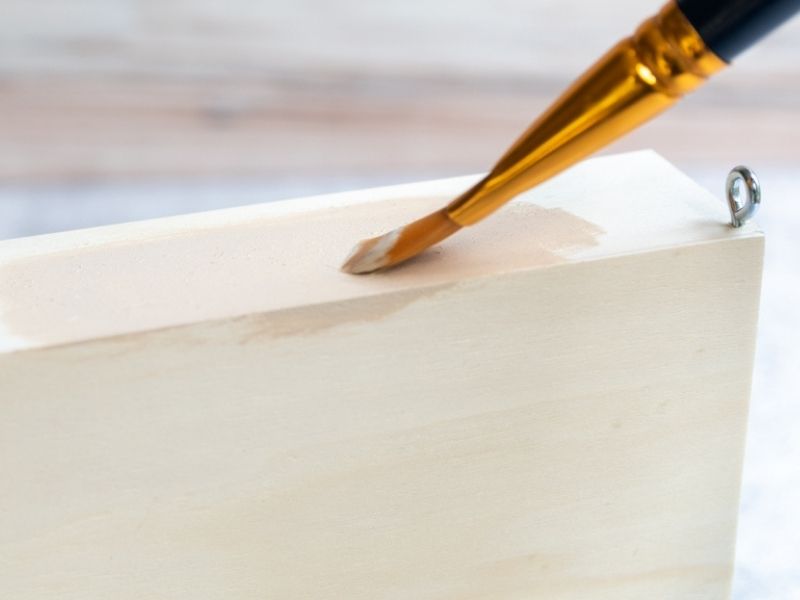
Paint the entire tray and let dry.
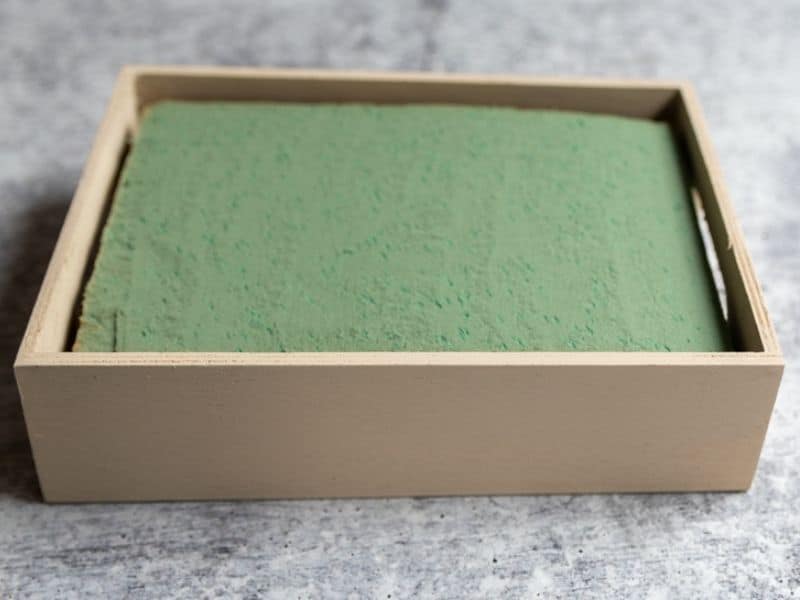
Next, cut a piece of floral foam to fit the interior of the tray and glue it in place with hot glue or E-6000. I happened to have floral foam that is meant for wet use on hand. While it worked, I don’t recommend it. Wet use foam is much more brittle and will fall apart easily.
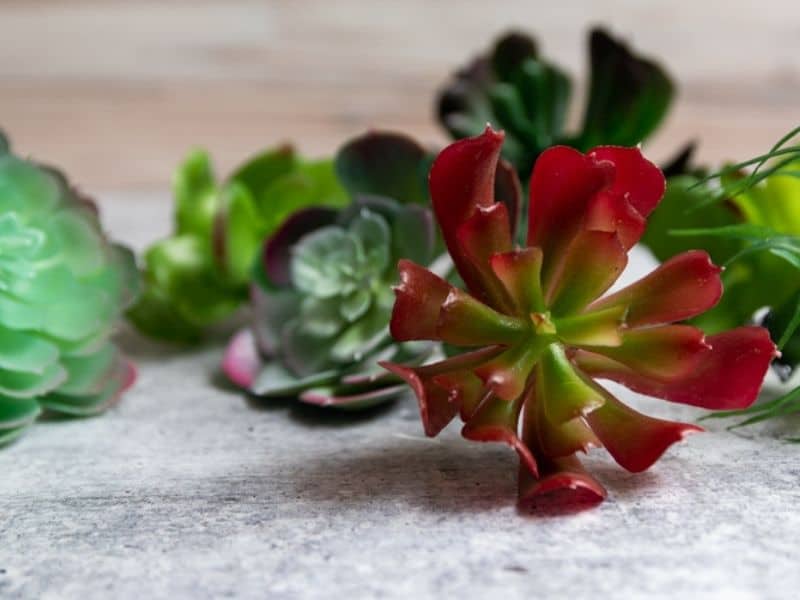
Then it is time to arrange your succulent picks. All of mine came in little plastic pots. I removed them and cleaned any stuck styrofoam pieces off the stems. Depending on the length of the stems you may have to trim them slightly with wire cutters or utility scissors.
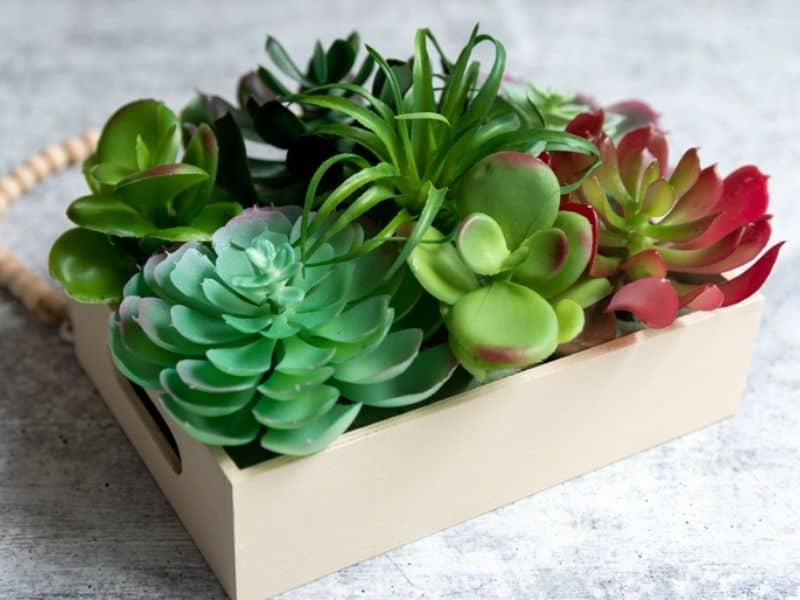
Here they are after removing them from their little plastic pots. They look pretty real even this close up, don’t you agree?
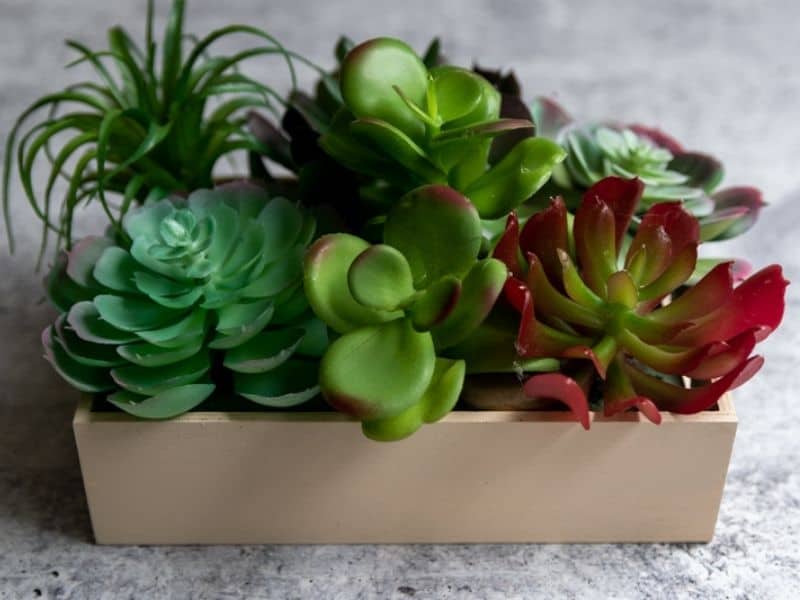
Make sure you are completely happy with the placement of your succulents before you glue them into place. I like overfilling my space slightly for a lush look. That way no gaps will show.
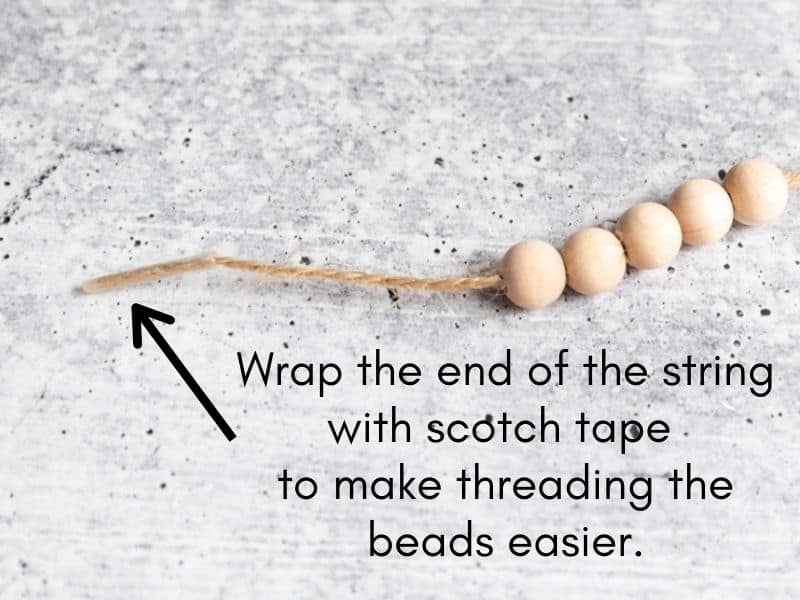
Once all of the succulents are in place, it’s time to add the beaded string. To do that, tie one end of the twine to one of the eye hooks and leave about 16″ of twine. Now string on the wood beads. If it is difficult to get the twine through the bead hole, wrap the end of the twine with a piece of scotch tape.
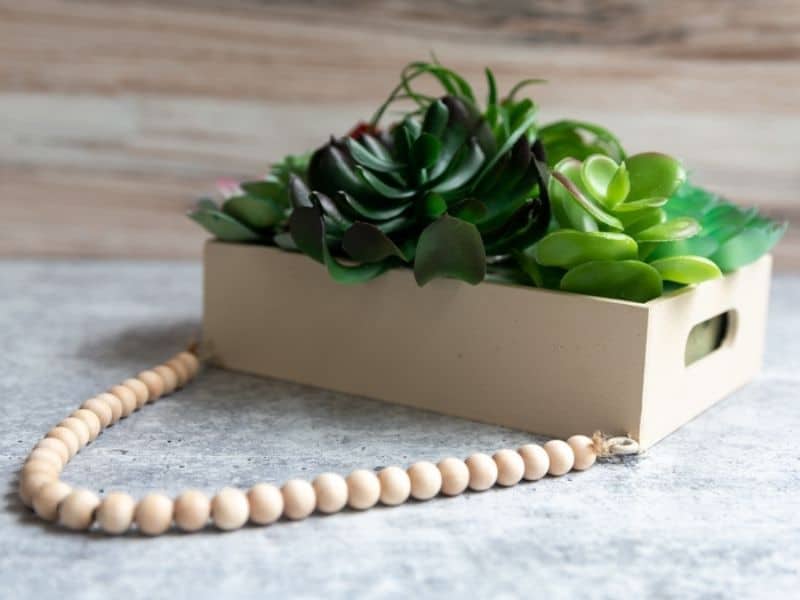
String the beads, then tie the other end of the beaded string to the second eye hook – you are done! I used 36 beads total.
HANGING THE PLANTER ON THE WALL
To hang the planter on the wall you will need three finishing nails. Even though it’s not very heavy at all, any planter like this has a tendency to tilt forward if hung from the beaded string alone.
That is why I recommend that you actually hang it with nails through the eye hooks. Be sure to use a level when hanging. Once your succulent wall planter is hung, tack the beaded string centered above to the wall with another finishing nail.
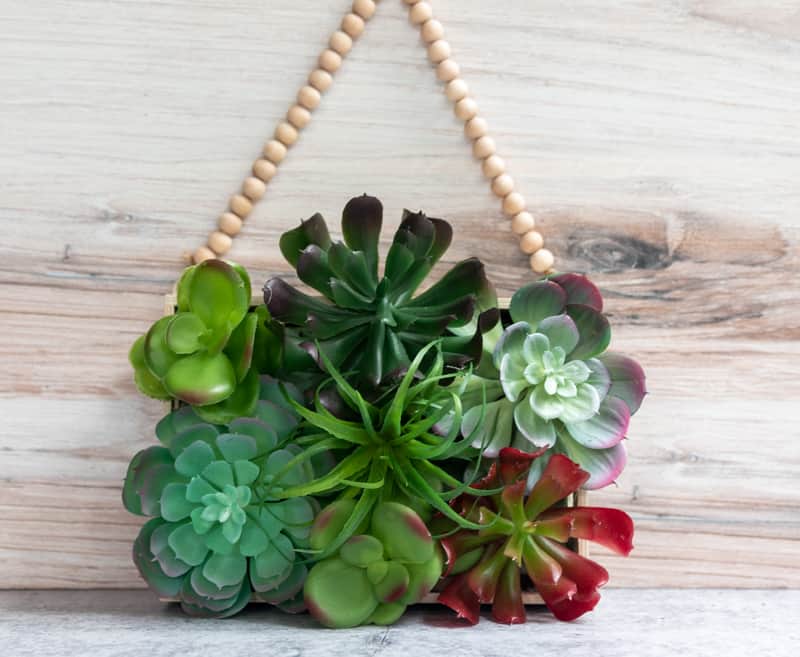
So Pretty! I cannot wait to make more!
ADDITIONAL TIPS AND SUGGESTIONS
- The beaded hanger is purely decorative. You can use differently shaped and colored beads according to taste. Just make sure any beads you choose have large enough holes for the twine to thread through.
- Choose faux succulents in different colors and shapes for visual interest
- Fleshier, broader plants will fill the small planter better without sticking up too far
- If you are concerned about gaps showing, pick up a package of floral reindeer or Spanish moss and add it in between your faux plants
- To display the planter on a shelf, just omit eye-hooks and beaded string
This little DIY succulent wall planter is a fun and easy project you can create in no time at all. It’s perfect for small space living and rooms that don’t get any natural light. This would work even work great in an RV! Why not add one to your home today?
I am currently working on a couple more creative projects using these exact same trays. Make sure you are signed up for my mailing list so you will get notified when they are published!
For more quick and easy crafts that don’t require much time, skill or money, check out these posts:
CREATE A DECORATIVE CAKE STAND FROM THRIFT STORE FINDS
EASY FALL SIGNS WITH MOD PODGE – NO STENCILS NEEDED
PERSONALIZED DISHES ANYONE CAN MAKE
Be sure to check out the TWGL Facebook page and join our group of like minded creators.
Follow me on Instagram to see what I’m up to next.