If you are looking for an easy gift idea that will only look like it was hard to make, sharpie painted glasses are for you!
Today’s project is simple, budget-friendly, and trendy! Not that I have to sell you on this craft even more, but you truly need no art skills whatsoever. Even the simplest patterns look amazing on plain sparkling glasses.
So, let’s get started. If you haven’t read my post on how to create handpainted durable dishes, I highly recommend you check it out. What I am about to show you is pretty much based on the same instructions. You can also find the complete set of printable instructions in my FREE Resource Library. You can sign up on the side of this post or below.
Dollar Tree sells robust quality glassware that is perfect for this project. At a buck apiece for some brilliant and well-made wine glasses or colorful water goblets you just can’t go wrong. If you plan on making a whole bunch, you can order them in bulk on Dollar Tree’s website, and pick them up at the store boxed. That’s the easiest way unless you like standing at the counter, waiting for the poor sales clerk to wrap a gazillion glasses in paper.
This post contains affiliate links. You can read my affiliate policy here.
You can find complete printable instructions in the FREE Resource Library. Just sign up here and your password is on its way to your inbox.
SUPPLY AND TOOL LIST FOR SHARPIE PAINTED GLASSES:
- plain glasses: wine, water, beer – your choice
- oil based sharpie pens – regular sharpies will not work
- acetone nail polish remover or plain hairspray for cleanup
- newspaper or craft paper to protect work surface
- oven
Clean glasses
Starting with completely grease-free, clean glasses is very important. New glasses also have price stickers or labels on the bottom that are often difficult to peel off. The easiest way is to run a sink of warm soapy water, and let the glasses soak for just a little while. The labels will slide right off. Rinse any soapy residue thoroughly and dry each glass with a lint-free cloth.

Here are they are all clean and ready to be painted!

Prepare your work surface
Since oil-based sharpies are fairly quick-drying and permanent, you will want to protect the surface you’re working on. Generally, a couple of layers of newspaper or craft paper will do the trick. I also like to keep a piece of wax paper handy, to try out the flow of the marker. For quick and easy cleanups set a few cotton swabs and nail polish remover close by.
Also, make sure your work area is well lit. And if you wear them, be sure to have a pair of reading glasses handy to allow you to actually see what you are painting!
Start painting
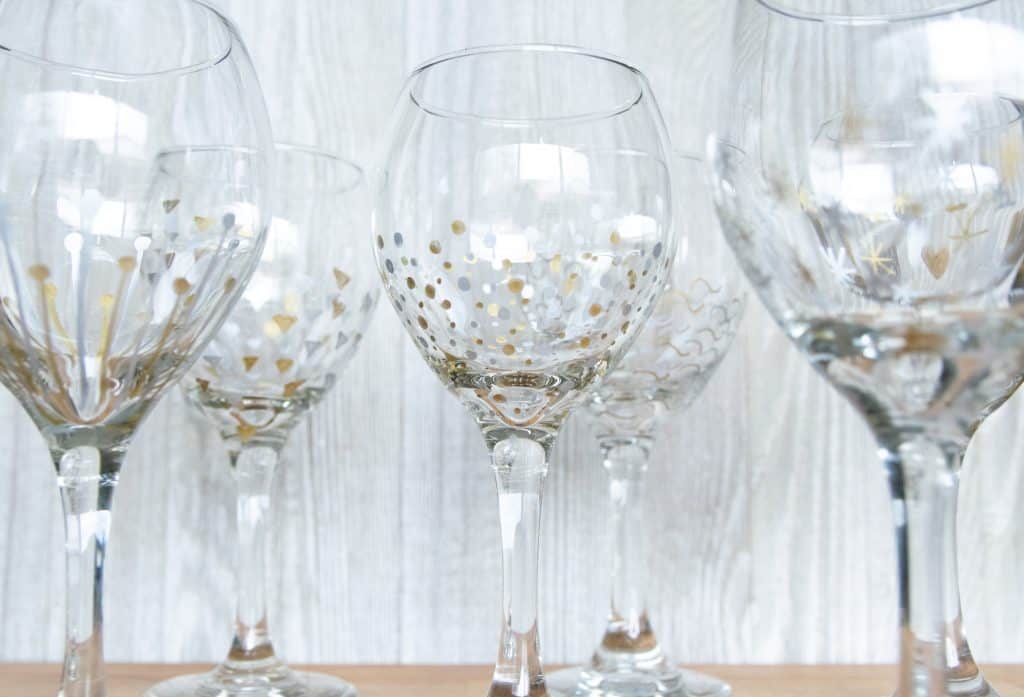
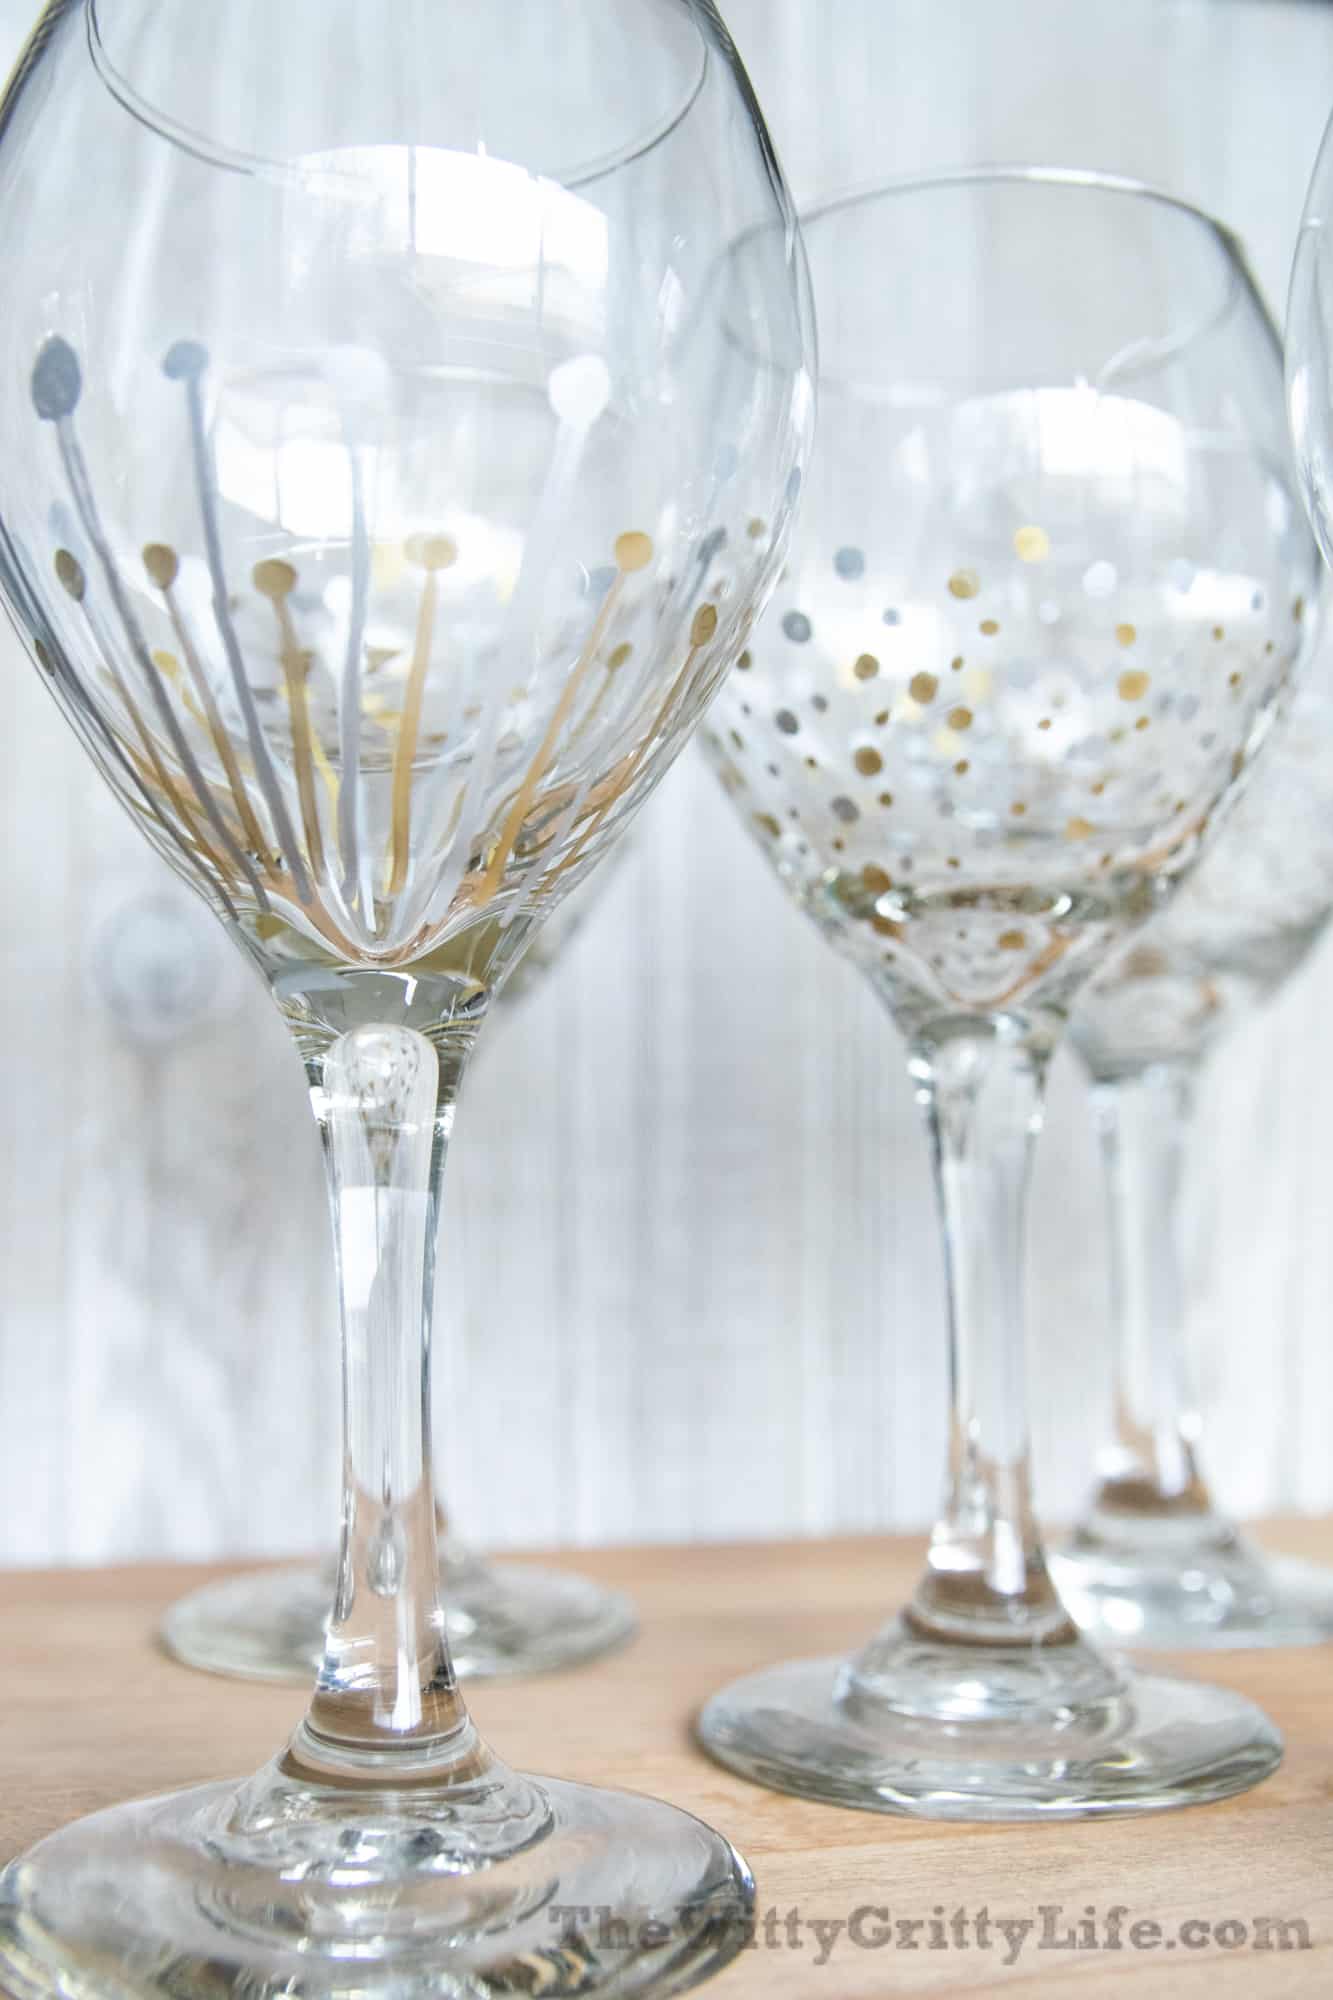
For the wine glasses shown here, I went with a variety of simple patterns that don’t require painting skills. Polka dots in various sizes are perfect for this. You can always check on the internet to find inspiration. Just google painted stemware or stalk Pinterest for fun ideas.
To paint wine glasses, it’s easiest to turn them upside down. This will give you a larger surface area to work with and you can turn the glass by the stem as you go. Avoid getting any oils from your hands on the glass that will be painted. While oil-based sharpie paint dries very quickly, make sure not to touch the paint until it is completely dry.
Here is an in-progress shot:
Curing the Sharpie paint
Once you are all finished painting your glasses, it’s time to cure the paint to make the glasses washable. When I first researched curing temperatures and times for my dish painting project, I came across a great number of different temps and times. This is the process I settled on and it has worked very well:
Carefully place each glass on your middle oven rack upside down (for stability). If you have air bake cookie sheets, you can place your glasses on one of them. They don’t warp when heated.
Close the door and turn on the oven to 350 degrees Fahrenheit = about 175 Celsius. Let the oven come up to temperature. Once it is fully heated, set the timer to 30 minutes. Let glassware bake/cure for thirty minutes, then turn off the oven. Keep the door closed and let the glasses sit in the oven until fully cooled.
It helps to save this for the evening, so you won’t tie up your oven for several hours, just in case you need it to cook dinner. If you cure the glasses in the evening and let them sit in the oven overnight to cool off you get to wake up to admire your completely finished project the next morning. How exciting!
Off to the oven!

Enjoy your newly painted glasses
You did it! Now wasn’t that simple? Your new handpainted “designer” glasses are now ready for something great to drink! To keep them looking good as new, I recommend you always wash them by hand in warm water with mild dish soap.
They are fun to give as gifts, especially accompanied by a nice bottle of wine. Think of adding a couple of glasses to that obligatory bottle you bring to your dinner hostess.
Painting each glass a different pattern, but still in the same colors gives them a little more personality, and makes it easy for everyone to spot their glass at a party without wine charms!
Don’t you just love them?
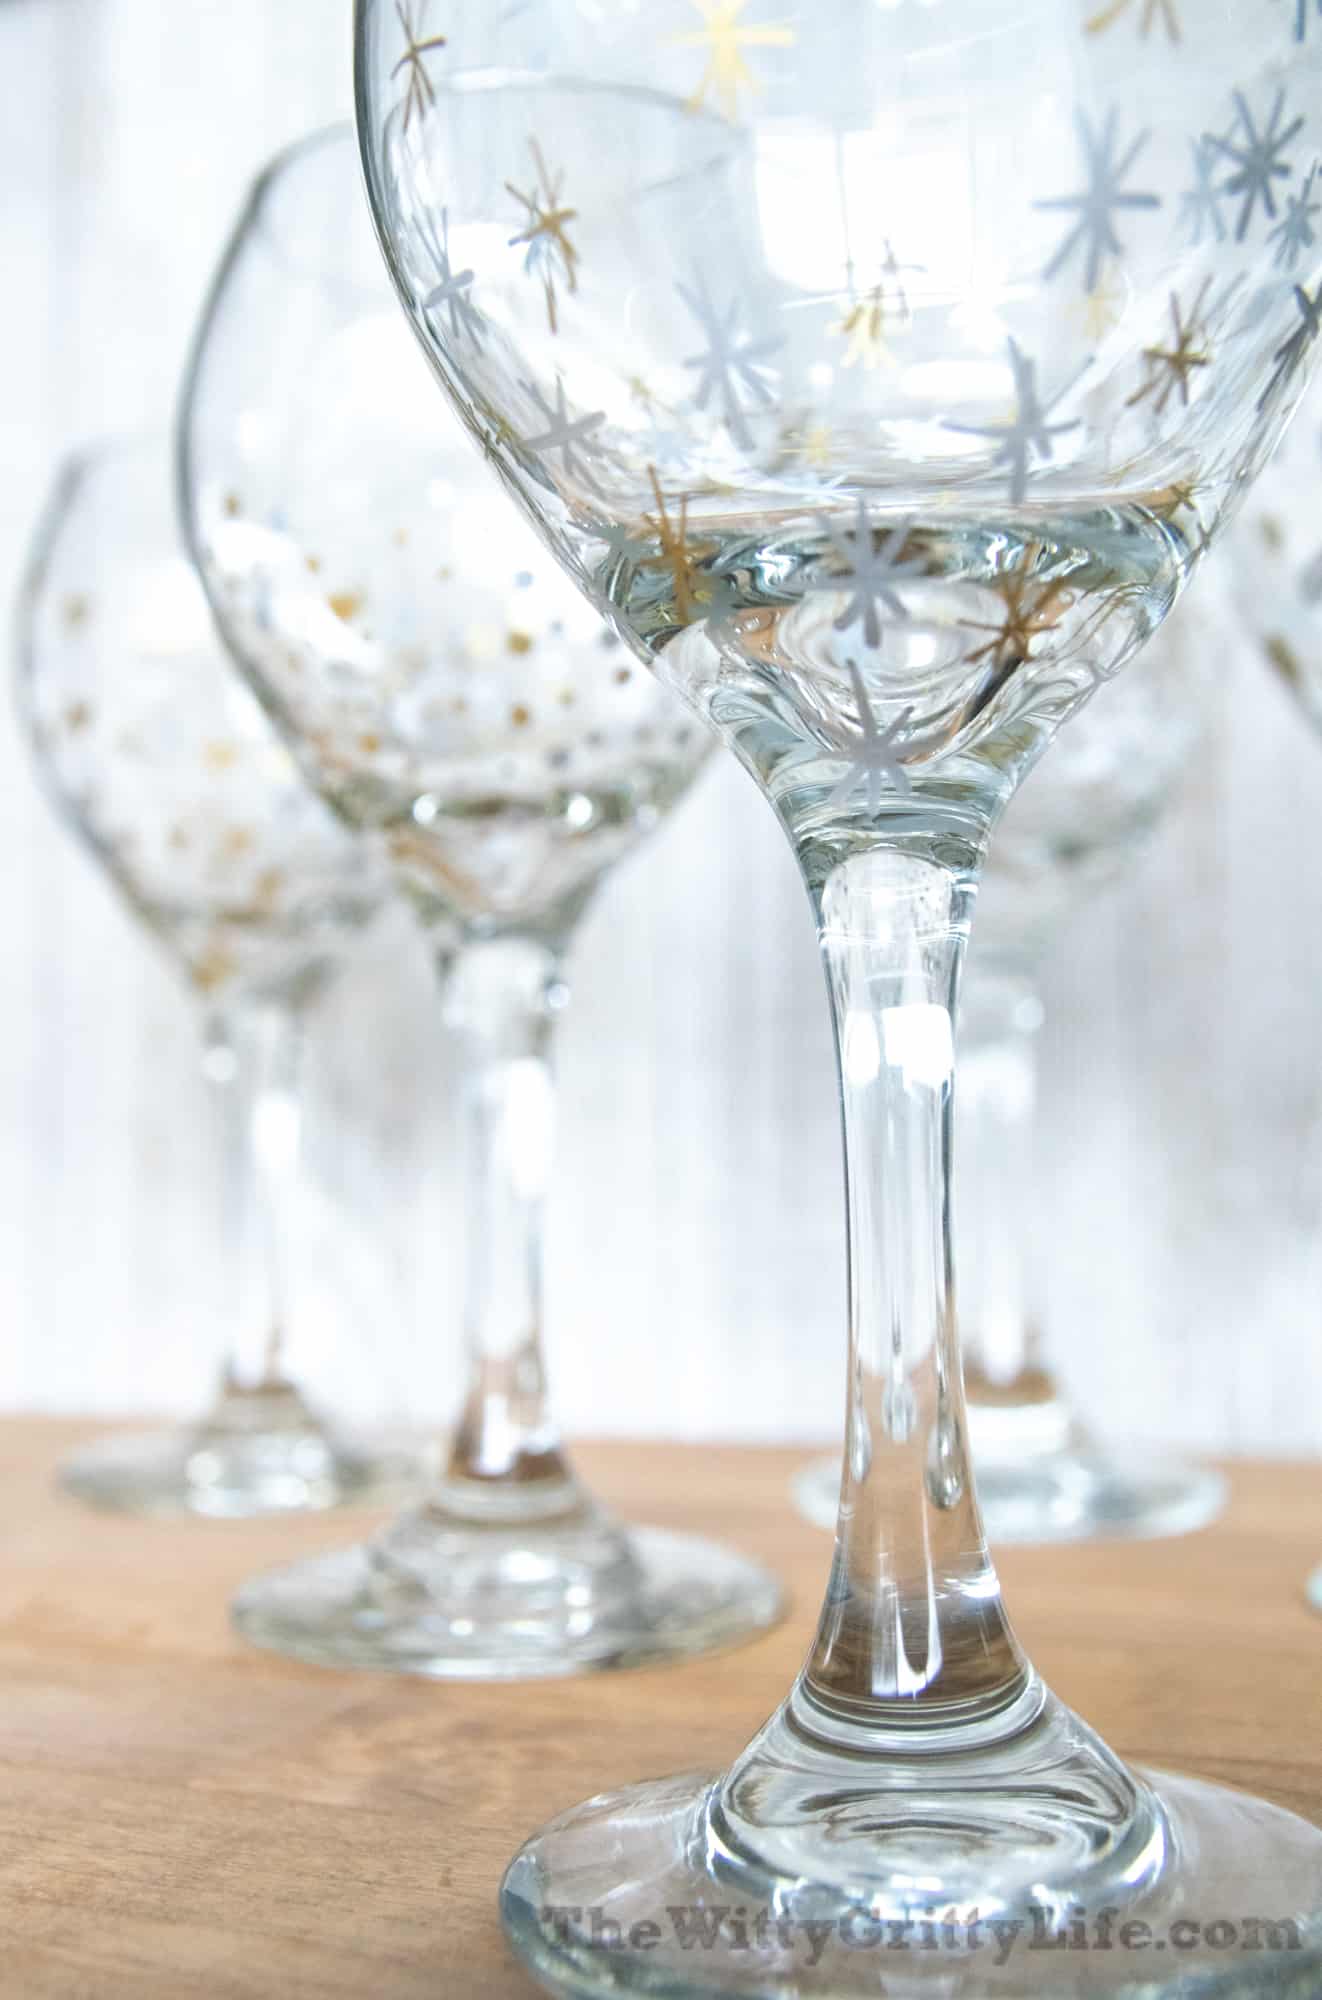
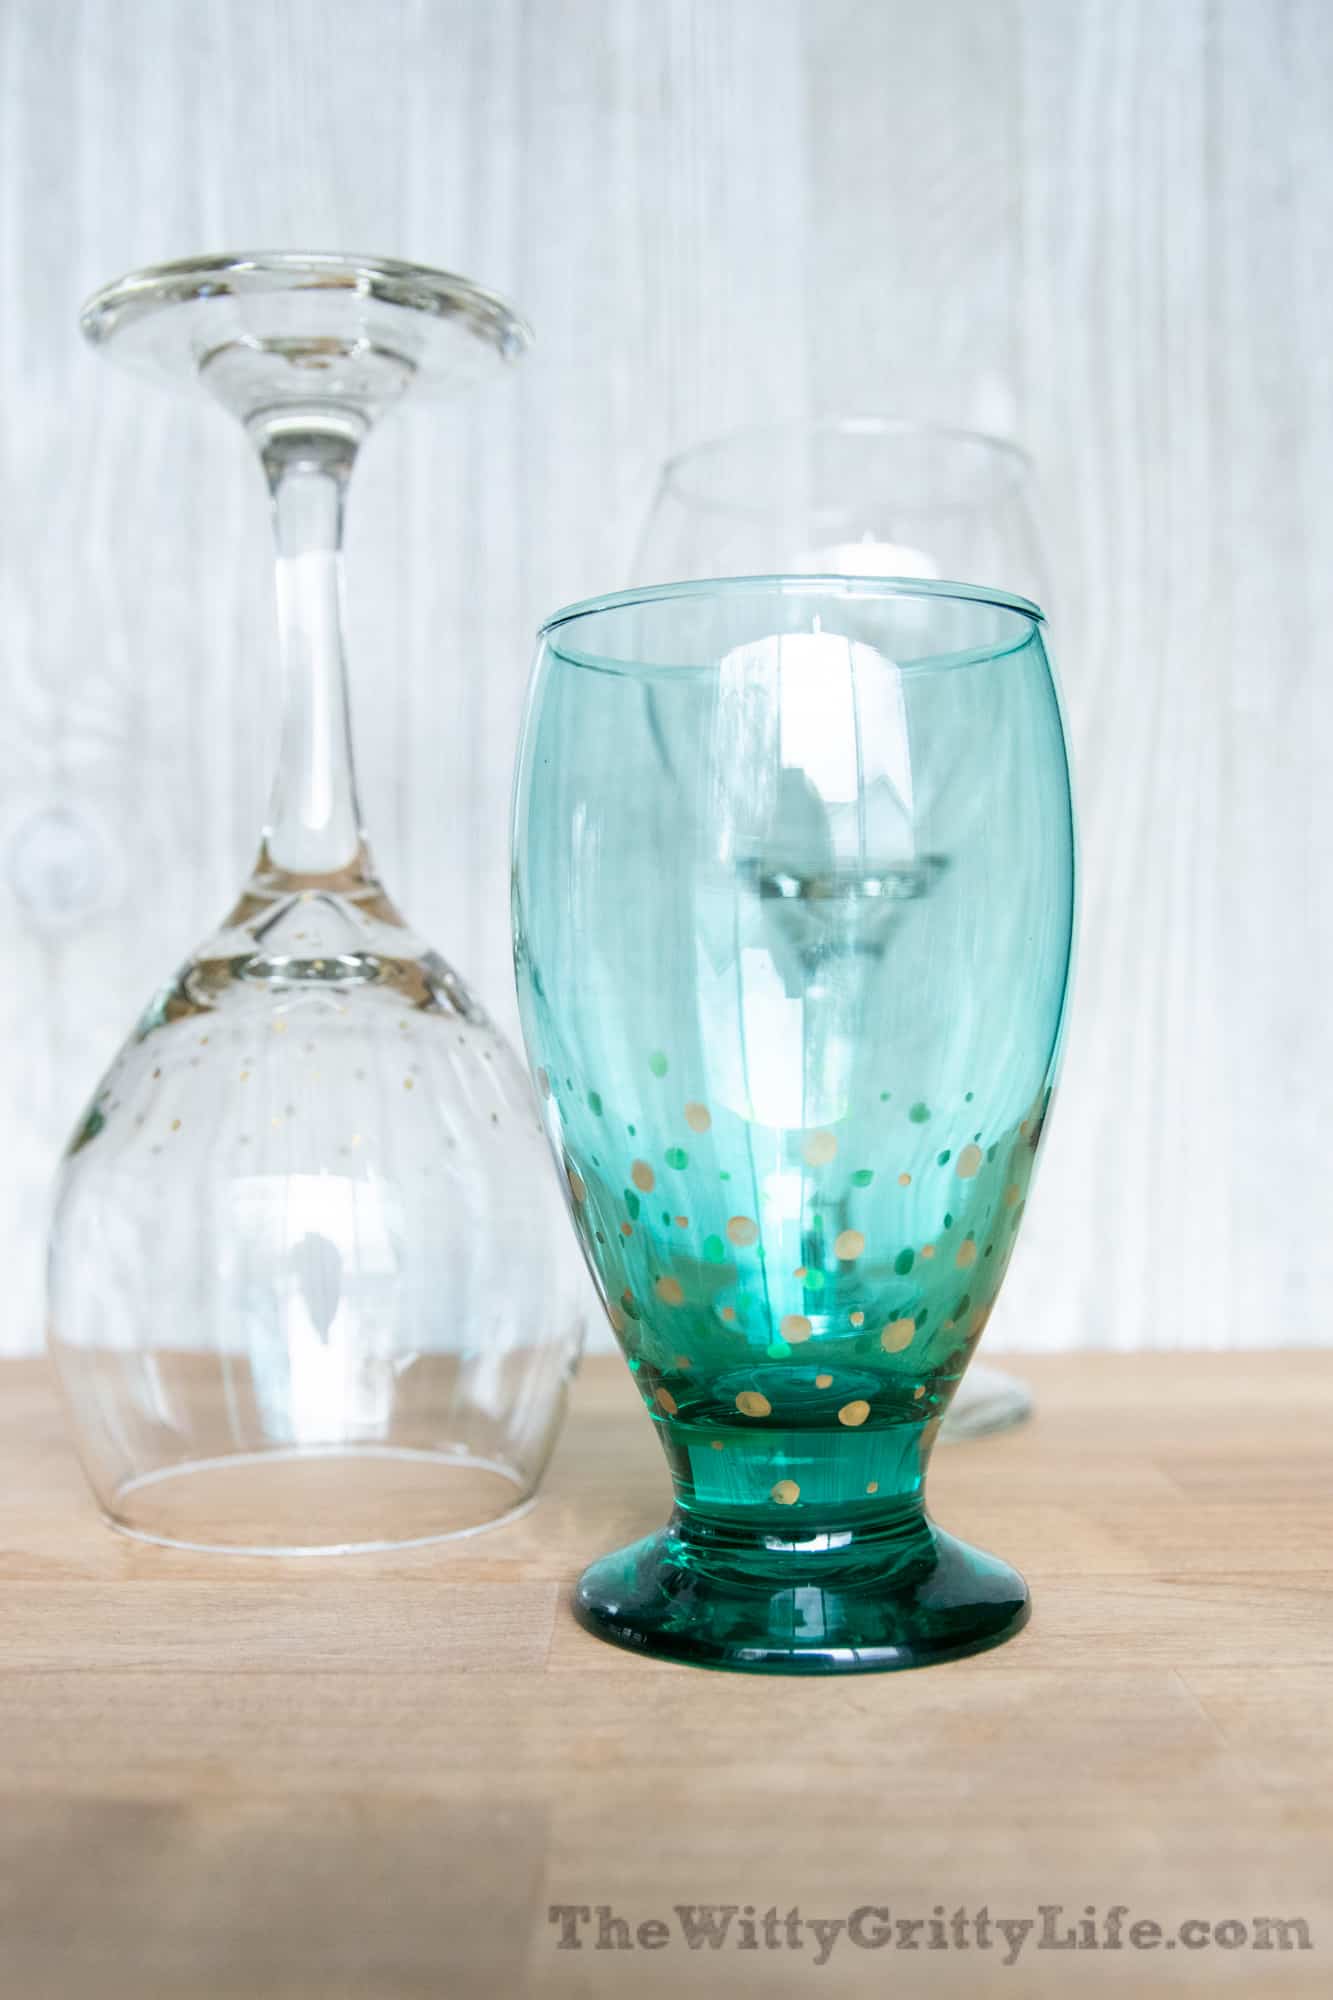
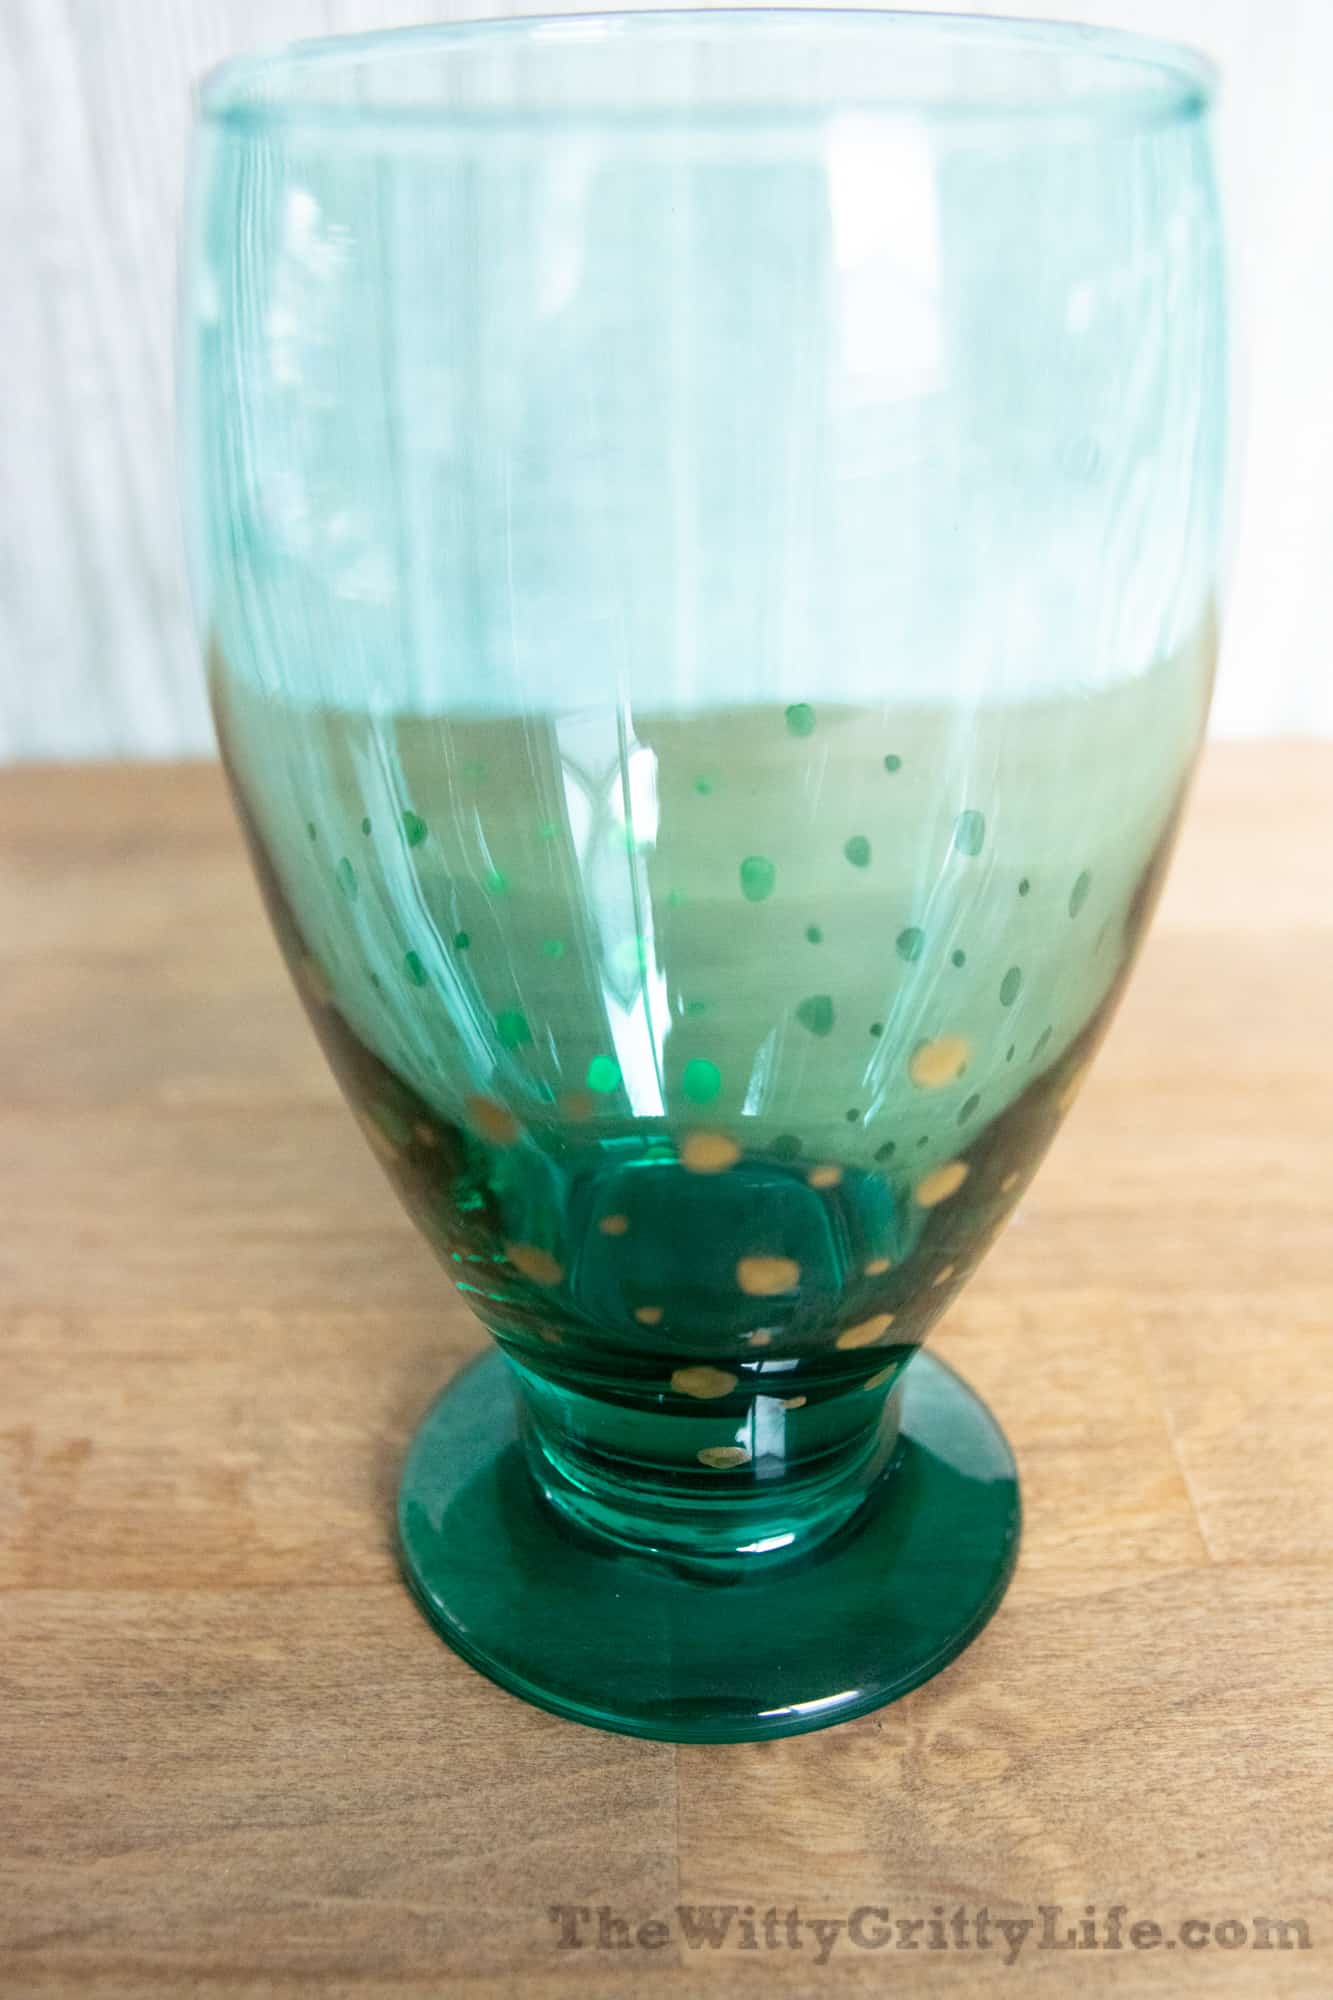
Here is another angle. Shiny glassware is notoriously difficult to photograph!
I love the teal color, but the picture doesn’t do this glass justice. Teal and gold is a classic and must have right now!
With a project this easy, you can surprise someone special with a handmade gift that shines. Or add that little something extra to your holiday table or party! The possibilities are endless!
For some other easy and fun projects check out these posts:
DIY Wall Signs with Quotes Anyone can make
I hope you can find the time and energy to enjoy this Holiday Season! And please be sure to show your completed project in the Witty Gritty Life Facebook group!

You are amazing
Thank you Marlies!