Activated charcoal soap has become pretty popular lately and for good reason. Activated charcoal has a number of benefits and is especially useful for dealing with breakout-prone skin. Sure, it may sound like the latest trend, with charcoal seemingly added to everything – charcoal icecream anybody? I mean, you can definitely go overboard.
But when it comes to skincare like soap, it makes total sense to add it! If you would like to learn a few other ways you can add activated charcoal to your life, be sure to check out the recent post about my favorite lovely uses for activated charcoal!
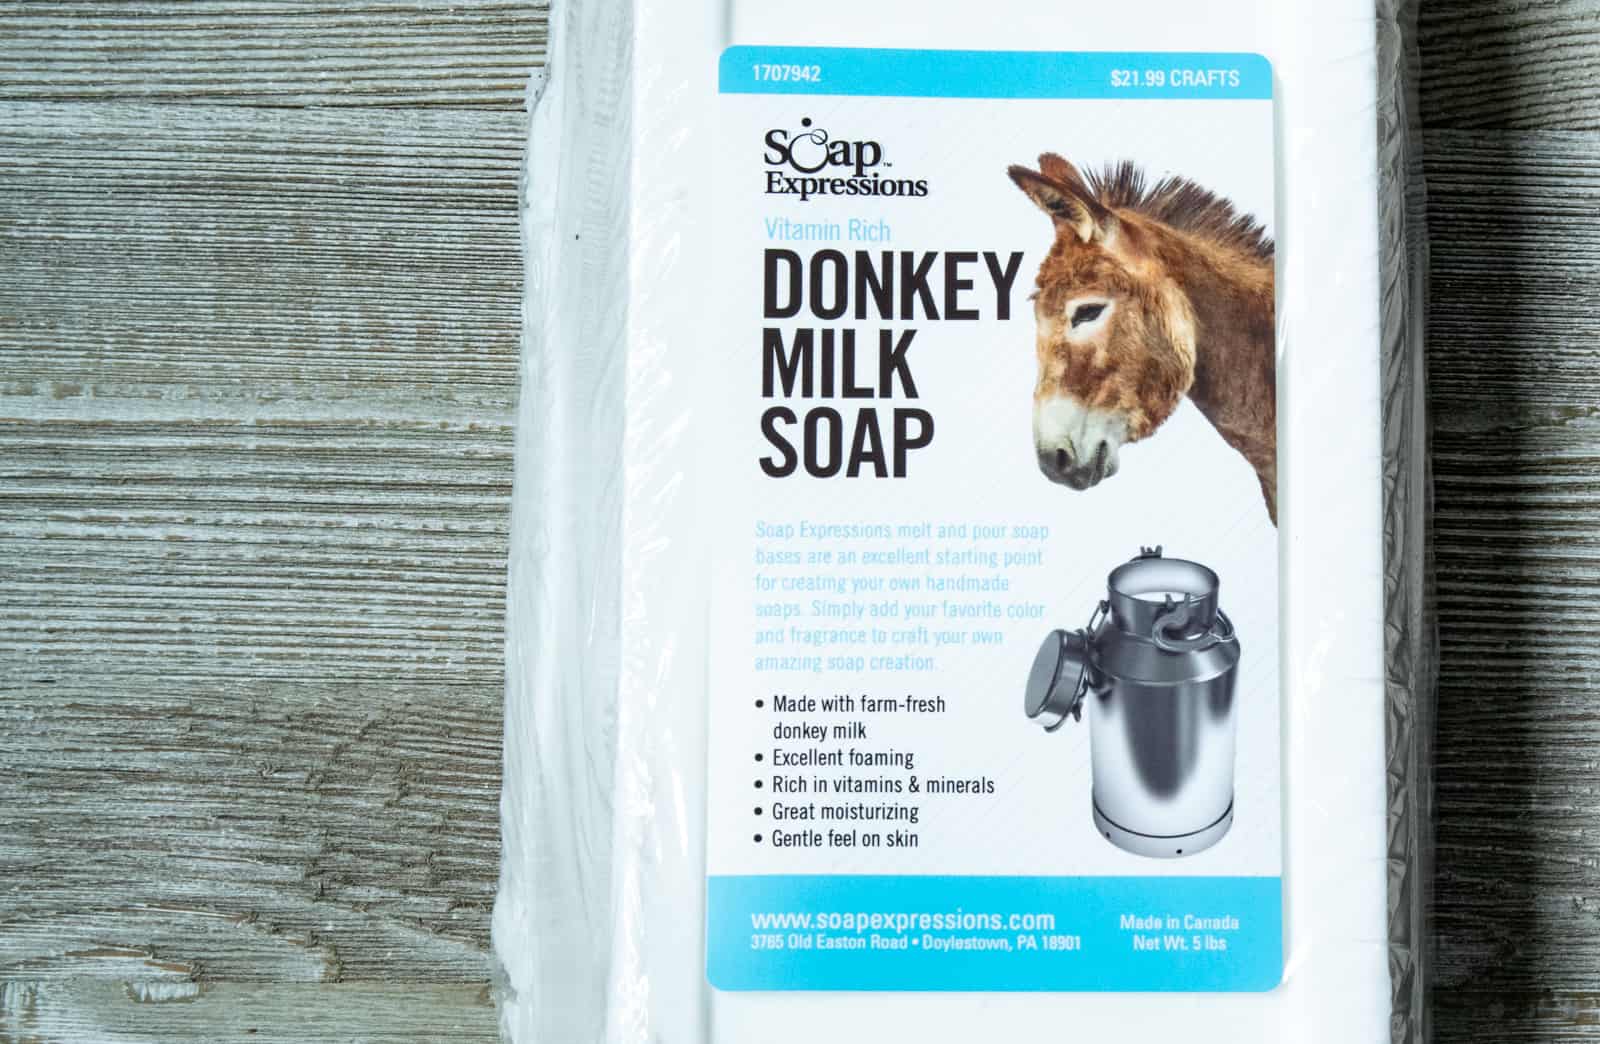
While I have been adding it to face masks and toothpaste for a good while, I haven’t made soap with it – until now. It’s something I couldn’t wait to try because at more than $5 per bar, charcoal soap is not the most budget-conscious product if you catch my drift. Here at our house, we are just at the tail end of using up the last batch of soap I made, which made this the perfect time to finally give this a shot. My main motivation to try my hand at making my own charcoal soap was finding this at my fave craft shop the other day:
This post contains affiliate links. You may read my affiliate link policy here.
Yep, donkey milk soap. I had not heard anything about donkey milk in ages and I was quite surprised to find it in pour and melt soap base in a craft store! Better yet, I had a 40% off coupon burning a hole in my pocket which made it an outright steal for five pounds of soap! Reading the glowing reviews made me even more excited to give this stuff a try! What can I say, I don’t have the most thrilling life…
Apparently, Cleopatra used to take baths in donkey milk. Then again, what didn’t she bathe in? In any case, if it was good enough for her, it’ll be just fine for us, right? Of course, you don’t have to use donkey milk soap. You can use any white kind of pour and melt soap like shea butter, cocoa butter, or goat milk, I am just being extra fancy here. Just be sure to use a white opaque type of soap. Clear glycerin soap won’t work well here.
Would I love to know how to make my own soap completely from scratch? Absolutely, but to be honest, I just don’t need to get involved in another hobby. Besides, having to wait a whole month for soap to cure? Who has time and patience for that?
If money and time are important to you, and I am willing to bet they are, this is the way to make soap like a pro without hassle waiting and extra equipment.
If you are still curious about how you can make your own soap entirely from scratch, I will list some helpful resources at the bottom of this post. But I bet once you see how easy and affordable melt and pour soap is, you probably won’t even think of trying to do this the hard way. Or maybe you are more of a die-hard and this will be your gateway to more serious soap making adventures, who knows? Either way…
Pour and melt soap base is the best of both worlds, as far as homemade soap is concerned. It is readily available in a number of different formulations and can be customized in numerous ways from scent to texture to color. Handling it and working with it is super easy as well and requires no special equipment. You are pretty much guaranteed a great outcome, something that is not always the case with traditional old-time soap making techniques.
Traditional cold process soap recipes are fairly easy, technique-wise, but there are still quite a few steps involved and the soap has to cure for 30 days before use. Hot process soap cuts down some on the wait time, but it still much more labor and equipment intensive. As I hinted above, I am definitely the instant gratification type when it comes to health and beauty products.
I have been making soap this way for a long time and love being able to customize it to my own likes and needs. No pesky artificial scents, colors, or unknown chemicals! This tutorial is a short version of my first tutorial on making homemade soap!
Let’s get started making homemade charcoal soap!
Helpful tips before we dive into the process:
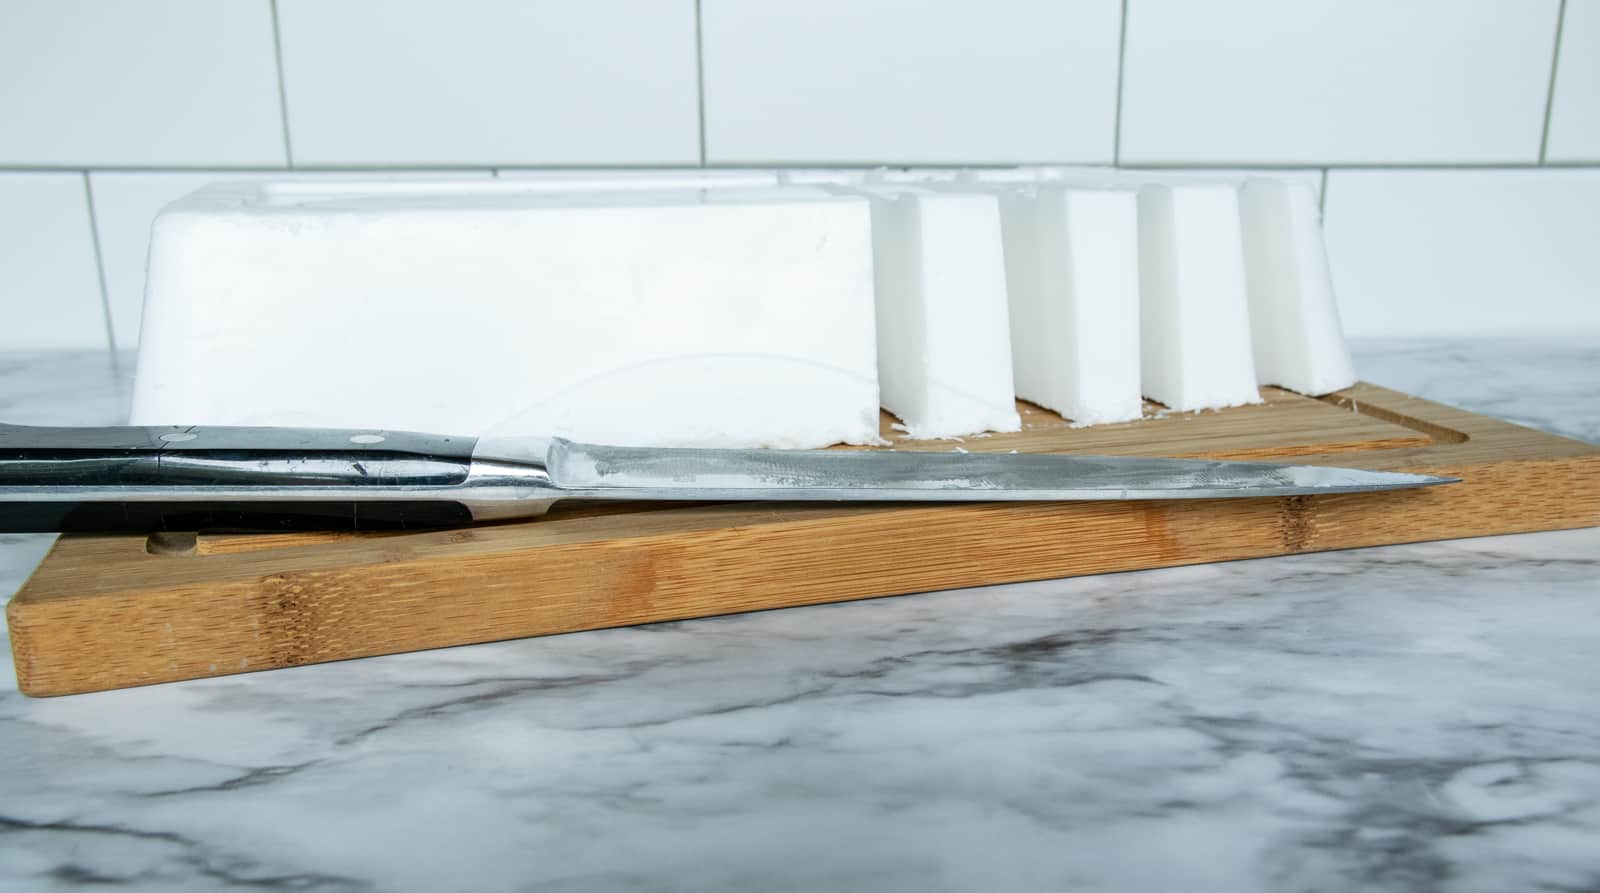
Melt and pour soap comes in a huge block, usually five pounds. While you can certainly work with all of it at once, as I did, I would not recommend it, especially if this is your first try.
Melting that much soap takes a long time and keeping a large amount in a liquid state is not all that easy. Therefore I highly recommend working with no more than half a block of soap in one sitting at most. Working in smaller batches will actually save you time! Cutting the block in half is easy and it stores well for when you are ready to make more.
If you plan to make soap like this on a regular basis, you may want to purchase an inexpensive slow cooker to melt the soap. They are easy to find for cheap at thrift stores! Just make sure it has a low and high setting so you can have more control over the melting process.
To make cleanup easy, line a rimmed cookie sheet with wax or parchment paper to set the soap molds on. This allows you to move the filled soap molds while the soap is still setting up if needed.
Make sure you have all your tools ready ahead of time and within convenient reach. You will need hot pads and/or oven mitts to pour the hot liquid soap safely.
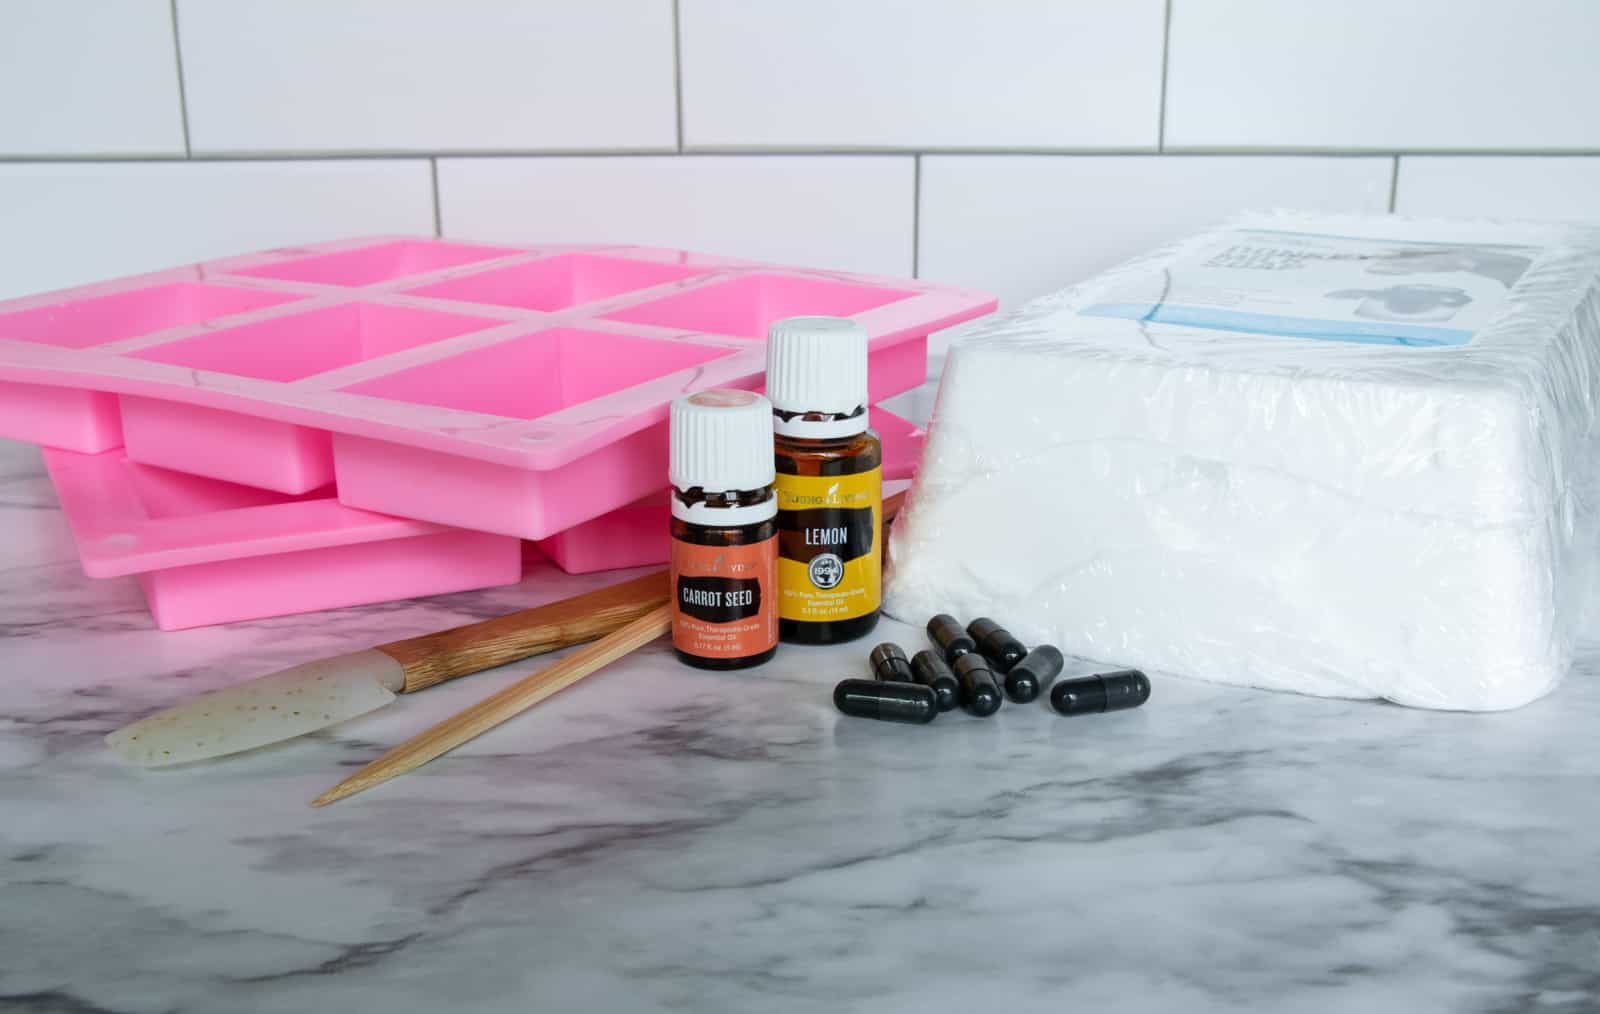
SUPPLIES AND TOOLS FOR HOMEMADE SOAP:
- white soap base of your choice like the donkey milk version shown here, shea butter or goat’s milk (the donkey milk soap lathers beautifully and is gentle for use on your face)
- activated charcoal caps or activated charcoal powder (the powder is easier to work with)
- silicone soap molds or a long narrow bread loaf pan lined with wax paper
- tempered glass bowls- I keep a pyrex bowls from the thrift shop on hand for this – you’ll only need one bowl if you are making your soap all one color
- spoon or silicone spatula
- essential oils of your choice (find a list of skin-friendly oils at the bottom of this post)
- other add-ons of your choice (completely optional) like finely ground oatmeal, ground dried lemon rind, all-natural colors
- bamboo skewer or spoon handle to create a marble pattern – if desired
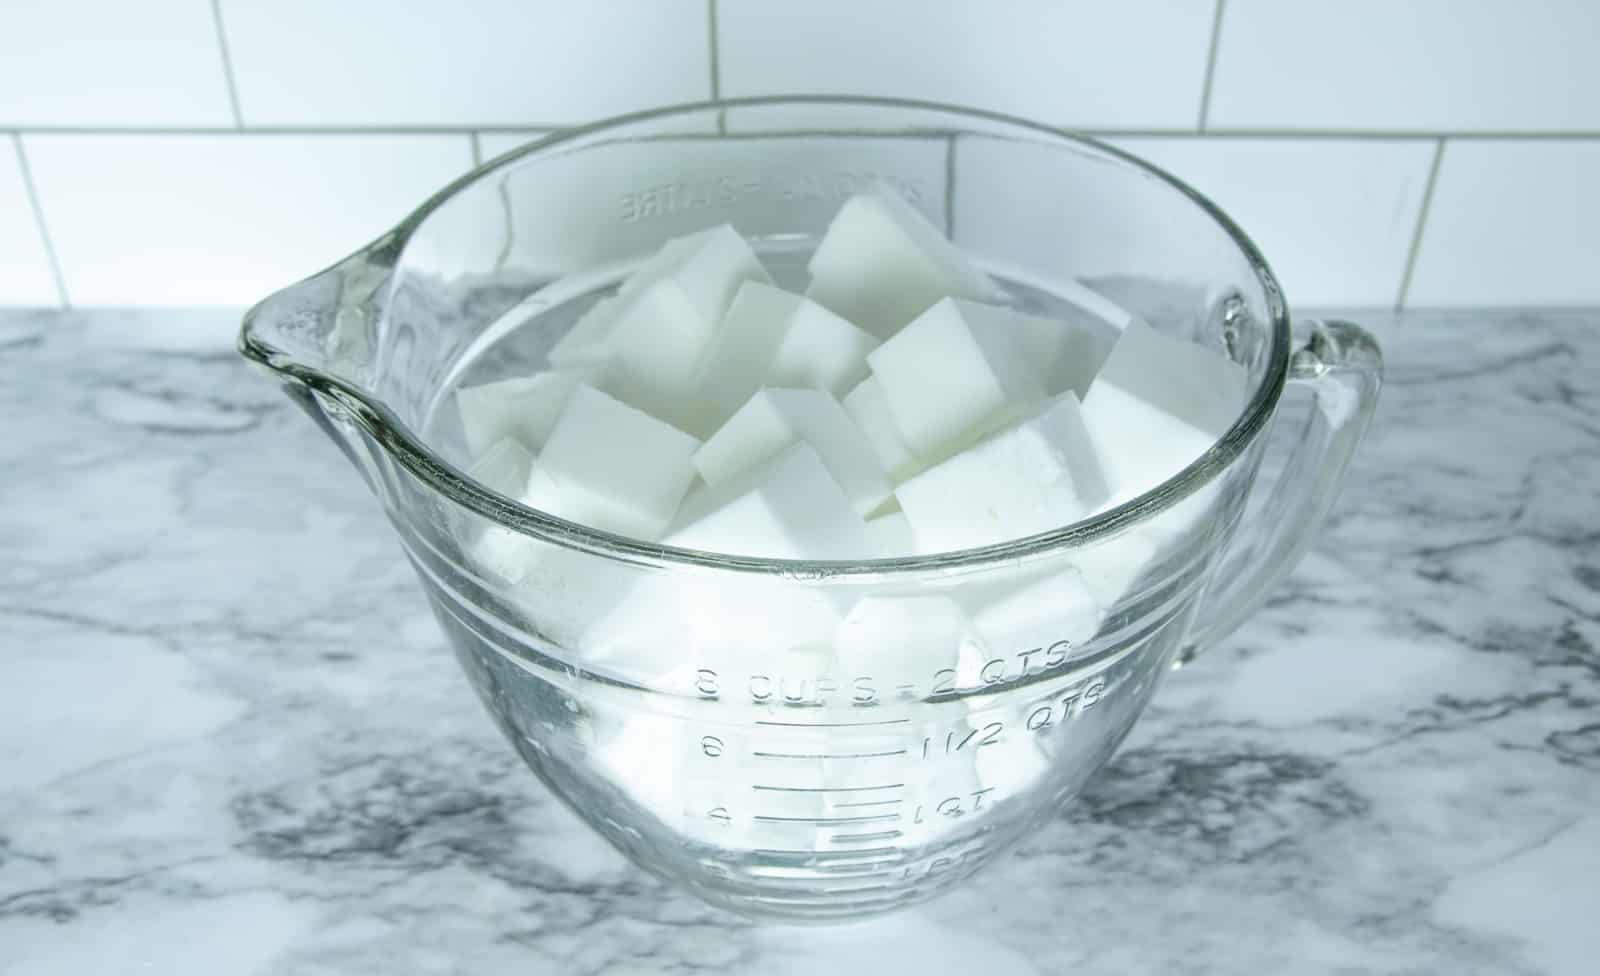
CUTTING THE SOAP INTO PIECES
Cut the soap base into about 1″ chunks and place in a microwave-safe tempered glass bowl. Don’t overfill the bowl.
It is easier to work with a smaller amount of soap. For bi-color marbled soap, warm all of your soap chunks together at the beginning and divide the soap into two separate bowls once melted.
You can also do this in a slow cooker on low heat. Only use a slow cooker that will be dedicated for this purpose.
MELTING THE SOAP BASE
Place a glass bowl over a hot water bath in a double boiler to gently melt soap while stirring frequently or microwave soap in 30-second increments, stirring well after each segment until the soap is completely melted and liquid.
I prefer using the microwave to warm my soap. It is much quicker and only requires the bowl. Stir frequently to avoid chunks, which will make pouring difficult. Don’t overheat, as the soap can scorch. If using a slow cooker, keep soap mixture on the low setting and stir frequently.
After a little bit it will look something like this:
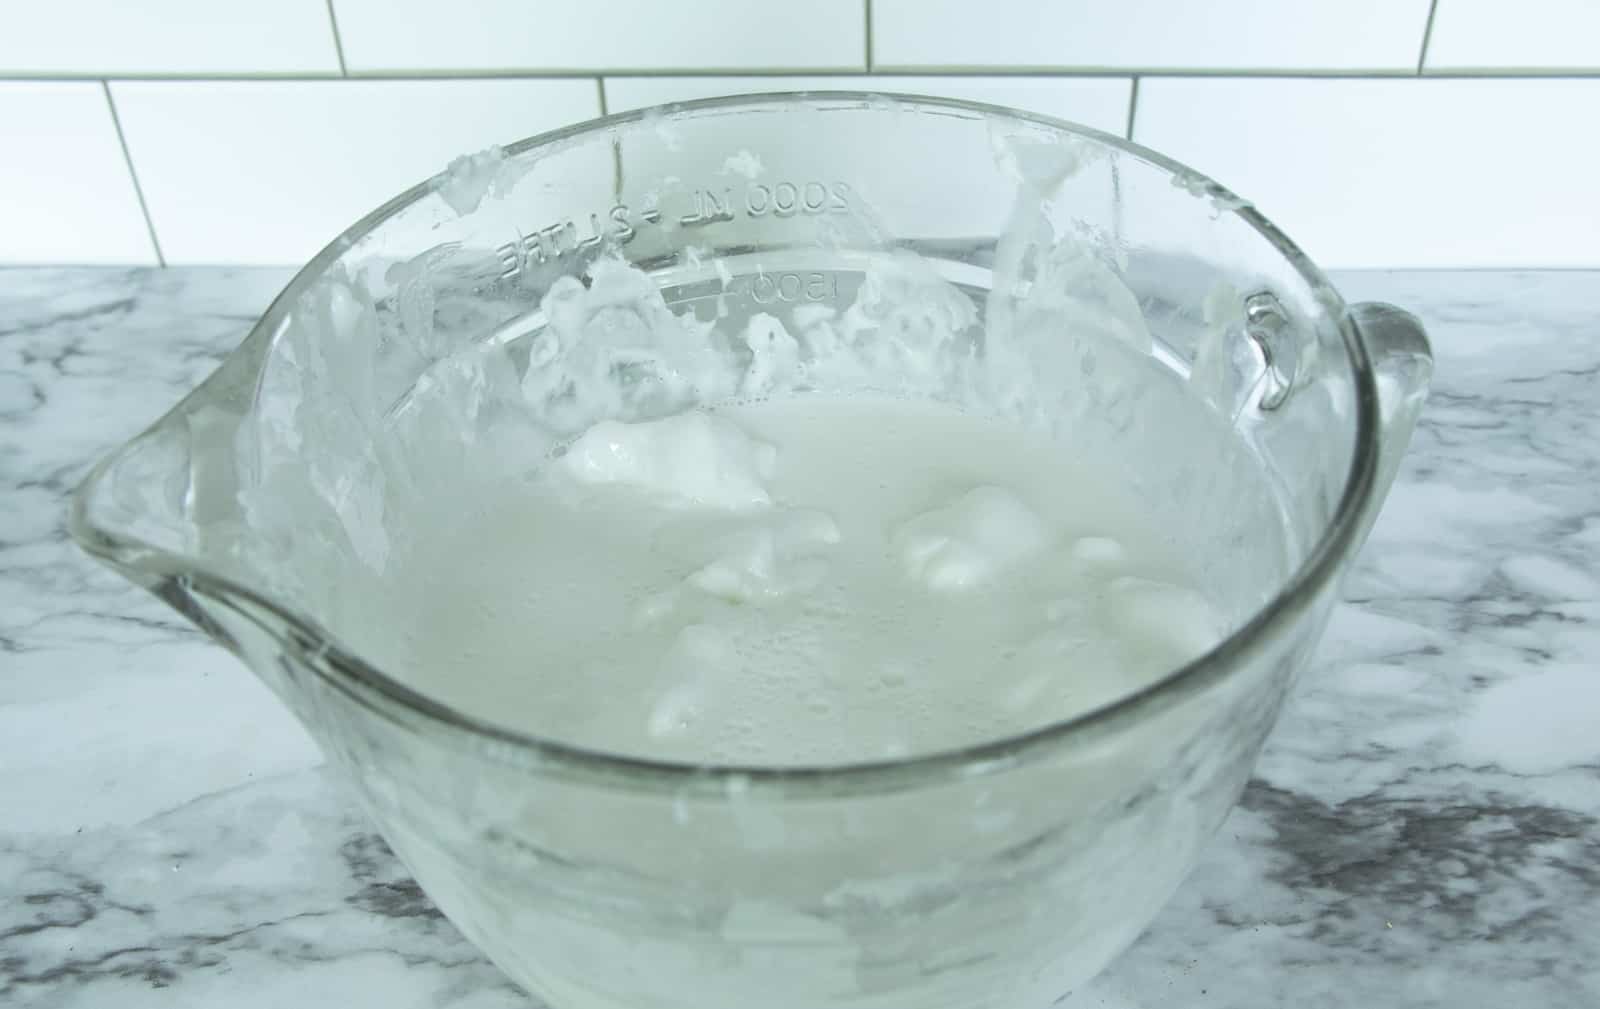
Continue heating and stirring until the mixture is completely smooth with no unmelted chunks remaining.
POURING THE SOAP MIXTURE
Whether you are using a loaf pan or soap molds, the basic steps are the same.
To make all-black bars, simply melt all of the soap in one bowl, add the charcoal powder (25-30 caps or 1 teaspoon)to the entire batch and mix well. Reheat as needed.
The amount of charcoal powder will vary. Start with about a teaspoon, stir well and add more in 1/4 teaspoon increments until the mixture has reached the color you want to achieve. It takes quite a bit of charcoal powder to create a totally black mixture. That is why loose powder is easier to work for this application.
If making layered bars:
Once the soap is completely liquid, pour half of the soap into another tempered glass bowl. Add 15-20 charcoal caps or 1/2 teaspoon (more if a darker color is desired- see above) to one batch.
You will probably need to gently reheat the soap and charcoal mixture at this point. Once warm enough, stir well to make sure the soap is well dissolved again.
It is up to you to decide whether you want to use add-ons. I recommend trying them in the light-colored layer. You will need to keep reheating slightly to keep the mixture pourable.
Do not use essential oils at this stage.
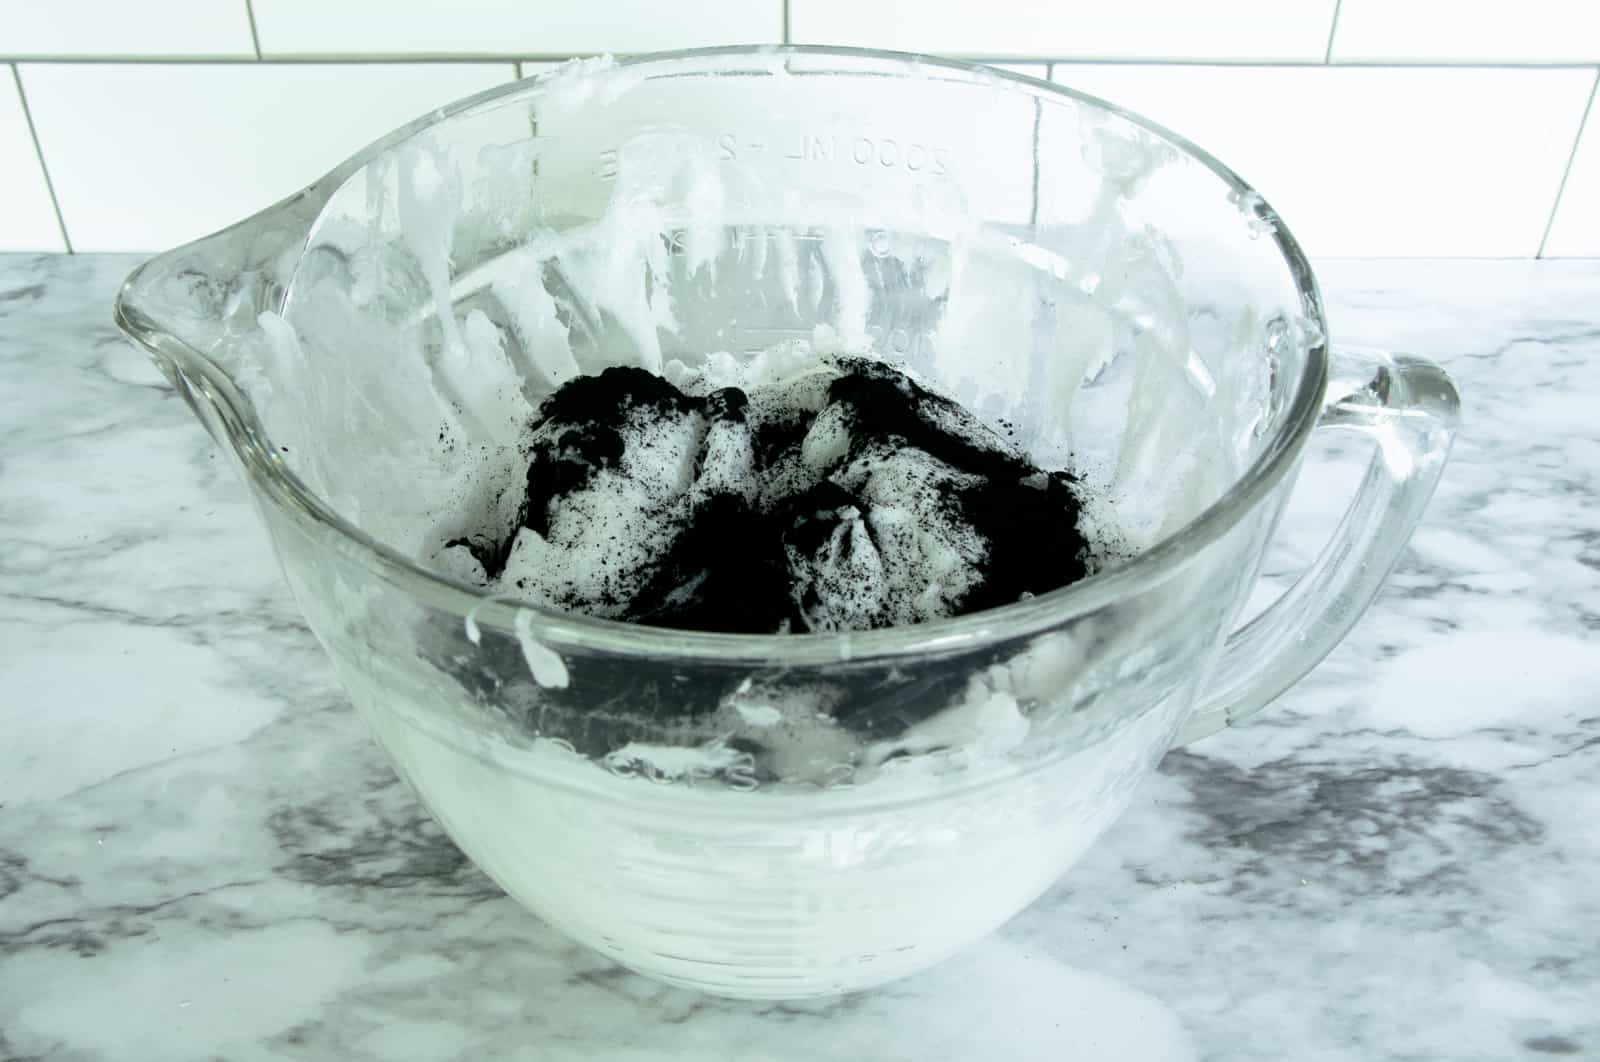
In all my excitement, I forgot to get a picture of the mixed charcoal soap! You can see the color and consistency below.
PREPPING THE LOAF PAN:
Line the loaf pan with two strips of parchment or wax paper to create a sling. To make sure the paper stays put, tape it down with some masking tape. This will allow you to lift the finished set soap out of the pan easily for cutting.
Here is what that looks like:
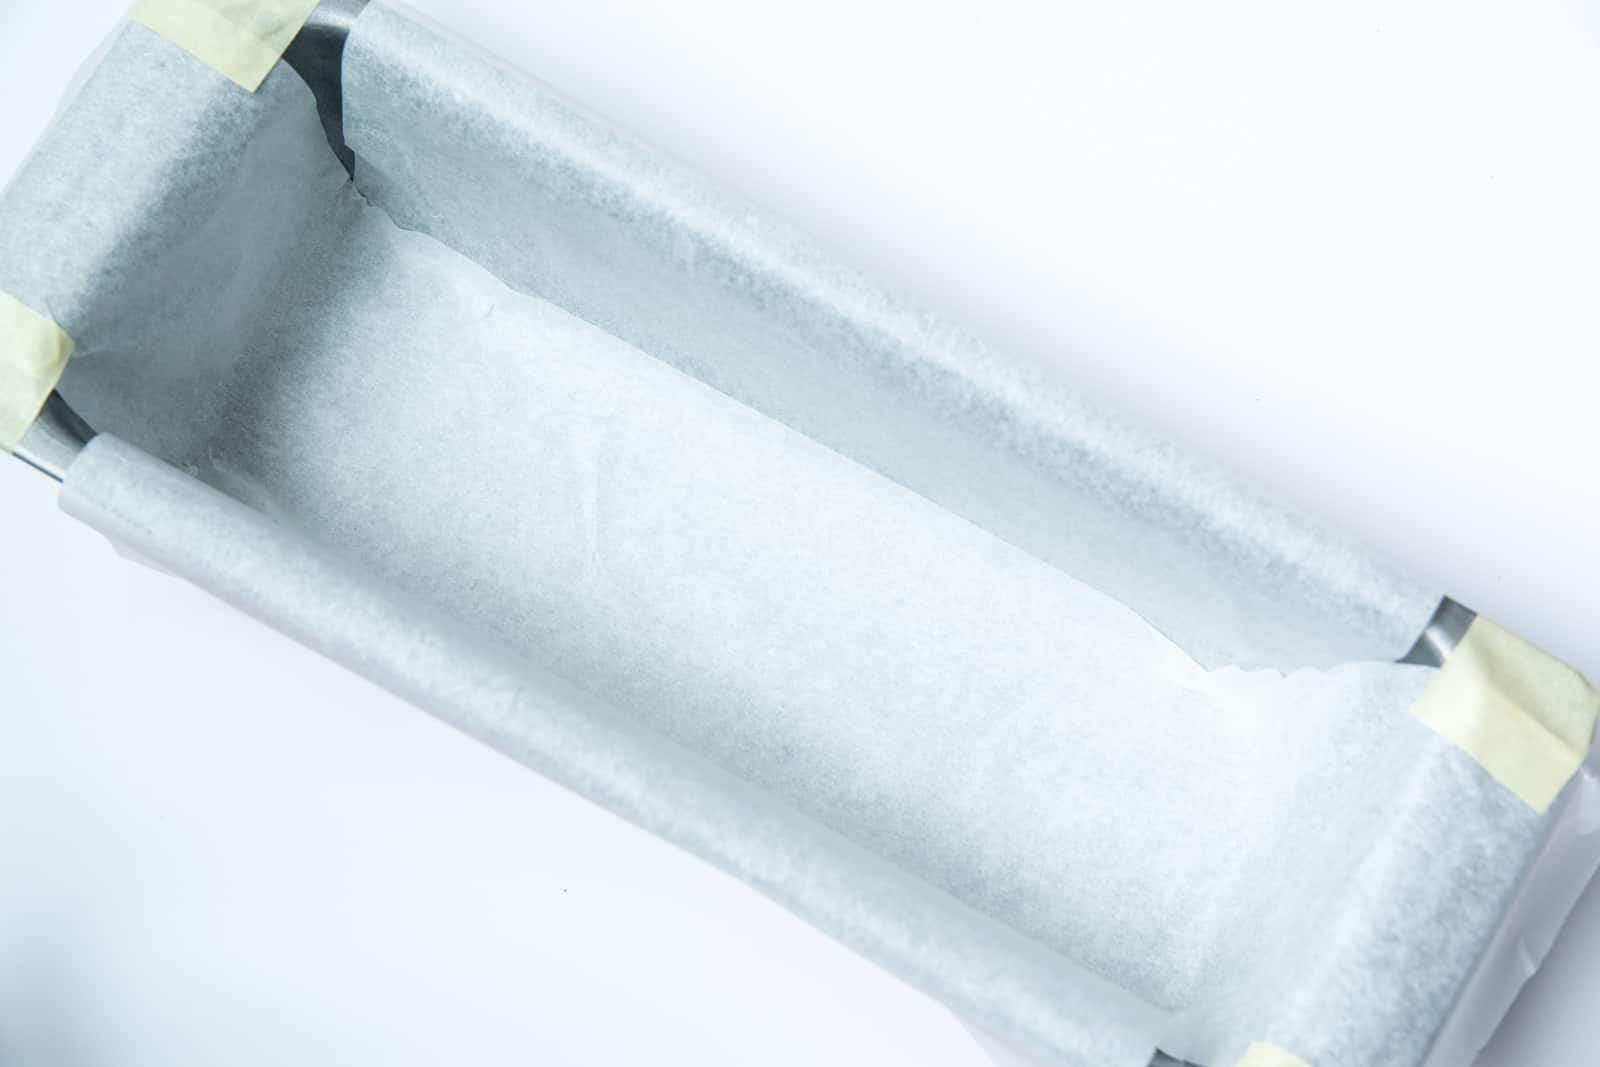
I do not recommend a regular silicone baking pan, because the amount of liquid soap used will cause it to bulge out too much, unlike the much smaller compartments of a silicone soap mold. Stay with a rigid loaf pan if this is the route you choose.
I really love this soap pan with cutters.
Pour and let the bottom layer set up for about 10 minutes. In the meantime keep the other half warm and liquid, stir in charcoal powder. Once the charcoal is mixed in well without lumps, pour the remaining soap mixture over the set layer.
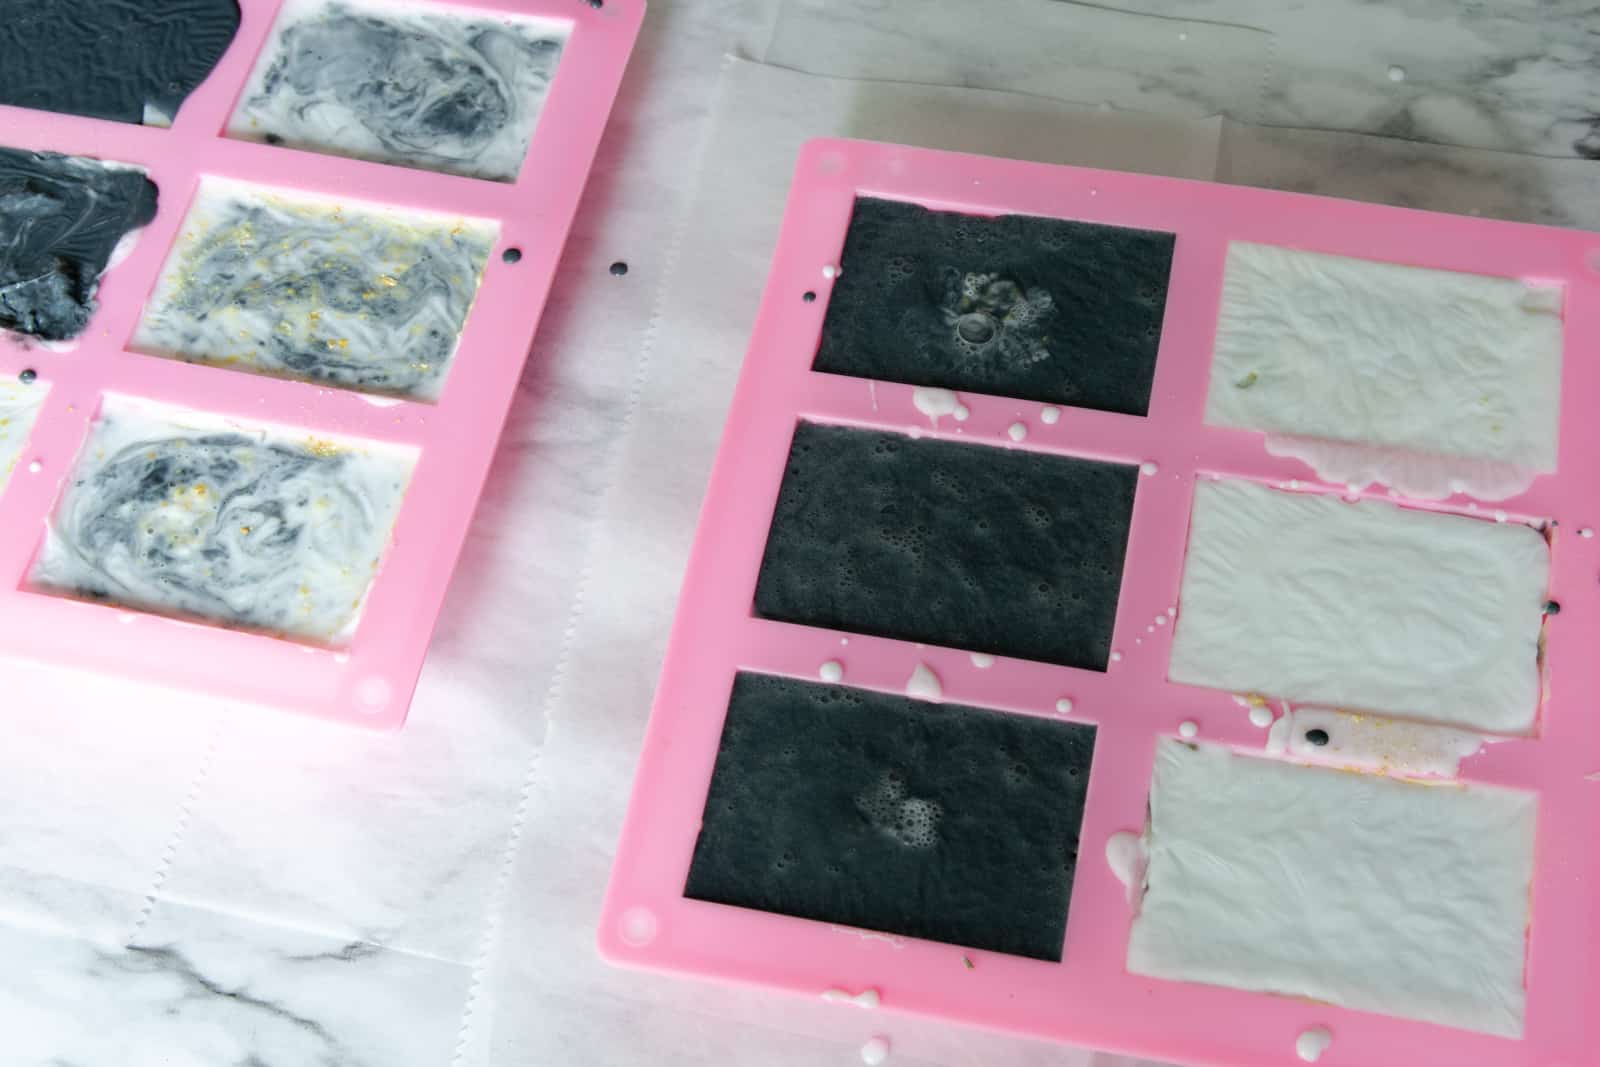
Gently fill the molds with half charcoal and half white soap. The order in which the molds are filled doesn’t really matter.
At this time you can add essential oils and gently stir with a bamboo skewer to create a marble pattern.
Tap each mold to release any trapped air bubbles. Here are some of my molds partially filled with the charcoal soap mixture:
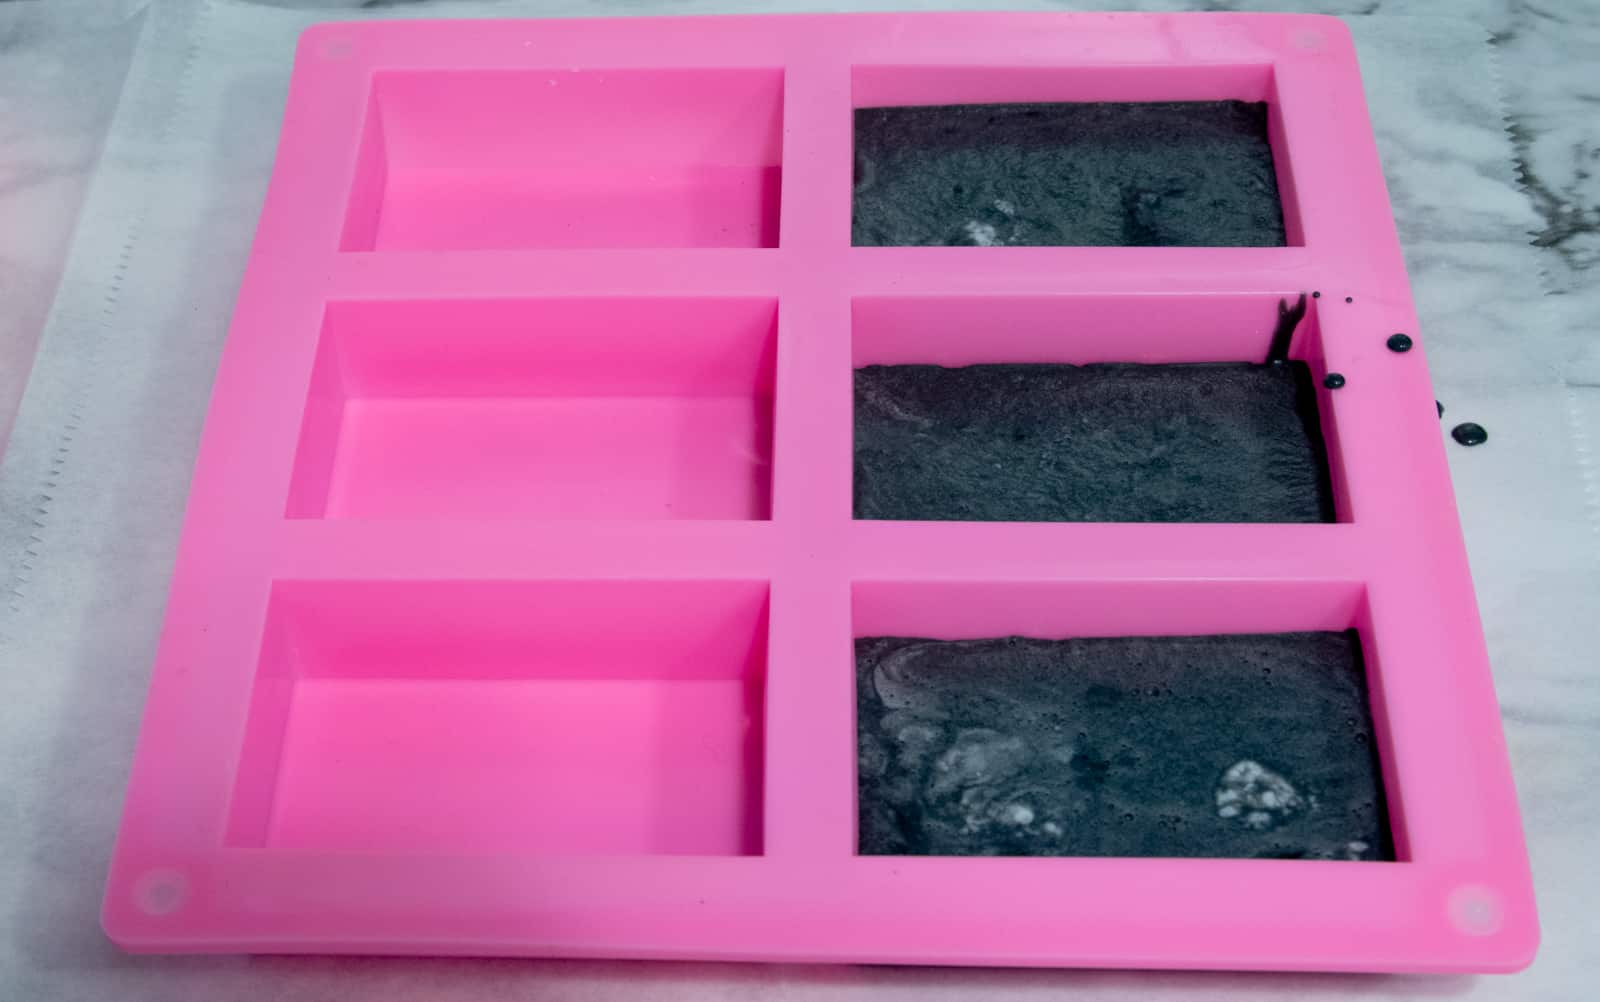
This is where you get to have some fun and play around with different combinations if you’d like.
Let the soap cool for at least 1 hour (2 hours if using a loaf pan) until it is completely solid. You can move the soap to the refrigerator to cool and set faster.
This is where the wax paper-lined cookie sheet comes in super handy. Once the soap is ready to unmold, remove from mold wrap in wax or parchment paper. Cut into 3/4″ slices if you created it in a loaf pan. Enjoy!
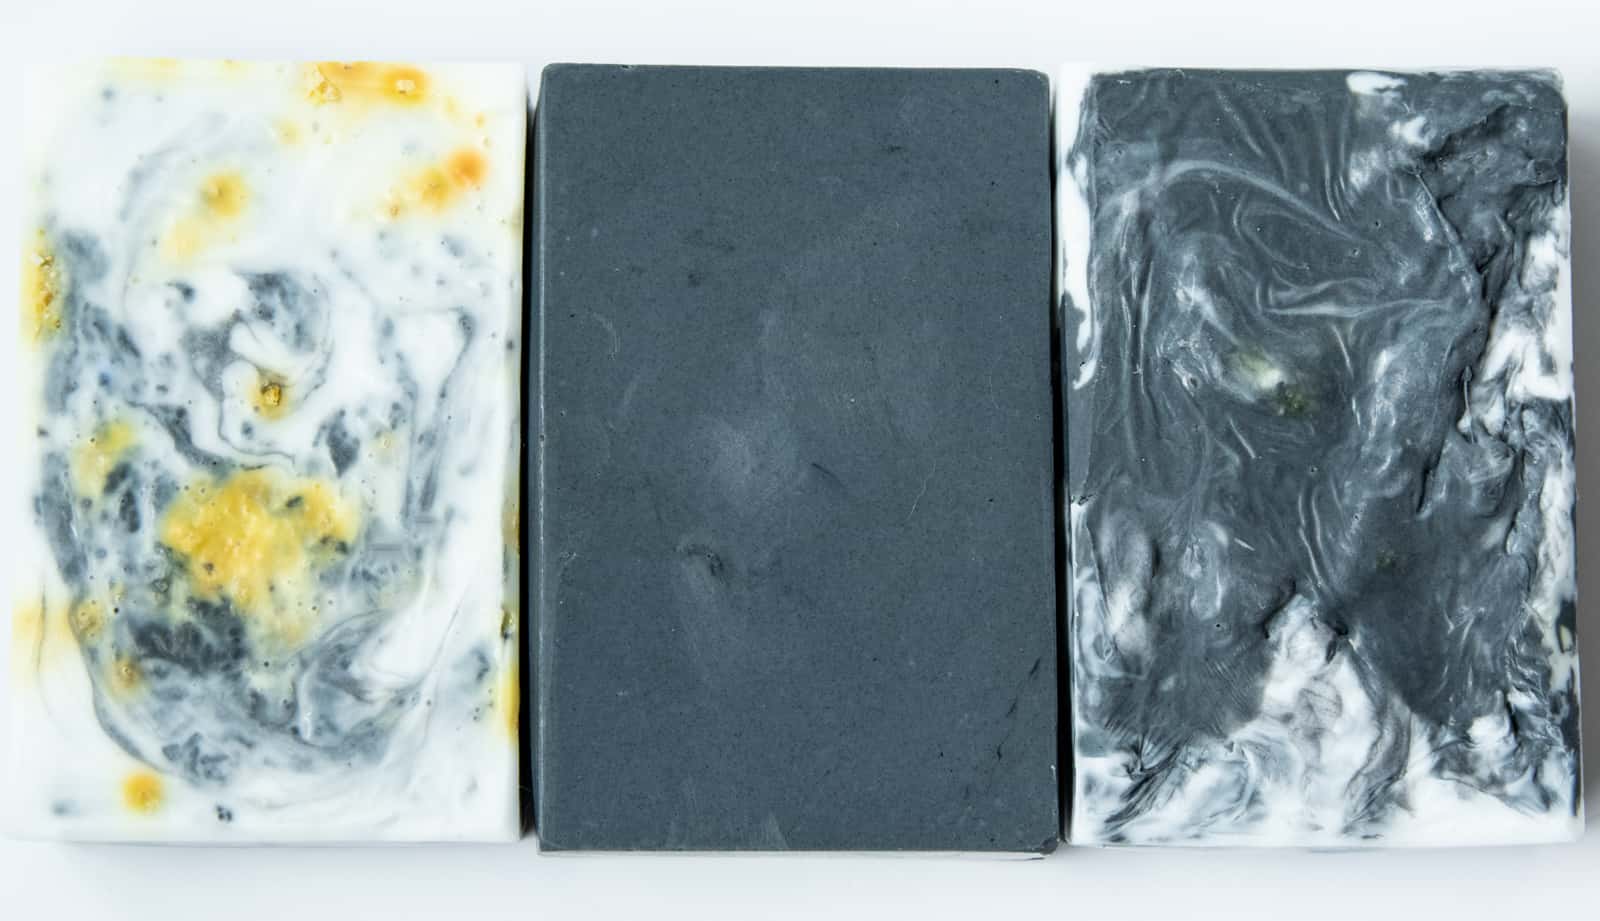
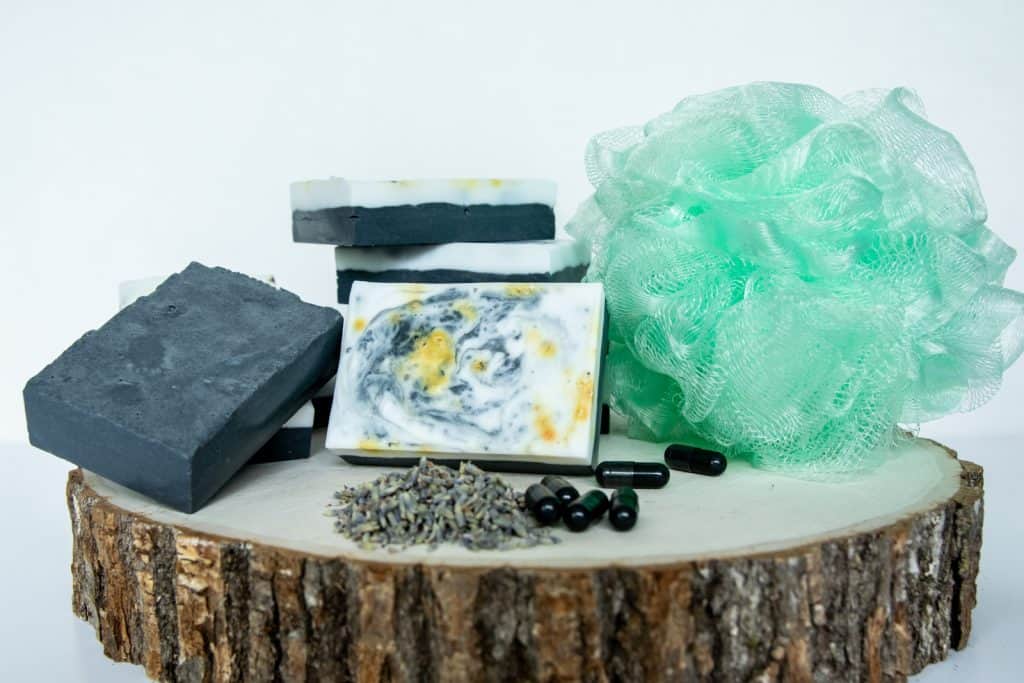
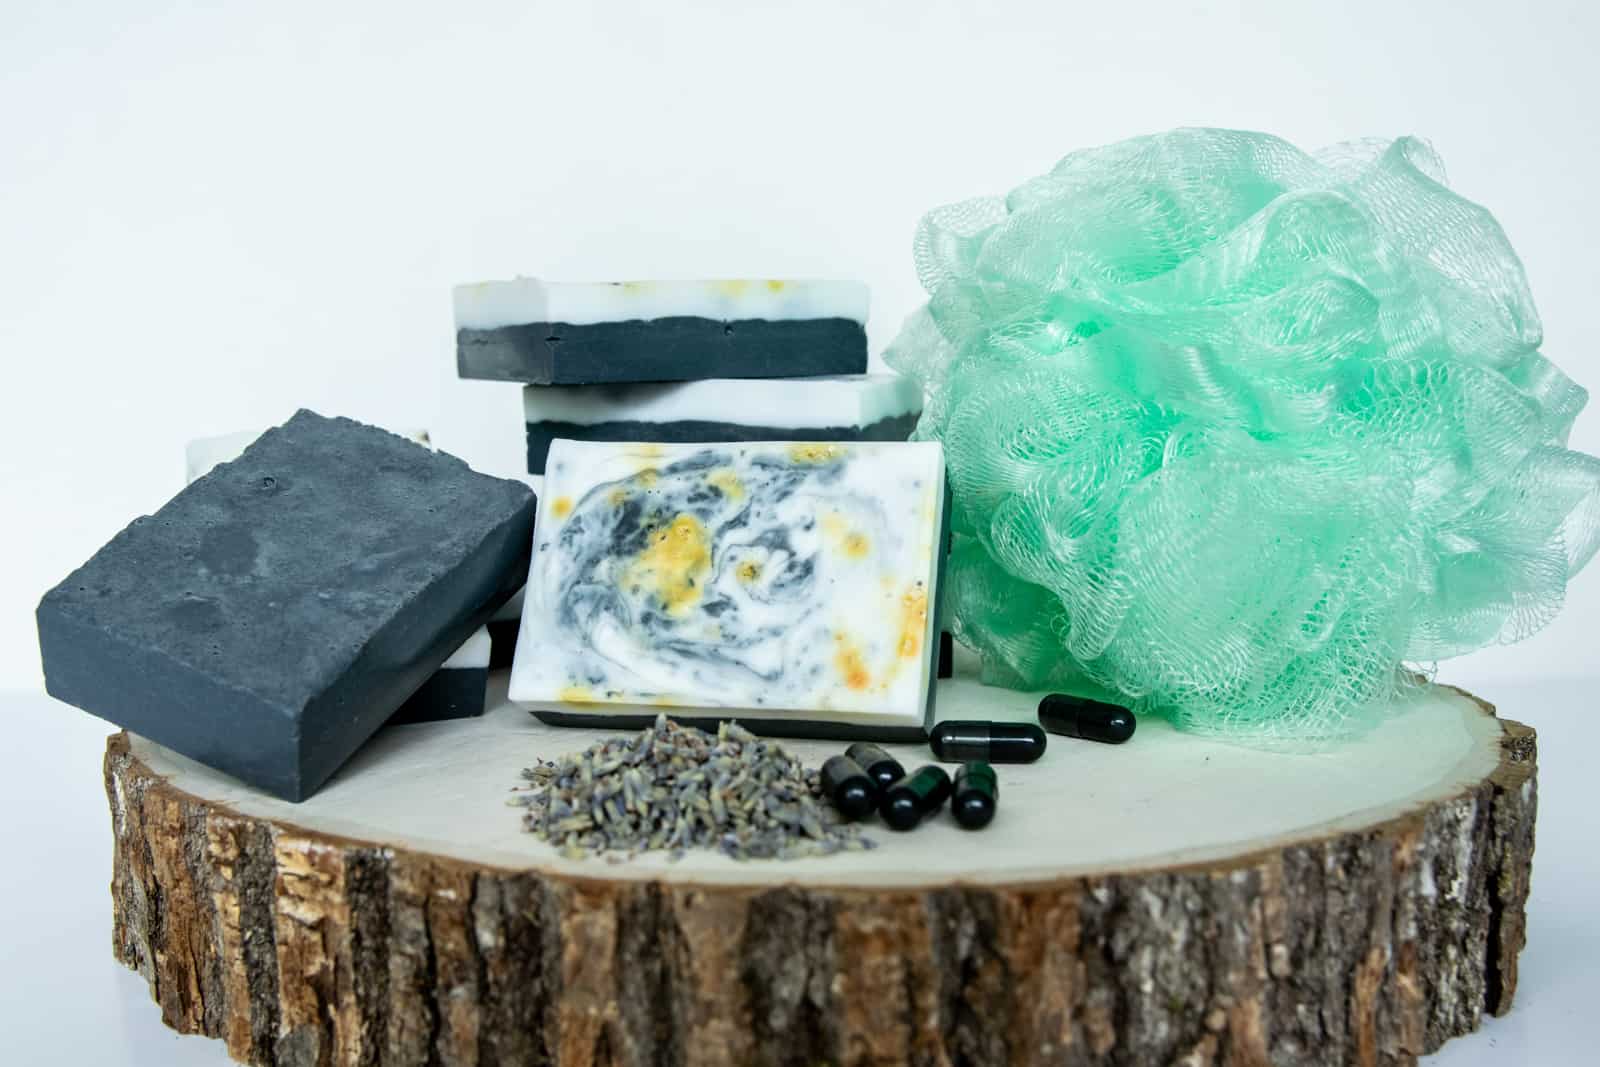
Each bar is unique. For the one on the left, I added lemon essential oil and ground lemon peel to the white soap and poured it on top of the black layer. gently stirring the two layers together gives the soap a pretty marble pattern on top.
The bar in the middle is charcoal only, while the bar on the right just combines charcoal and white soap. You could also color the white soap with natural colors if you’d like. You see, completely customizable to your likes and tastes!
If you are specifically creating this to treat acne blemishes, add a few drops of high-quality tea tree oil. Check out this post to learn how to buy quality essential oils.
This soap lasts for at least 6 months, that is if you don’t use it all up beforehand!
Charcoal soap is gentle enough to use on your face and also makes a lovely gift! Give it alone or combine it in a special gift basket with some of my other favorite goodies you can easily create yourself like lip and hand balm, sugar scrub or relaxing bath salts.
This 5 lb block of soap yielded 18 bars of soap in the molds shown. Each bar measures 3″x 2″ and is at least 3/4″ thick. You can see that even if you use only half a block, you will not be running out to buy any soap for quite a while.
If you purchase the soap block with a 40% off coupon at Hobby Lobby (I always load mine on my cell phone ahead of time) and use the same mold size as I did, you will wind up spending about 70 cents per bar. Most activated charcoal soaps retail for about $5 a piece! So yes, making your own is definitely worth it, even if you purchase the charcoal powder and invest in molds for the first time.
If you are considering creating your own soap, but have been too intimidated by the process, this simple melt and pour method is the perfect way to get started! Chances are you will love this method so much to just stick with it, I sure do. It gives you the best of both worlds, more control as far as unwanted chemicals are concerned without the equipment, tedious process, and a lengthy wait for the soap to cure.
But if you are still tempted to try creating your own homemade soap entirely from scratch, here are a couple of helpful links to get you started. Both sites contain a wealth of information related to making soap from scratch.
The Cold Process Method by SpruceCrafts.com
Hot Process Soap in a Slow Cooker by WellnessMama.com
Ideas for natural colors to use in soap making by Lovelygreens.com
Find a useful printable chart listing the best essential oils for soapmaking at thenerdyfarmwife.com
I hope this post will give you the motivation and the confidence to try your hand at making your very own version of homemade charcoal soap. You will be surprised by how easy it is and how much money you save in the long run. Treat yourself to the luxury of homemade soap and/or impress someone with it as a thoughtful gift. The choice is yours!
If you love creating your own body care products, be sure to check out my other posts and don’t forget to sign up for my Free Resource Library to get the printable recipes to keep.
Be sure to join our TheWittyGrittyLife group on Facebook and to follow on Instagram for regular updates!
If you try this method of soapmaking or have questions about the process, be sure to comment below!
This is absolutely wonderful!!! I am definitely pinning in order to use soon. TFS
Thank you! Be sure to let me know how it turns out!
Wow, this DIY charcoal soap recipe is just what I need – can’t wait to give it a try and pamper my skin!
Wow! Thank you for sharing this recipe. I love the benefits that activated charcoal gives to my skin. I really notice how it solves my oily skin and minimizes my pores.