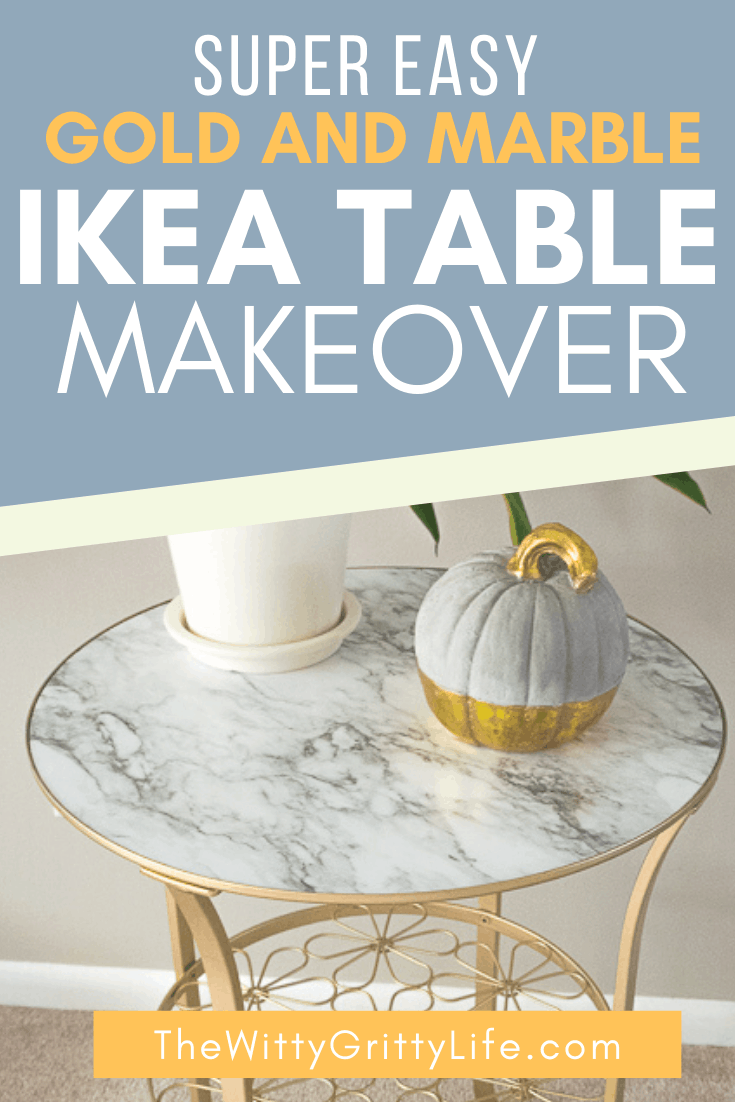
Today I can’t wait to share an easy table makeover with you that turned out even better than I expected.
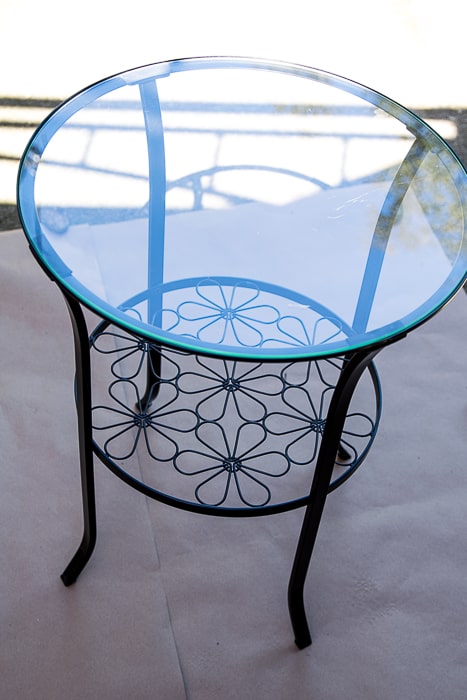
This somewhat plain Ikea table has been sitting around my living room for years. But to be honest, I was never terribly excited about it. I bought it because it met three criteria at the time: size, height, price.
Other than that: yawn. The black finish was just too lackluster and generic for my taste.
The glass top was another strike against it. At our house, any kind of glass winds up with greasy fingerprints faster than I can wipe them off.
It also gave the table a more transparent look and I really needed something with more visual weight.
I had looked for a gold and marble accent table for some time before it dawned on me that the perfect little table was right under my nose.
If you spend any time at all on Pinterest, you know that Ikea hacks are pretty popular these days. And with this simple Ikea table makeover, I am throwing my hat in that ring.
Because you cannot have too many Ikea hacks. Okay, I promise I won’t say IKEA anymore;)
Here is a boring “before” picture. Don’t you agree, this little table deserves better? It’s just crying out for some class and glam. And that is exactly what it got!
This post contains affiliate links. You can read my complete affiliate link policy here.
Have you seen this adhesive marble paper? Or touched it? This stuff feels surprisingly real down to the honed finish! But they are not all the same. I had used a different, much more expensive kind on another project and it was shiny and fake looking.
This paper made me a believer and it is only around $7 for a 20 square foot roll (you can find it at Lowe’s or Walmart with the shelf liners)! Seriously, if you love the marble look without the price, you have to check it out. Okay, I am done gushing. On to the table project.
This project is pretty straight forward. I usually save my spray painting projects for pleasant, dry, not too windy Spring or Fall days. Always use any kind of spray paint in a well-ventilated area! Of course, as one of my smart readers I don’t have to tell you that the wind should blow at you from behind, should there be a breeze:) That is unless you are going for a gold spray tan look…
HERE IS THE LIST OF SUPPLIES YOU WILL NEED
- Ikea Klingsbo table or similar metal/wood and glass table of your choice
- Duck brand adhesive shelf liner in marble – 1 – 20 sq foot roll (you’ll have plenty left over for other projects)
- Gold spray paint – this is what I used
- Spray primer
- Snazzy scissors
- Plastic dough scraper or old credit card
- Pencil
- Craft or old newspaper to protect your painting surface
Remove any rust with sandpaper prior to priming and painting. Then clean your table thoroughly before you get started on painting. This is the most important step to ensure a good looking and long-lasting outcome. My homemade glass cleaner recipe does an excellent job.
You can find it as a handy printable along with my other favorite cleaning recipes in the FREE Resource Library. Just sign up here and the password is on its way to your inbox.
PRIMING BEFORE PAINTING
This step is only necessary if you want your paint to stick;)
So, yes, I highly recommend it. Pretty much every time I was in a big hurry and skipped priming, I came to regret it. Do yourself a favor…
Be sure to cover your spray painting surface well with either newspaper or sturdy craft paper before you begin. Remove the glass top and set aside.
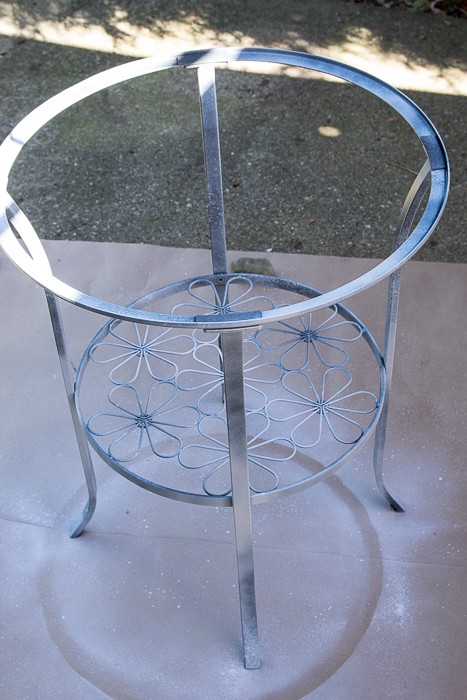
When you prime and paint, it works best to start on the underside of the table. That way you can get a good feel for how well your paint covers and work on your technique before you get to the part that is more visible.
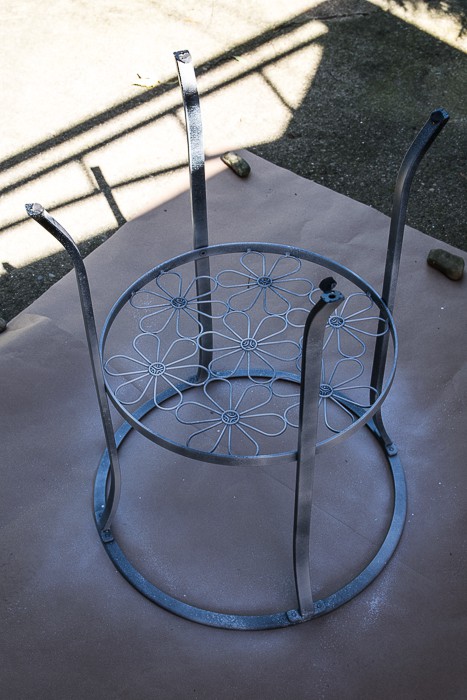
Prime both top and bottom. Don’t worry if the coverage isn’t perfect! (confession, the primer coverage on my table is less than it should be because I ran out of primer and was too lazy to run to the store to get more) Ideally, your table should have better primer coverage than is shown here.
COVER THE GLASS TOP
While you are literally waiting for the paint to dry, cover your glass top with marble adhesive. It’s quick and easy. That way you are ready to assemble your masterpiece as soon as possible.
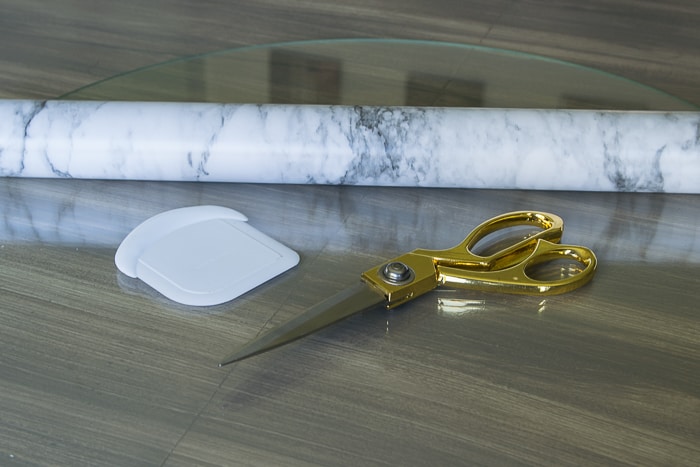
Begin by placing the glass round on the wrong side (the one with the grid) and begin cutting your circle with about 1″ (2.5 cm) extra all the way around.
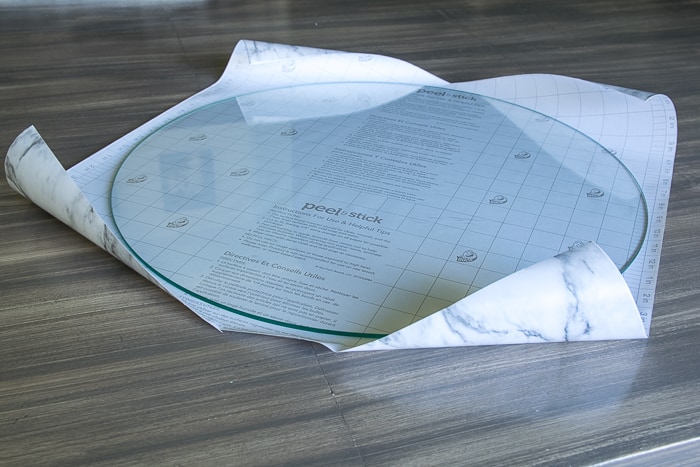
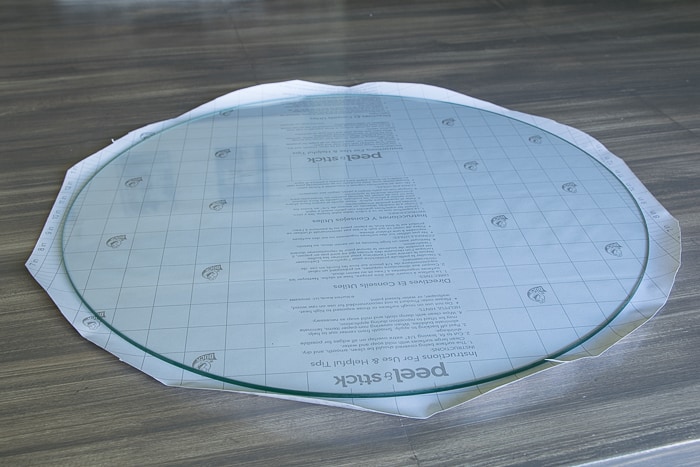
Next, peel back just a little of the paper and apply the adhesive side to the glass round. Smooth out all bubbles as you go. A plastic dough scraper or an old credit card works well for this.
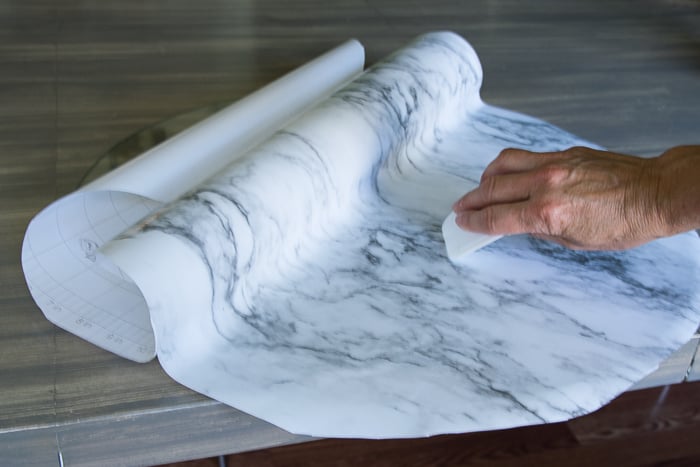
Work slow and steady, one section at a time. Continue until the entire top is covered smoothly and free of bubbles. If you have bubbles, gently work from the center towards the edge to eliminate them. Pierce stubborn bubbles with a needle and flatten them.
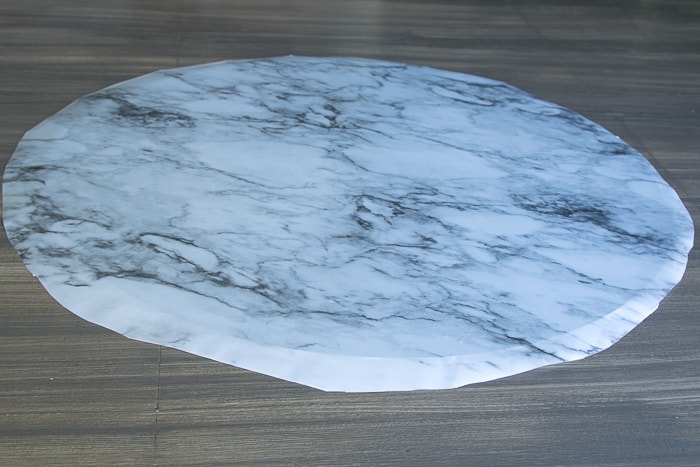
Cut tabs that are no more than 3/4 -1″ (2 cm) apart, right up to the edge (but not past it!). If the tabs are too wide, they will not conform to the edge smoothly. The three tabs on the bottom left you can see here are too wide!
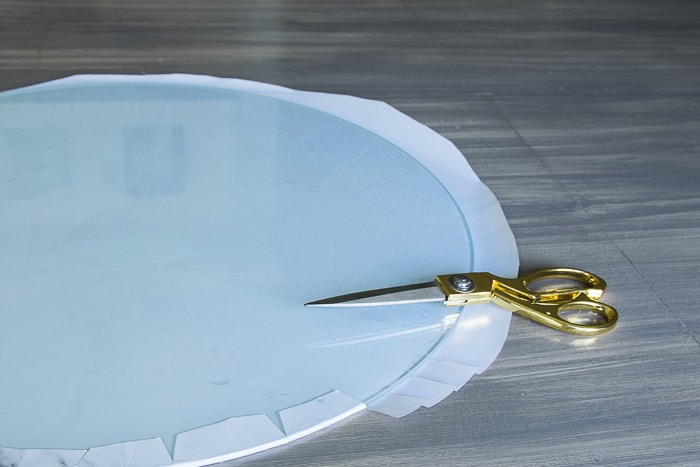
Begin folding over the tabs one after the other. Make sure they are nice and tight. You are going for the illusion of a smooth edge! They don’t have to be even, because they will be covered up in the next step.
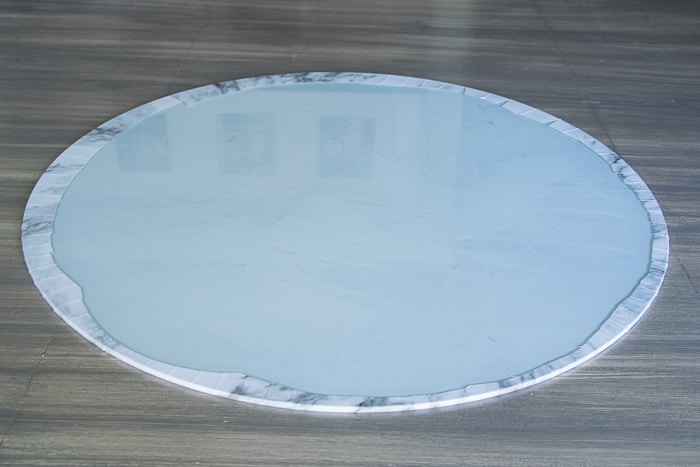
Once the tabs are secured all around, flip over your tabletop, and admire your masterpiece.
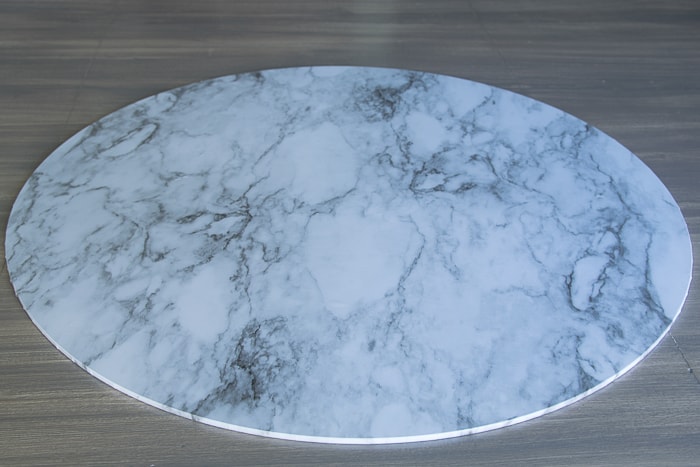
Next, place the round on a second piece of adhesive marble paper. This time trace the exact outline of the round.
Be sure to use a PENCIL to trace. I made a mistake and grabbed a sharpie for this, which resulted in an ugly black line all around my “marble” top.
Thankfully, the sharpie ink came off with 91% alcohol, but still, don’t be me.
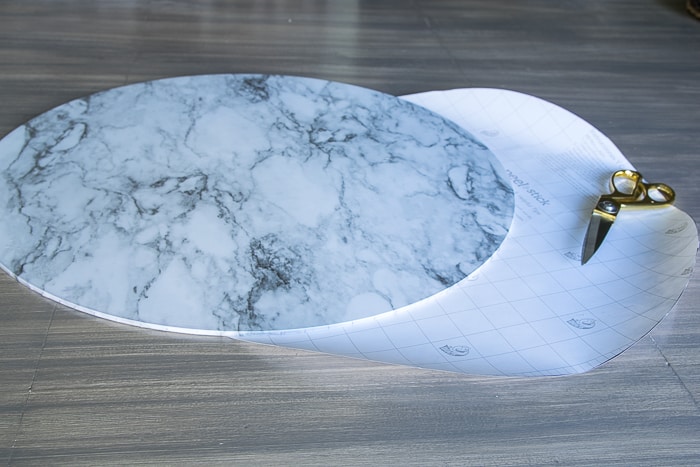
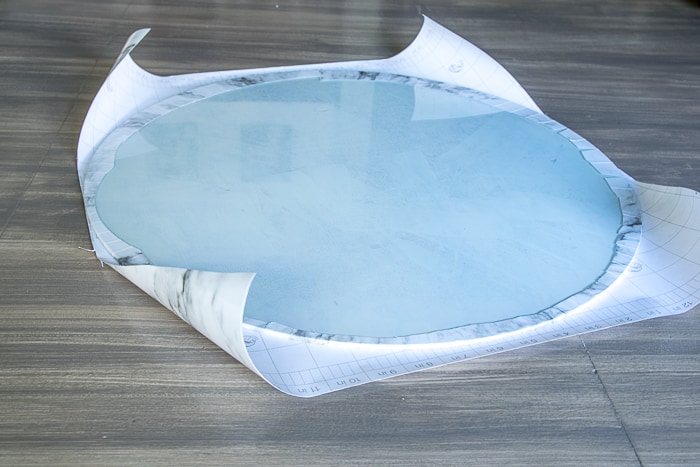 Cut out the second round of paper, then remove a little bit of the backing and begin attaching the adhesive the same way you did the first time, making sure the edges are aligned this time.
This is the bottom of the round top. Technically you could skip this step, but I wanted the “marble” to look as real as possible. I am super happy with the result because it looks quite realistic.
You can find more ideas for using marble adhesive paper at the bottom of this post.
PAINTING THE TABLE
Now it’s time to bring on the glam.
Painting is pretty much a repeat of the priming process – with your gold spray paint. This is my favorite brand. I love it so much because it has a beautiful gold sheen without looking brassy. And there is basically no waiting time between coats. Being the impatient DIY-er that I am, that ranks pretty high with me. It also holds up very well.
Be sure to read your spray paint’s instructions well. Most brands require that you spray on the second within an hour or after 24 to 48 hours! Who has time for that?
Just like the first time, begin painting with the table standing “on its head”. Spray lightly in several passes until you have achieved the desired paint coverage.
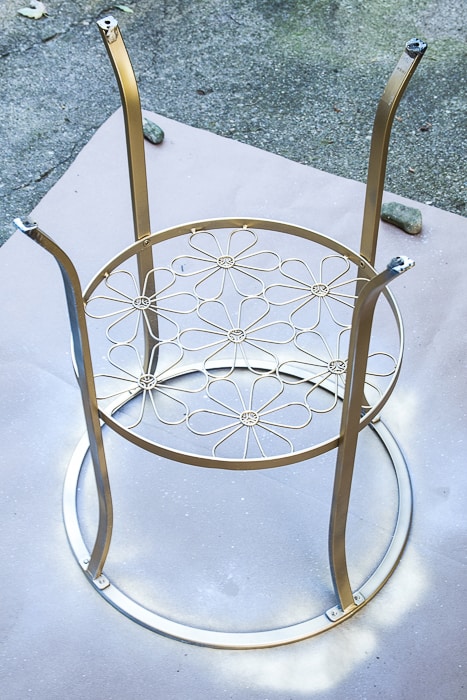
Then turn your table over and repeat the process.
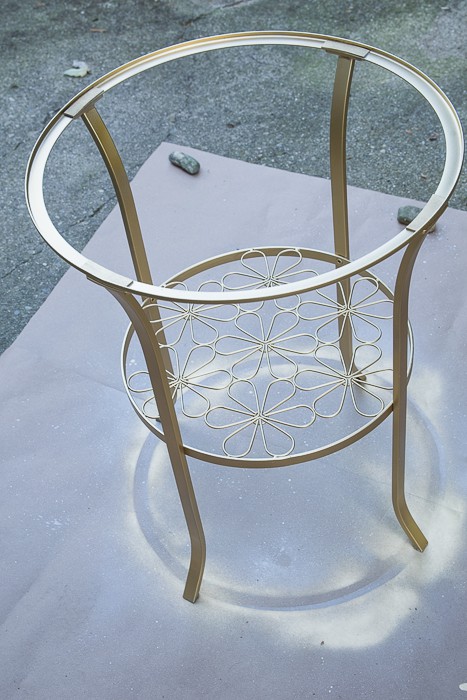
Instant glamor!
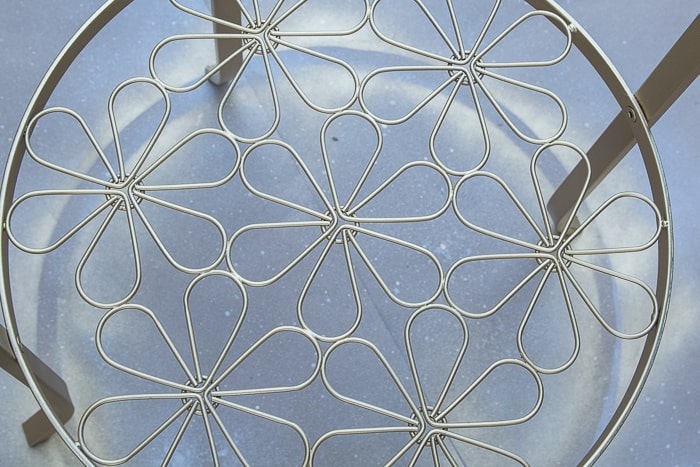
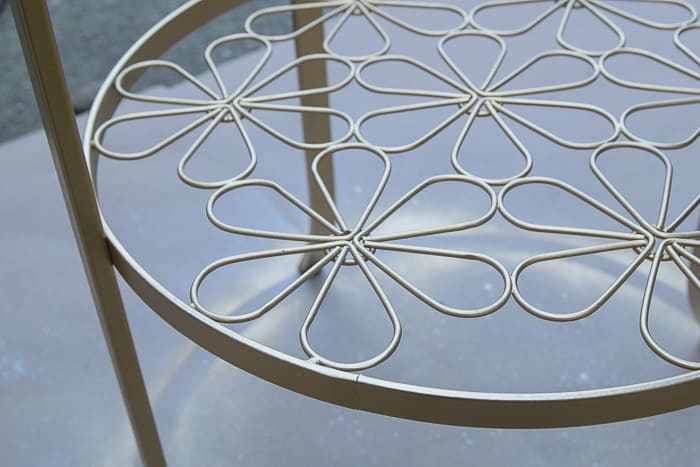
Once you have finished your last coat, let it dry for 30 minutes to an hour before moving it. Even paint that dries quickly still needs to cure in order to resist dings and scratches.
Make sure your newly painted masterpiece stays out of harm’s way for several days to allow the paint to cure fully.
Now that the paint is completely dry, you can add your “marble” top. Tada!
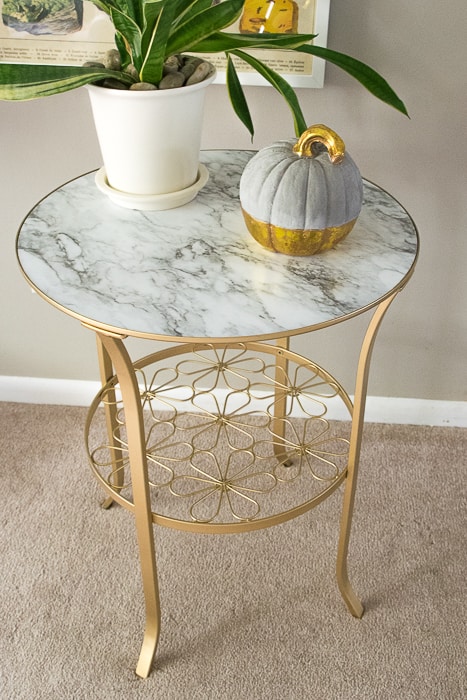
This is a pretty simple way to turn a so-so run of the mill Ikea table into something with a glam personality. Honestly, I couldn’t be any happier with it!
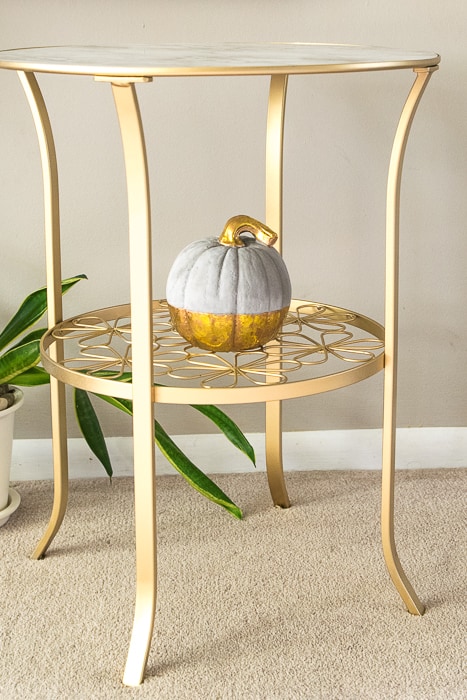
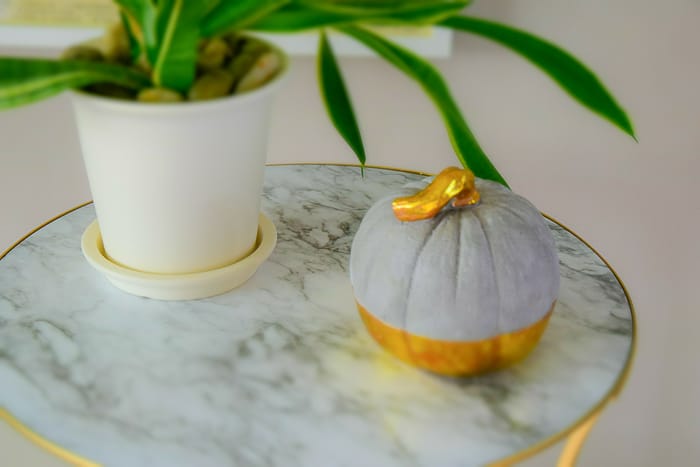
Have you tried your hand at making over furniture? I sure hope so! Do share the finished project, if you do! I can’t wait to see it! Marble adhesive paper is an affordable and easy way to spruce up all kinds of areas around the house.
Here are more ideas you can do with marble adhesive paper:
HOW TO LINE DRAWERS THE EASY WAY
MARBLE LAMP KNOCK OFF – HOW TO GET THE DESIGNER LOOK ON A DIME
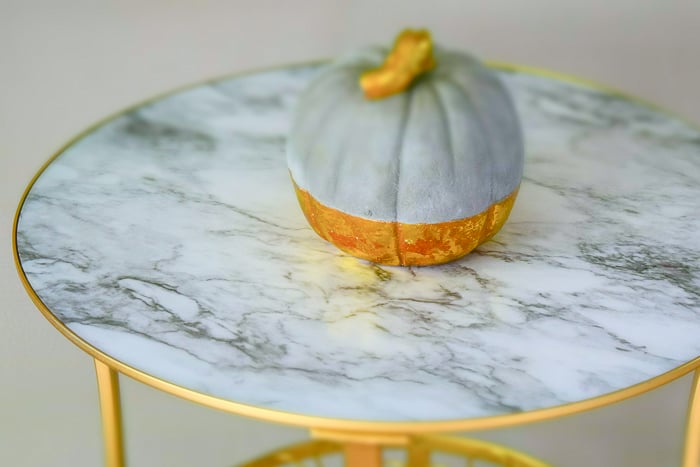
Update: It’s been nearly two years since this little table got its makeover and I am happy to report that both the paint and the marble adhesive paper are holding up very well and look like new!




You are a true artist. You see potential in everything!! Amazing
Thank you! I have a whole lot more projects up my sleeve!
I love this!! I have the same table and painted it an ivory color, but it is in need of a new coat of paint because it’s been outside in the elements for a couple of years. I love the gold paint. Too bad I’ll have to skip the marble top though. I don’t think it will hold up well outside.
If you plan on keeping it outside make sure you seal the paint well with a product that is meant for outdoor use!