Have you ever tried to paint a room but the results weren’t quite what you expected? Me too! But through many years of tackling paint jobs throughout our house, I have learned a thing or two.
Today, in this first part of a three-part series “How to paint your walls like a pro”, I will take you through the first stage. As with any other home improvement, a successful outcome begins with a good plan.
WHY EVEN CONSIDER PAINTING YOUR OWN WALLS?
The answer is quite simple: cost. According to several home improvement sites, the average cost of painting an interior room ranges from $200 – $1000. The price is determined by the size of the room and the wall square footage to be painted. Generally, you can expect to pay right around $3.50 a square foot of wall space, but the cost can run much higher.
Painting your own walls can save you a ton of money, provided you do it right. Of the many different projects you can tackle in your home, paint is one of the easiest.
And that is why I wanted to write this little series for you: to equip you with the know-how to tackle your next paint project with confidence. Save your hard-earned money for something you enjoy!
Today we will start with the basic considerations you need to weigh and prepare to launch your project. It’s all about making sure you have your ducks in a row, so you can work smarter not harder.
GETTING STARTED ON YOUR NEXT PAINTING PROJECT
Over the years, I have painted pretty much every room in our house, some more than twice. Through those paint projects, I have made my share of mistakes. Those mistakes have taught me a few tricks I am happy to share with you to help make your next paint project a success you can be proud of for years to come.
To spare you a super long-winded post, I decided to break this up into three convenient parts.
- planning and materials
- prepping your walls for paint
- painting process and technique
I like to think of it as the three P’s: Planning, Prepping, Painting
The main goal of this series is to show you the process to make your next paint project as easy and painless as possible. I am not a professional. But all of what I am writing here comes from personal experience over 30+ years of painting interior rooms. The end result I am always aiming for is a room that looks like it’s brand new. Follow these steps and you too can be a good painter!
Before you proceed with your project, it is very important to note that homes built before 1978 likely contain lead paint. Lead paint is toxic and requires special handling and considerations. Be sure to check for lead paint before beginning any painting project. Ask your local paint specialist how to detect and handle lead-painted walls properly and safely.
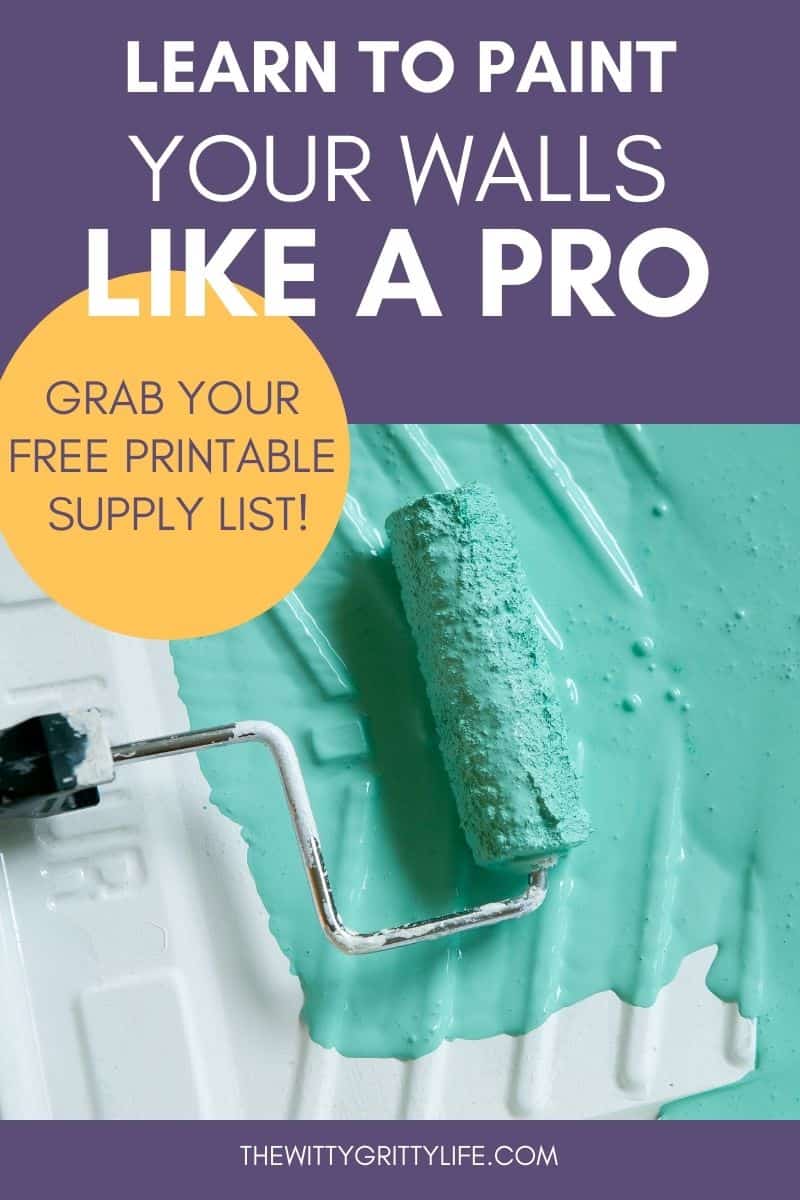
You can find a comprehensive list of the supplies listed in this post in the FREE Resource Library. It is my gift to you for being awesome. Just sign up here and the password is on its way to your inbox.
PLANNING YOUR PAINT JOB FROM BEGINNING TO END
Unless you enjoy frustration and countless side trips to the big orange home improvement store, planning your project is absolutely necessary! I have learned a few of those lessons the hard way, my friends. And because of that, you won’t have to!
Lesson number one: Impatience will actually make the job more difficult and take longer.
FINDING THE RIGHT PAINT COLOR
Every paint project starts with the proper choice of color. If you have ever found yourself in front of an overwhelming array of colors, you know what I mean. Just because it looks great under the artificial lights at the store, doesn’t mean it will work in your room.
When it comes to picking colors, I will be the first to admit that I am not an expert. But thankfully, there are plenty of those to help guide you towards the right decision.
To help you determine your perfect paint color check out this helpful video.
To choose the correct type of paint for your project read this informative guide on picking paint sheen.
* This post contains affiliate links. If you make a purchase by clicking on an affiliate link, I may earn a small commission at absolutely no additional cost to you. You can view my complete affiliate link policy HERE.
Considerations to plan for materials, time, and workflow to maximize efficiency include:
- Room size
- Main use
- Drastic color change?
- Repairs
- Timing
Let’s take a closer look at each one of those points.
Room Size
The size of your space will determine how much paint will be needed for the finished paint job. It’s important to know how much paint is necessary to ensure you have enough of the color of your choice mixed at the same time.
Knowing this ahead of time will save you trips back to the paint store. Even though today paint mixing is much more precise than in the past, you still run the risk of slight color variations.
Not sure how to determine the amount of paint you will need? You can learn how to figure it out with this handy paint calculator.
HOW WILL YOUR space BE USED?
Knowing how you will use your space helps you determine what type of paint to get. At our house, my feeble guys have a tendency to hang on to the walls, preferably with dirty hands, so flat paint is out of the question, even on most ceilings. Read this if you don’t believe me! Choosing the right paint finish will ensure your project turns out well and lasts.
Generally, an eggshell or satin finish in latex paint will work best for any interior wall and it will stand up well to a damp rag for cleaning. Save semi-gloss for trim unless you are making a super bold design statement. Also keep in mind that a shinier finish will highlight imperfections, especially with darker colors.
ARE YOU PLANNING A Drastic Change of Color?
If you are planning on a drastic change of color, be prepared to add extra time to your painting schedule. I know, because I’ve gone bold on walls only to change back to a more light and airy color scheme.
While many paints now feature built-in primer, going from dark walls to light will definitely require a couple of coats of primer first. While you are probably eager to see your new color on the wall, this step is important.
Primer is also less expensive than paint and will ensure the gorgeous new color you picked will render as true as possible in fewer coats. My personal rule of thumb is to skip primer when going from light to dark, but never the other way around.
Primer is also an absolute must if you are changing from a shinier finish like semi-gloss to something like satin or eggshell.
What repairs need to be made PRIOR TO PAINTING?
While this will be covered in-depth in the next post, it figures into the planning process and needs to be mentioned here.
Chances are there will be nail holes in the wall that need patching. But there may also be a hole in the wall from that long-forgotten phone line or cable outlet. This is the time to patch it. The goal of any paint project is to always make the walls look as new as possible, so you will probably find yourself correcting a few overlooked sins of the past.
Are there other issues that need to be addressed, like caulking around the windows, gauges, or dents in the wall? Maybe you would like to change out old almond colored outlets to white for a cleaner, more cohesive look? This is your chance to do that.
Always patch all nail holes, even if you think you will hang pictures in the same spot. Often a freshly painted room leads to inspiration which may mean hanging your pictures in a different spot. Treat your walls as though you are returning them to a brand new state and you will save time and effort in the future!
Timing your painting project
Timing applies to a couple of different areas. First is the time of year you choose to paint. While today’s paints are either low VOC or no VOC, you may prefer to work with an open window or two while you paint.
And if you have ever tried to paint during a miserably hot stretch of summer humidity, you will remember it for a long time! My goal is to always be as safe and comfortable as possible. That is why I prefer to save my paint jobs for Spring and Fall if at all feasible.
Knowing when you can actually work on your paint job undisturbed is another important consideration. If you are working full time during the week or have little kids who demand your utmost attention, setting aside specific time frames just for painting may not be easy.
Maybe it’s best to work on each part of the project one weekend at a time. You can set aside a couple of hours after the kids are tucked into bed or call in those babysitting favors from a friend. Kids and paint shouldn’t mix.
Okay, now you know how much paint, what color, and what kind you need, you are aware of the repairs the room requires and when you will accomplish all of it. Now let’s move on to the shopping list.
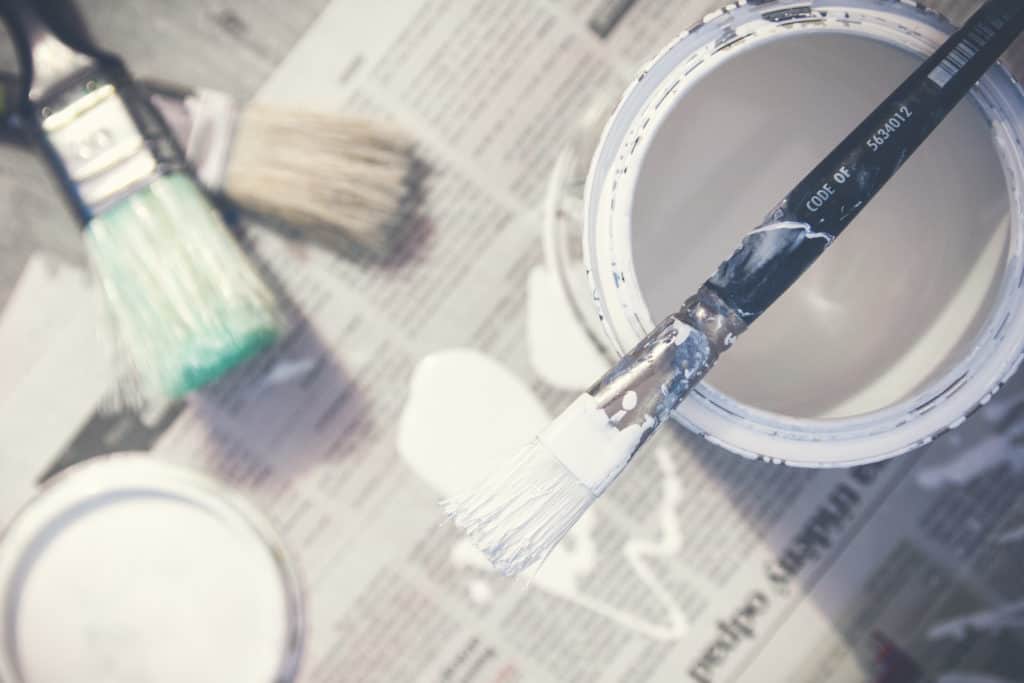
Materials
To save yourself time, having all of your materials on hand is key. Don’t forget to grab a printable copy of this list from the FREE Resource Library!
- Multi-purpose painter’s tool
- Drywall sanding sponge
- Microfiber or old cotton rags (microfiber won’t shed)
- Non-slip drop cloth
- Angled cut-in brush
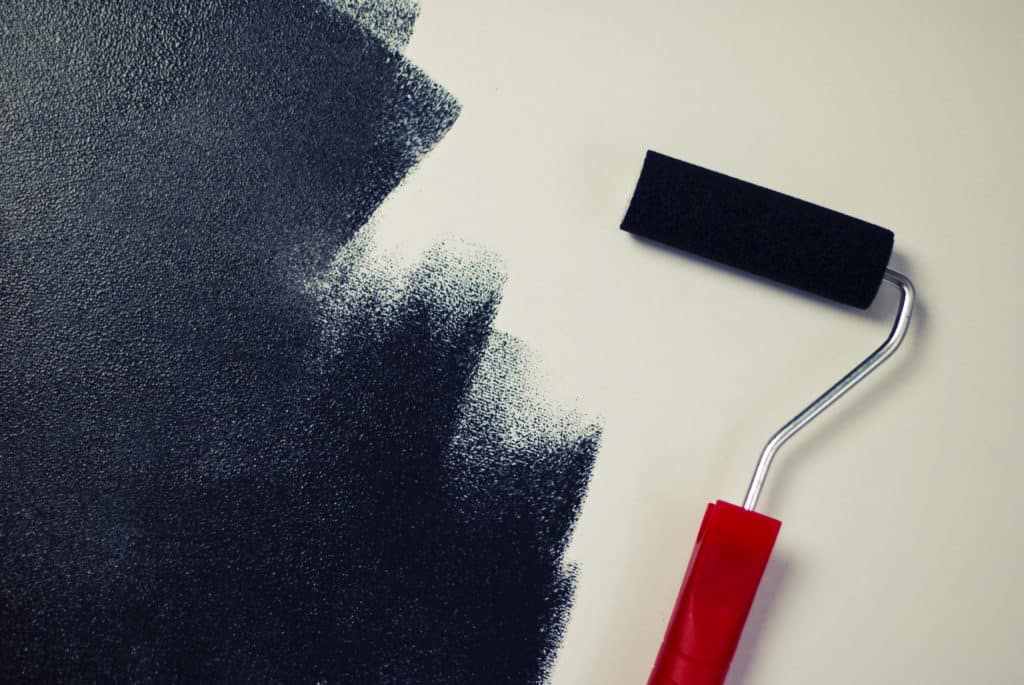
- Paint roller – proper nap for wall texture
- Paint tray with liners
- Primer and paint – in your choice of color and sheen
- Painter’s tape
- Safety glasses, dust mask, disposable vinyl gloves
- Step stool or a sturdy ladder
- Extension pole – optional, but super useful for ceilings and tall walls
- Shop Vacuum – optional
- Lead testing kit – optional, but highly recommended
- Plastic sheeting or old sheets
Some of these may be items you already have on hand from previous paint jobs, others can be purchased as kits, the choice is up to you. While the purchase of painting tools may seem fairly substantial initially, remember that you only need to buy many of them once.
I prefer to purchase my tools separately, because I have not yet found a kit that contains all of the individual items I like. Nearly all of the links above are to products I have used and can therefore recommend personally.
When it comes to paint, primer, tools, and other supplies, always buy the best you can afford. Paint especially is not the place to cut corners. The same goes for brushes and rollers. They directly influence the end result as well as the time and effort it takes to get there. With proper cleaning and care your favorite brush and even rollers will last.
RELATED POSTS:
HOW TO PREP WALLS FOR PAINT LIKE A PRO
HOW TO PAINT WALLS LIKE A PRO – PRIMER, PAINT AND CLEANUP
Please feel free to contact me with any questions you may have!

Judging from this post, I say that Karin is creative and has a knack on colors. But if you’re a newbie, call your local experts. You can never go wrong with one. I had mine painted perfectly within my tastes (https://www.housepaintersescondidopros.com/ thank you for that!) and I never regretted it.