Updated January 2021
Would you like to create homemade soap, but thought the process was too difficult? True from-scratch soap making is a skill and an art form that requires knowledge and dedication. It also calls for dedicated equipment, lots of time, and practice. My eyes glaze over just reading all the steps involved. Besides, who wants to wait weeks for the soap to cure?
But there is another, much simpler way to achieve a very similar result with none of the hassles. It’s cost-effective, fast, and easy. No scary lye or a long wait for the soap to cure!
I love to create all-natural DIY personal care products and have been using them for years. Making my own gives me control over what goes into the products I use on my skin every day. Most of the time it just as simple to whip up amazing lip balm, liquid hand soap, scrubs, masks, even deodorant as it would be to buy them at the store. And making something you can use every day is just plain fun. You might also save quite a bit of money in the long run.
What I am about to show you is much easier than even the easiest cold process soap for beginners. It takes very little time and contains no more than three ingredients! No special tools or combat gear required. It is so simple as a matter of fact, that you might be creating your own recipes soon.
If you guessed that we will be using melt and pour soap, you are 100% correct!
The best of both worlds, melt and pour soap comes in glycerin, shea butter, goat milk soap formulations, just to mention a few. You can also create your very own custom blend. It’s so easy to master, you can let your creativity run free!
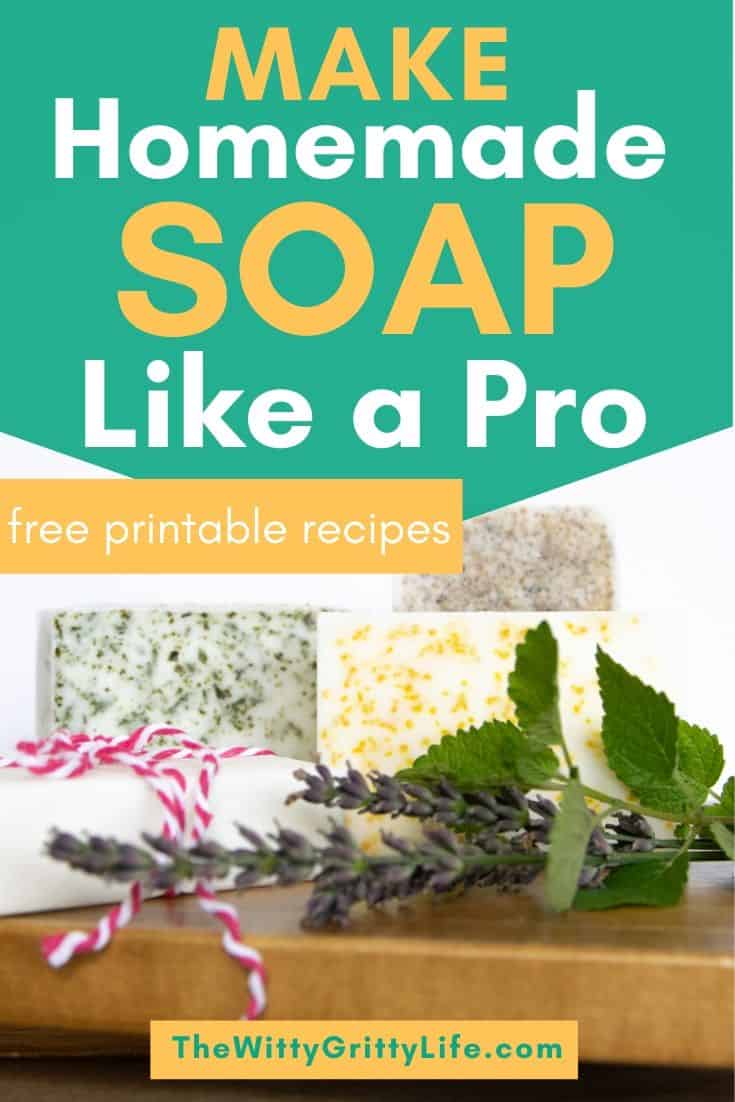
Why use homemade soap bars instead of shower gel?
We prefer soap at our house over shower gel, because there are no potentially leaky plastic bottles to clog up a landfill later. It’s more economical and practical. With the use of a shower poof, you can achieve the same luxurious lather you are accustomed to with shower gel. Soap is also easier for travel as it packs well in a soap caddy and won’t leak in your suitcase.
Why not just buy it at the store?
Good question! In a nutshell: regular store-bought soap often contains stuff I don’t want on my kid’s or my own skin. Since this is a product that is used on the entire body pretty much every single day, it’s just better to err on the side of caution, don’t you agree? Often, products at the store tout their all-natural ingredients. The problem is, you cannot really know how much of something they contain, nor the quality of the ingredient.
Sure, there is high-quality pre-made soap, but it often comes with a hefty price tag. We deserve the best, but we sure would love to spend the money on something more fun than that, right?
This soap is a snap to make and you can make a whole big batch at one time, enough to last you for a long while. Expecting overnight guests? Surprise them with their very own bar of homemade soap. Or create soaps in smaller sizes as guest soaps.
If you enjoy creating lovely homemade gifts, why not include some soap in a fun shape? Especially with these super cute molds.
For more easy and printable skin care recipes be sure to sign up here to get your password to my FREE Resource Library filled with all kinds of useful information created just for you.
*This post includes affiliate links. You may read my full affiliate link policy here.
Are you ready to get started with homemade soap?
As I mentioned above, the ingredient that makes this process so simple is melt and pour soap base. In other words, you don’t have to know how to make soap from scratch, because someone was kind enough to do the hard work for you!
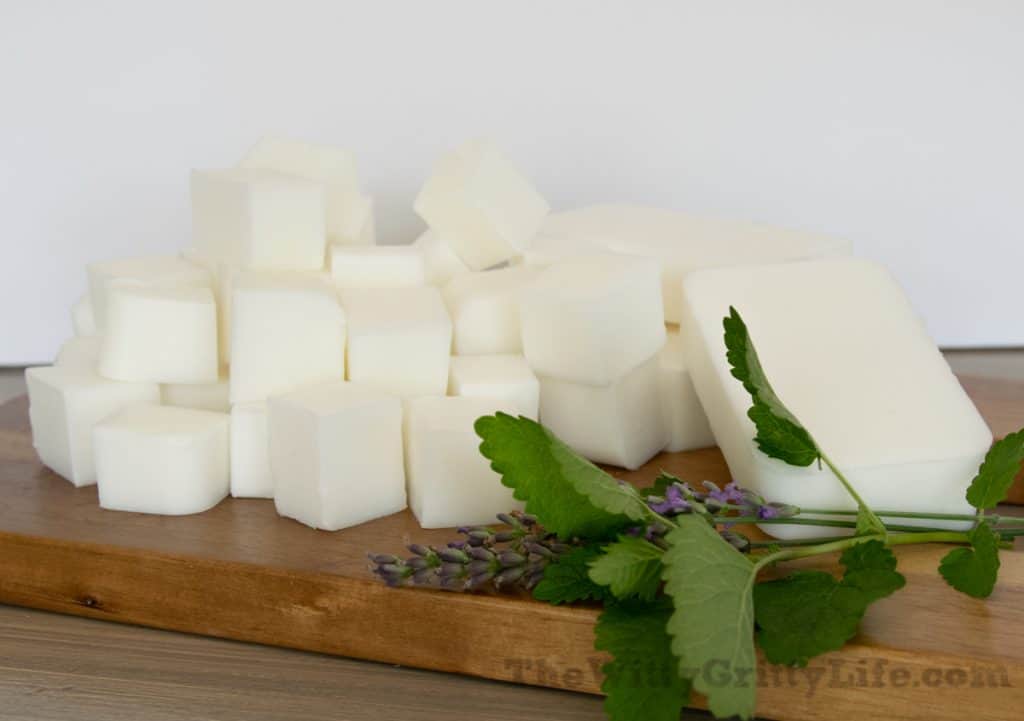
Melt and Pour soap base comes in blocks, usually 1, 2, or 5 lbs. A two-pound block is enough for eight 4 oz bars of soap. You can easily order the soap base on Amazon such as this glycerin soap, shea butter soap, or goat milk soap. For this time I opted for the Shea butter kind, but it’s really up to you. No matter which melt and pour soap base you choose, the process pretty much remains the same.
I have found a limited selection of soap base at craft stores like Hobby Lobby, Michaels, and Joann Fabrics. Be sure to use their 40% off coupons to get the best deal!
You will also need a mold in which to pour the soap. You can use a loaf pan lined with wax or parchment paper then cut the soap once it’s hardened. I prefer silicone molds like this one (shown here with the soap base I chose for this project)
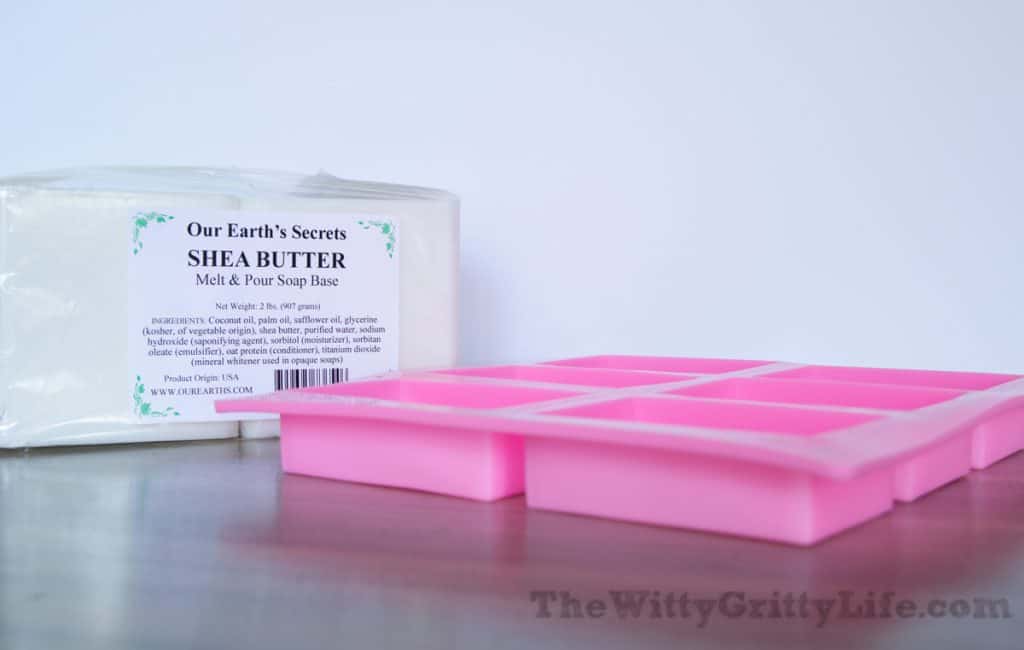
It makes all bars a uniform size and is a snap to clean and reuse. I also use this same mold for other projects. They are not expensive and last a long time. You may even have some silicone molds on hand already.
Or the loaf pan – find an inexpensive one at a thrift shop.
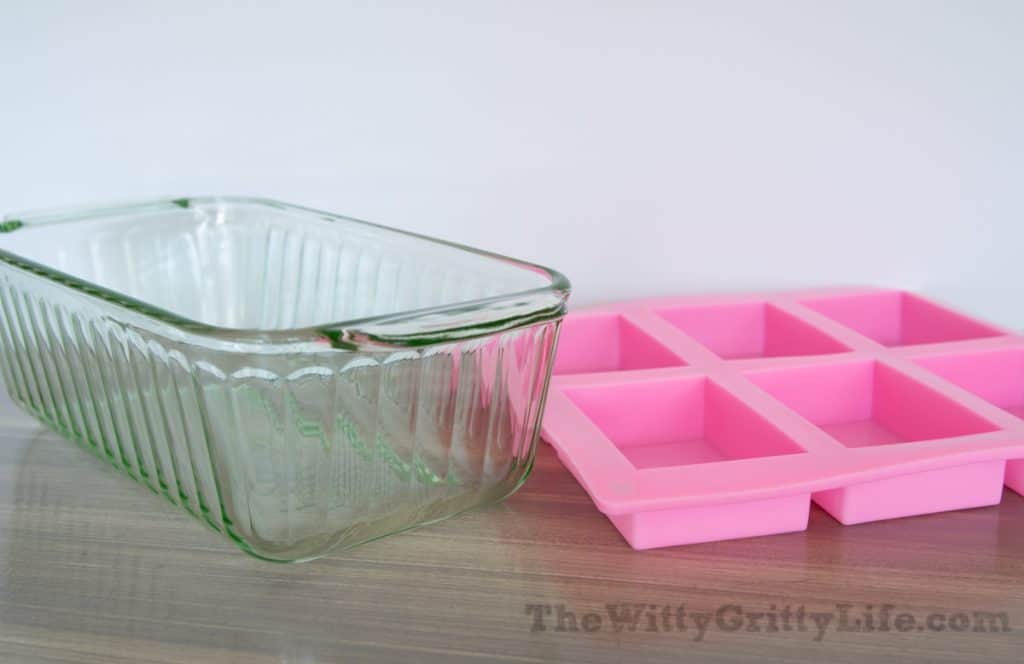
HERE IS THE LIST OF MATERIALS YOU WILL NEED:
- Melt and Pour soap base
- Silicone molds or lined loaf pan
- Pyrex glass bowl
- Essential oils
- Other add-ins such as dried herbs (lemon balm, mint, lavender), spices like cardamom, cinnamon, cloves, dried lemon or orange zest, poppy seeds or oats
- popsicle sticks
- silicone spatula
- potholder to handle hot glass bowl
- find a printable version of this recipe, along with my other health and beauty recipes in my FREE resource library
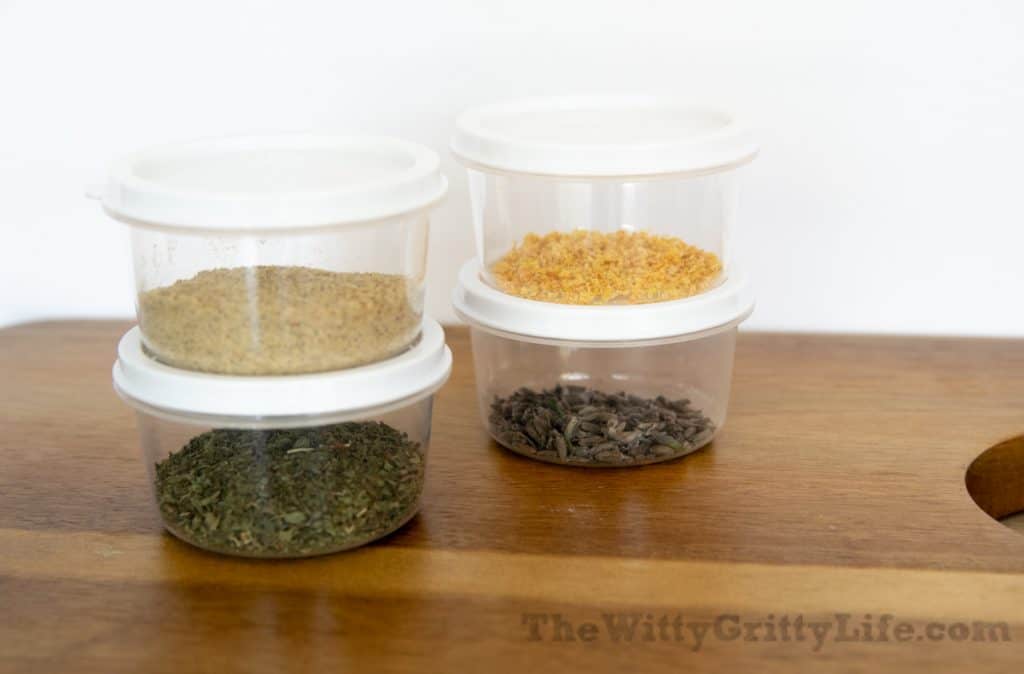
Here are some of the add-in ingredients I happened to have on hand:
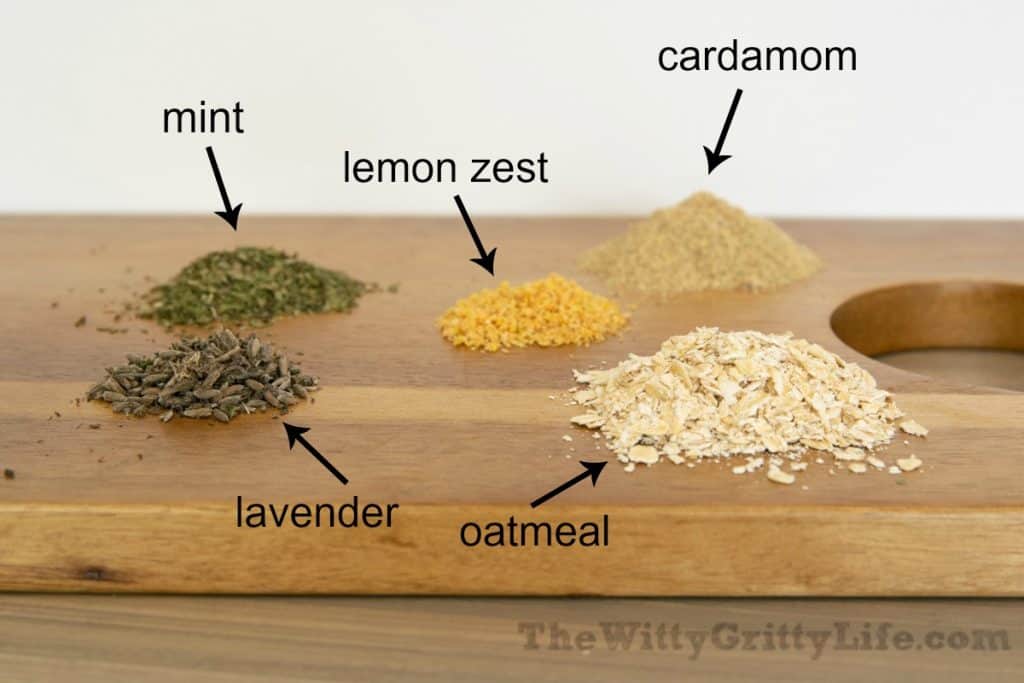
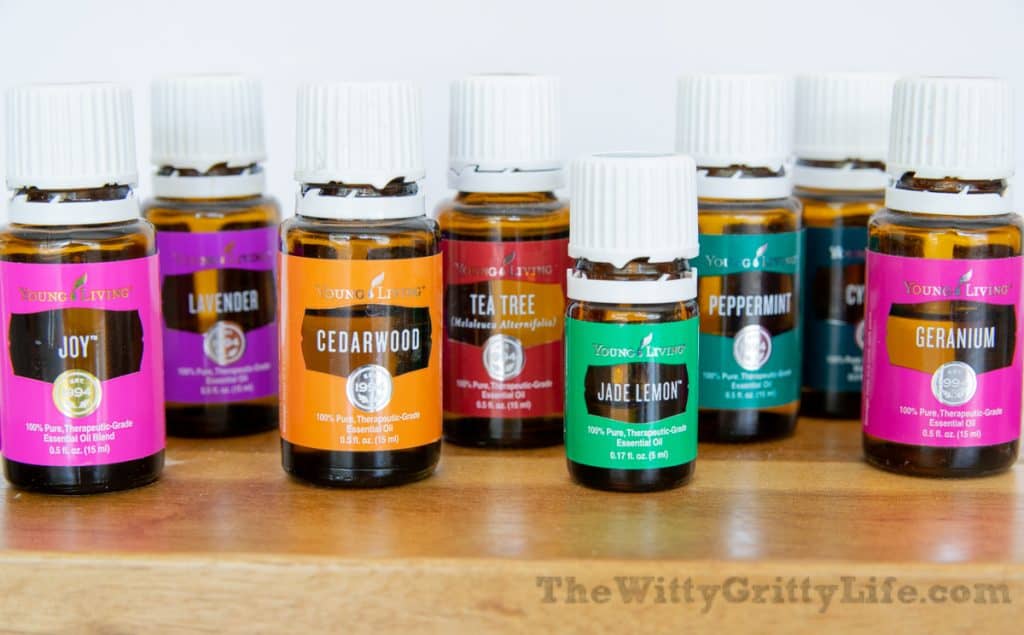
And a selection of the essential oils I used.
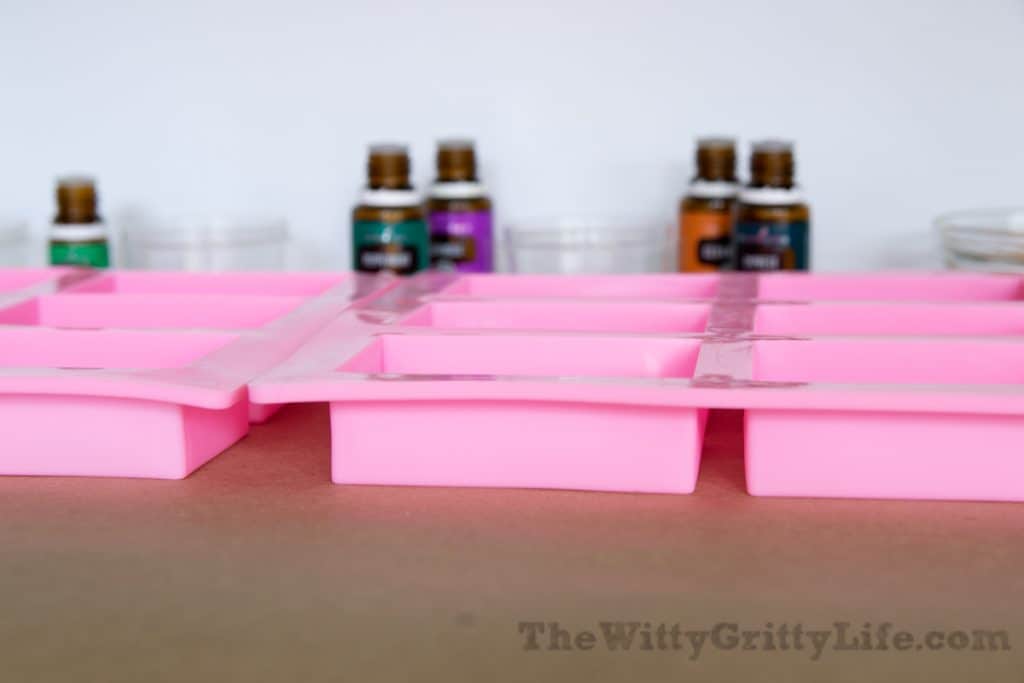
Set up soap mold(s) on a protected level surface like a kitchen counter covered with newspaper or craft paper. Don’t move silicone molds until the soap is hard! If you need to use your work surface before the soap is hardened, be sure to set the molds on a sturdy tray to allow you to move them.
Have essential oils and other add-ins ready to use. Suggestions for essential oil combos that work well are at the bottom of the post.
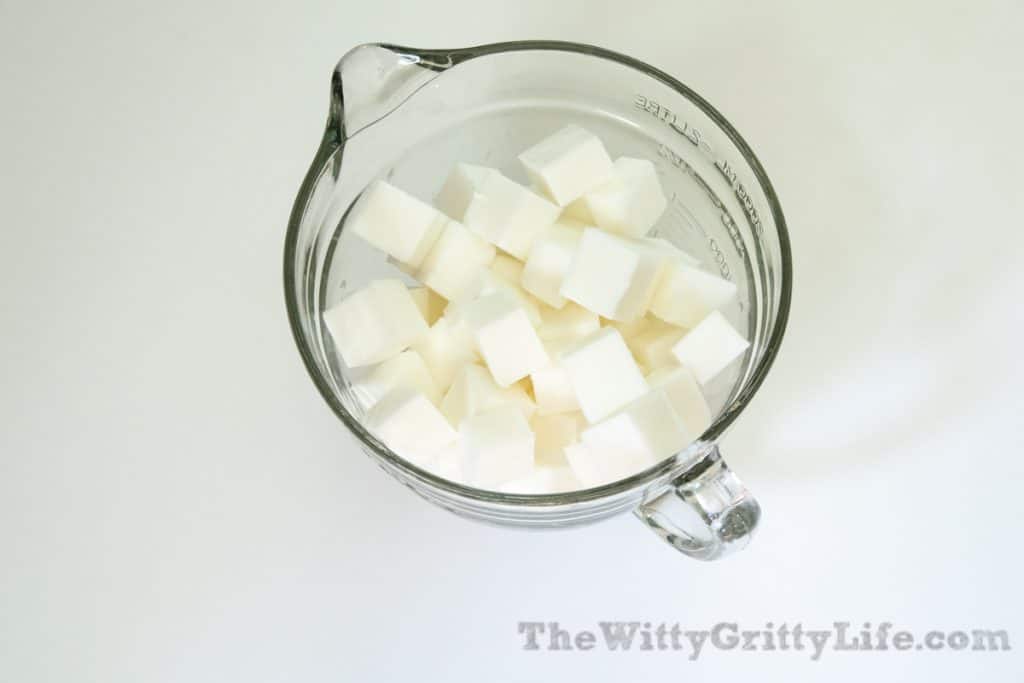
Cut soap blocks into 1″ cubes, place in a glass bowl. Microwave in 30-second intervals, stirring in between until soap is completely melted. Alternately place a glass bowl with soap over a pot with hot water (double boiler) and heat until melted while stirring regularly.
Once the soap base is completely melted, carefully pour it into the molds. Work with one bar at a time, adding oils and add-ins after the soap is poured and cooled slightly. Stir soap with popsicle stick after adding oils. Be sure to use a separate popsicle stick for each soap if you’re making different scents. Heavier add-ins like oats may settle more towards the bottom of the bar, that is normal.
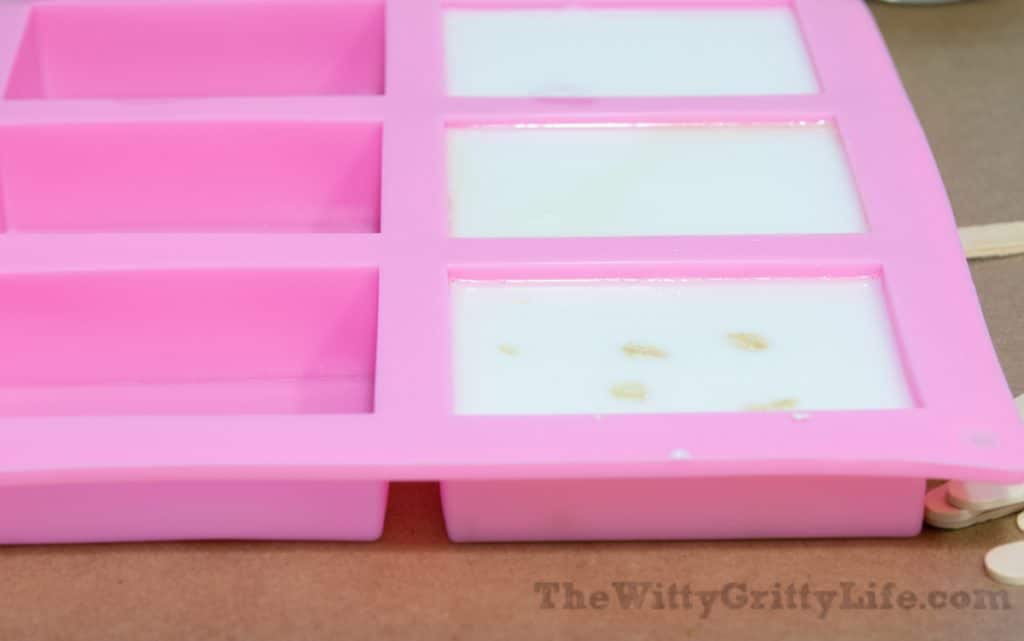
Let the soap cool completely for at least two hours. Once the soap is cooled and the bars are completely set, gently push each one out of the mold. Wrap the finished bars in wax or parchment paper to store.
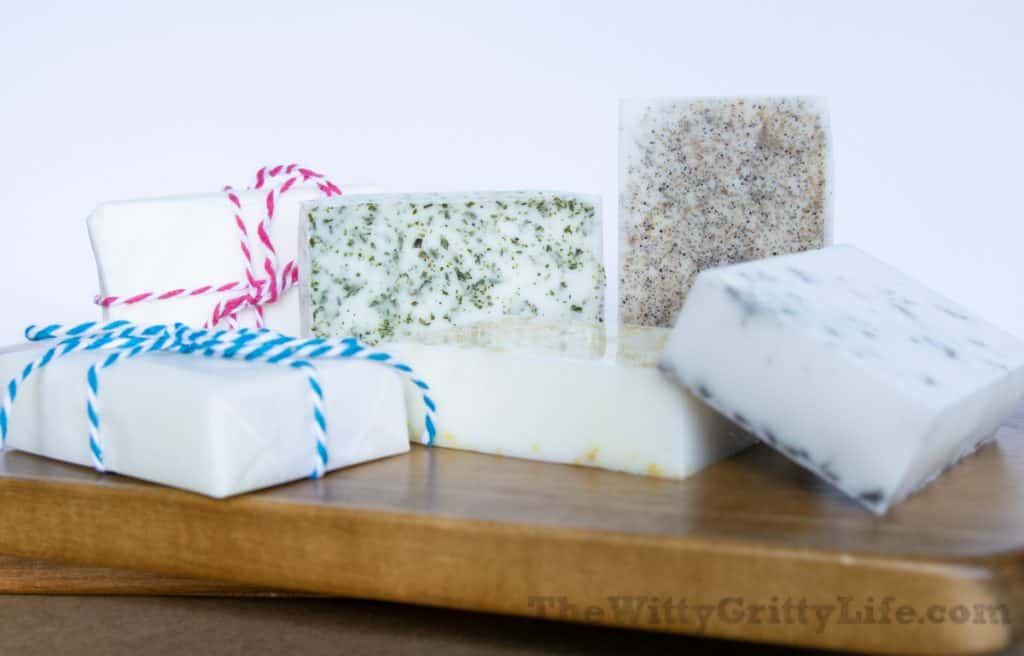
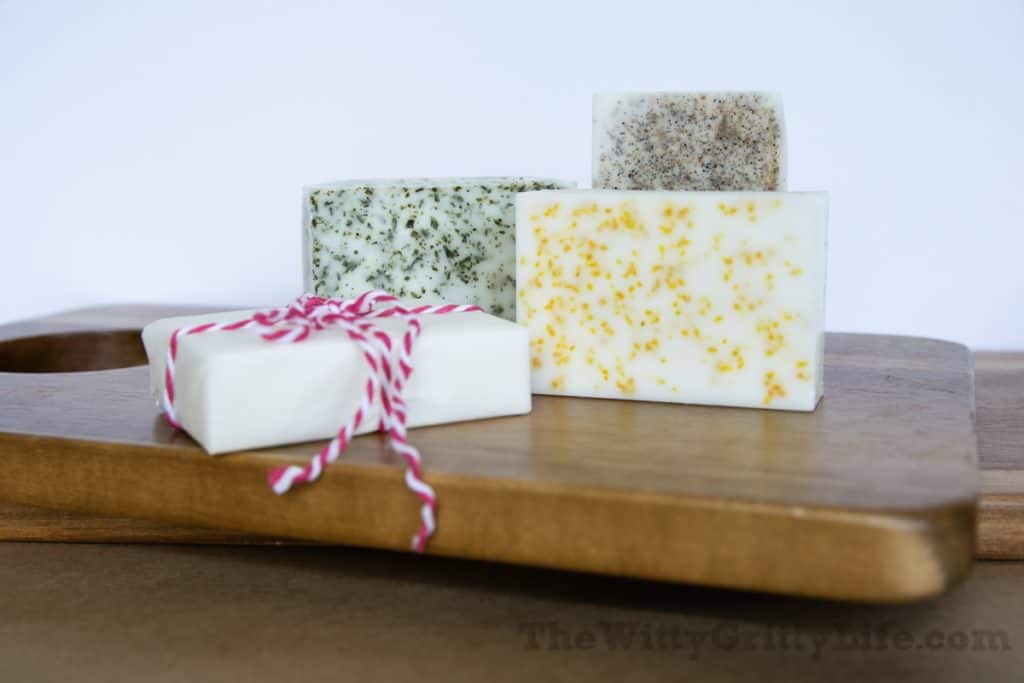
Isn’t it pretty? I wish you could smell it! The lighter dried herbs like mint really distribute well throughout the soap bars.
One fun variation of this soap is adding a little plastic toy to the mold before you pour the soap. My kids used to love washing their hands to get to the little dinosaurs in the soap. This works best with translucent glycerin soap.
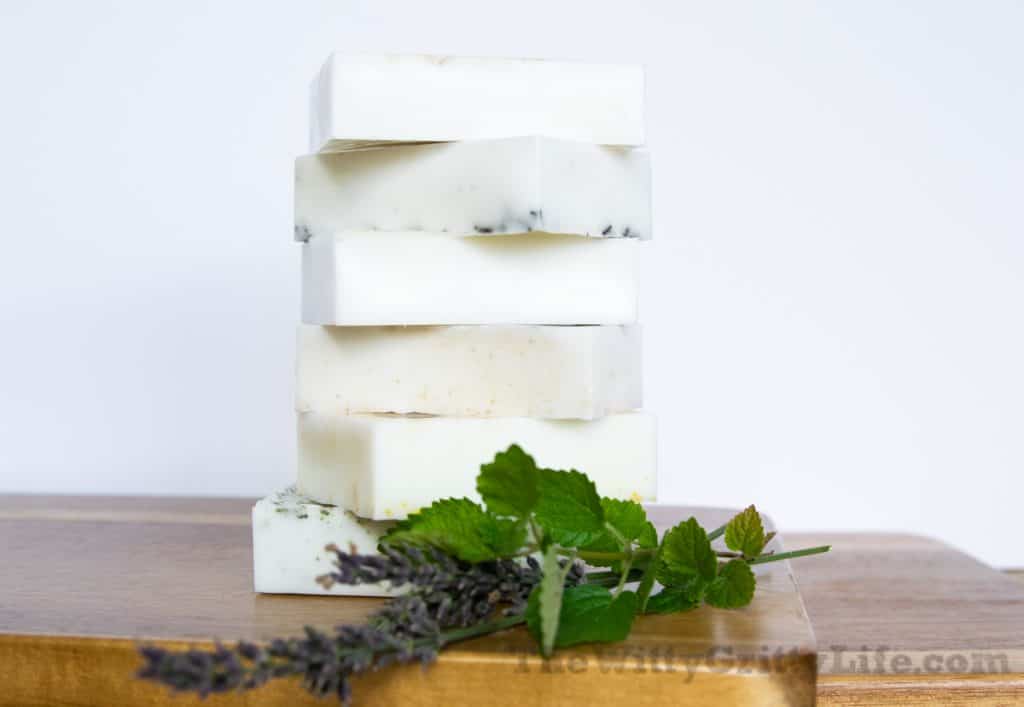
Now, wasn’t that easy? Creating your own easy homemade soap is something everyone can do. Don’t you love being able to personalize your own beauty and personal care products with essential oils and other real ingredients? Whip up a batch of soaps every now and then and you have one less item to drag home from the store!
Essential oil combos that work well:
- Lemon/Peppermint
- Cypress/Lemon
- Lavender/Peppermint/Lemon
- Cedarwood/Frankincense
- Geranium/Bergamot
- Teatree/Lemon
Use a total of 5 drops for each bar. Like: 3 lemon + 2 peppermint
Feel free to experiment with your own combinations and add-ins! The sky is the limit!
To store my lovely leftover ingredients I am using these handy little containers I found at the Dollar Store🙂
Check out some of my other recipes using essential oils!
Natural Baking Soda Free Stick Deodorant
Now, I hope you go forth and create some of your very own homemade soap!
Come on over and share your results in our Facebook group. We’d love to see it!
For more about The Witty Gritty Life and useful tips *Like* our Facebook Page.
Follow on Instagram to see what I am up to every day and sneak peeks of upcoming projects!



I used one today and love it, no chemical smell, nice fresh smelling scent with lots of lather. Thanks!
I am a huge fan of make soap!! I’ve done the melt & pour, which really are so quick and easy to do for a quick gift! I also really enjoy making cold-process soaps from scratch too..but yes, that can be a little more intimidating for the novice soap maker 😉
Thank you! Some day I hope to give cold process soap a try. But while life is as hectic as it is right now, I better stick to melt and pour. Would love to hear more about your experience with soap making!
This is such a great help, thank you! So many times people shy away from making their own soap because they are afraid it is too hard. You made it so simple that anyone can do it!
Thanks for sharing!
Thanks Tracy! I am all about doing things the easy way!
Do you find that the soaps are scented enough with the essential oils? I’ve never had good experiences making candles with essential oils, hoping soap is different.
Heather, yes, I find that they are. Candles are different because the oils burn off. That doesn’t happen with soap. If the scent is not as strong as you’d like, you can easily adjust it with your next batch.
Great article. Can I add grapeseed oil to the glycerin once I melt it? I’m thinking it will talk longer for therm to harden, but wanted to ask your opinion. Thanks much
Kristen, I have not tried adding any oils other than essential ones, but a very small amount might be okay. Probably no more than a teaspoon. I would suggest trying it on a small batch and see how it turns out.
Thank you very for the advice, as I think we have to try few times making soap and doing it continuously will make us pro at making soap and we can run our own soap business. Might check our homemade natural body soaps for ideas and recipe process.
I really like your website, I haven’t tried any of your beauty recipes but I’m buying what I need to make soap this week. I’m excited to get started! Later I’ll try your lip balm recipes. Thanks for the recipes. Rowena