If I could take just one skincare item with me to a deserted island, lip balm would definitely be it. Chapped dry lips are the stuff of horror for me. The problem is that no matter which brand I tried, my lips inevitably wound up even drier and more irritated than before. Not sure which ingredients were the culprits, I decided to make my own natural lip balm years ago and have happily used it ever since. And that was fine and dandy until a certain virus hit.
My favorite recipe was formulated to be used from a tin. But sticking your finger in lip balm to apply doesn’t make much sense, especially right now. It’s a great way to spread all kinds of germs. So I did what I pretty much always do and that was to look for a way to modify my existing recipe. And while I was at it, I figured it would be even better to come up with several easy versions of the same recipe to give you choices. That way everyone in your family can have exactly what they want and need.
Modifying this recipe to create plain unflavored, flavored and even tinted lip balm was a snap. You can even create each version in the same batch by working in a specific order. Each of them is pretty simple because complicated is just not how I roll. You’ll see. Better yet, this recipe has a vegan option!
* This post contains affiliate links. If you make a purchase by clicking on an affiliate link, I may earn a small commission at absolutely no additional cost to you. You can view my complete affiliate link policy HERE.
You can find the printable version of this and all my other recipes in the FREE Resource Library. Just sign up here and your password is on its way to your inbox!
WHY MAKE YOUR OWN LIP BALM?
You may wonder why you should consider making yours and your family’s lip balm.
Store-bought lip balm often contains unwanted ingredients like petroleum by-products and fragrance that can be more irritating than soothing to sensitive lips. Here are a few more reasons you might want to consider.
YOU are in CONTROL of INGREDIENTS AND QUALITY
This is probably the main reason for creating your own skin and body care recipes in the first place. No mystery ingredients like chemical preservatives or petroleum byproducts that might cause unwanted reactions. Choosing your own ingredients from reputable sources puts you in the driver’s seat.
MAKING YOUR OWN SAVES MONEY
Basic skincare items like lip balm are easy to make even for beginners. Purchasing ingredients in bulk and reusing tools make creating your own products very budget-friendly after an initial investment.
All of the ingredients in this naturally moisturizing lip balm recipe can be used to make lots of other skincare items. Making your own products is a great way to get high quality for much less. And it keeps you from having to run to the store when you run out which saves time as well.
You can customize it
Whether you prefer a very basic lip balm without fragrance, one that contains essential oils, maybe a hint of color, or a vegan option, the choice is yours. That’s the really fun part of making your own, you can customize it completely to your needs and tastes.
One simple base recipe is enough to make sure each member of your family gets what they need and love.
Now that we covered the why’s let’s move on the the actual tools and process of making lip balm.
TOOLS AND SUPPLIES
Lip balm tray and spatula (optional but recommended)
Heatproof jar – short wide mouth canning jars work well
Beeswax pellets or candelilla wax for a vegan version
Essential oils – optional – see my essential oil buying guide
Cosmetic grade mica powder – optional (you can find it at craft stores like Hobby Lobby in the soap making aisle)
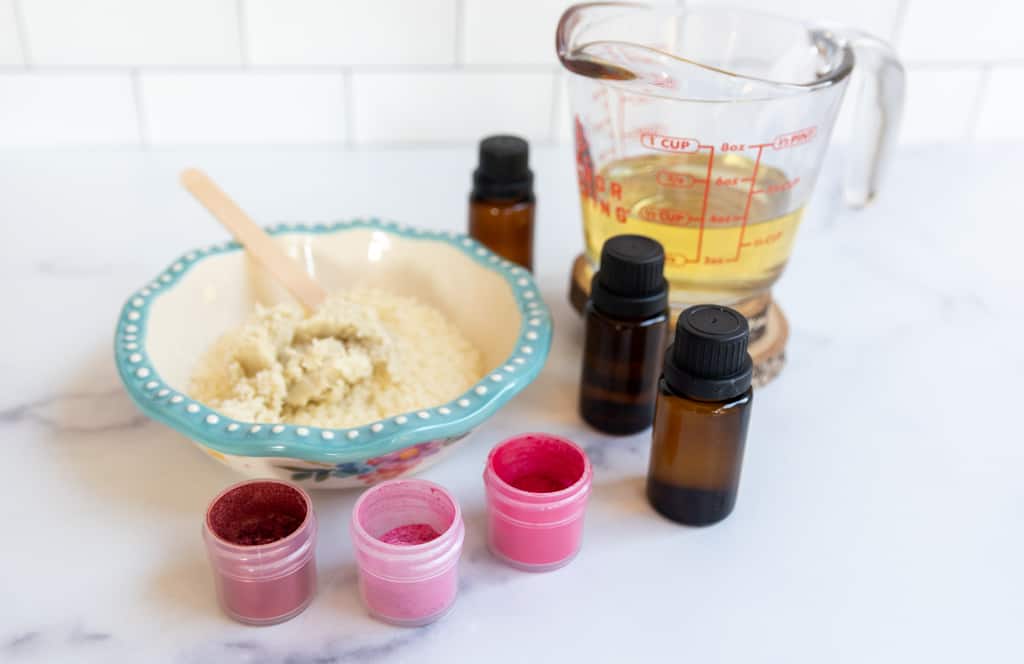
BASIC LIP BALM RECIPE
As I mentioned above, this recipe is adapted from my original tinned balm to work in lip balm tubes. To firm it up and make it solid enough to hold up in a tube without melting, the amount of wax used needed to be adjusted for proper consistency.
I always recommend that you try the formulation in a single tube first before proceeding to fill them all. This allows you to either add a little more wax to the mixture if it melts too quickly or oil if it feels too firm. Once the balm mixture is poured it sets fairly quickly. You can place it in the refrigerator to speed that step up even more.
Here are the amounts needed to create 20-24 tubes (depending on size)
1/3 cup Sweet Almond Oil (you can substitute Apricot Oil, Grapeseed Oil, Sunflower or Olive Oil)
1/4 cup Beeswax Pellets – (1/8 cup if using candelilla wax)
10 – 15 drops Essential Oils (optional) – see below for oils and oil combinations that work well in lip balm
Pinch of cosmetic grade mica powder in the color of your choice – if tinted balm is desired
1 Tablespoon Shea Butter (or Mango Butter)
MAKING LIP BALM IN TUBES
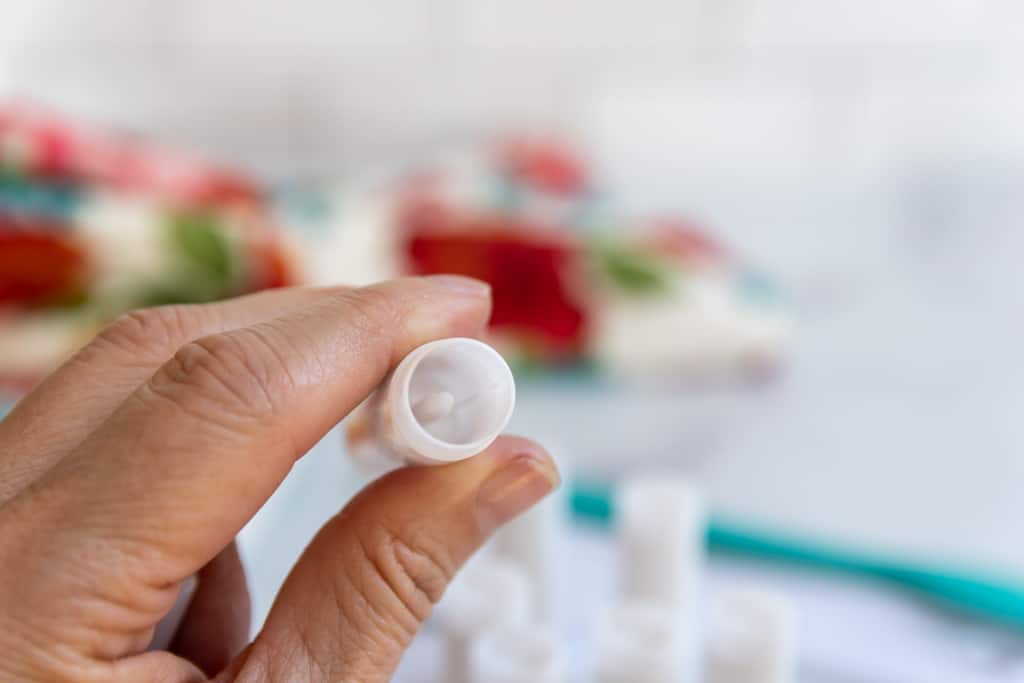
Prepare tubes
Begin by washing all of your equipment with hot soapy water. Let dry thoroughly. Water in lip balm tubes will prevent them from filling properly.
Next, make sure each tube is screwed all the way down. You don’t want to start pouring only to find some of the tubes are not screwed to the bottom!
Then set up your tubes in the holder. For my particular holder, the tubes slide in from the bottom and the top of the tube is nearly level with the opening.
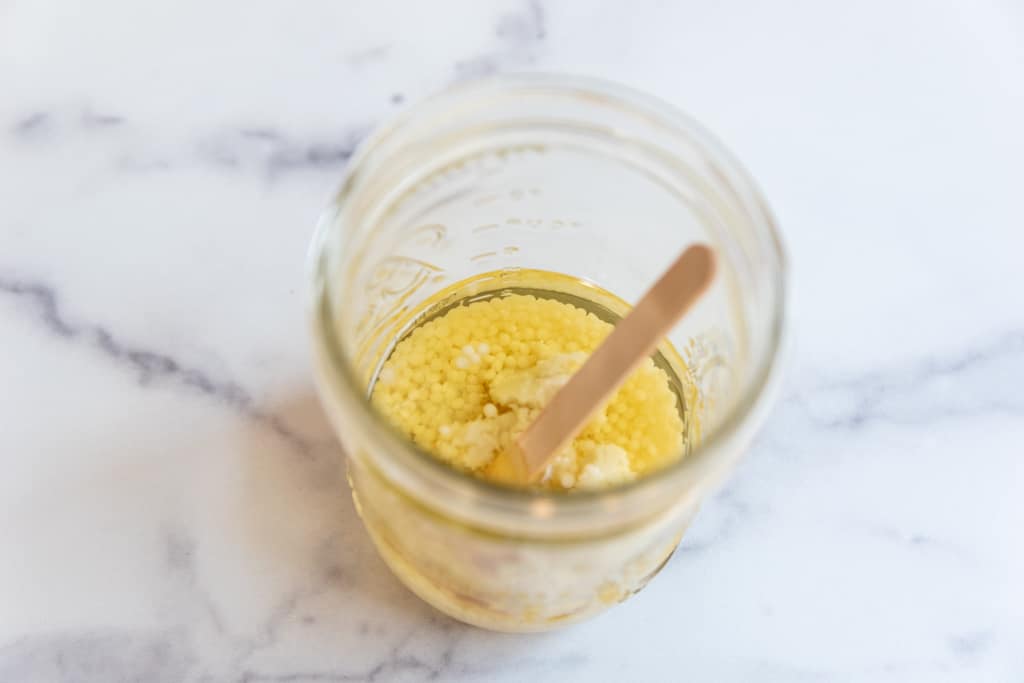
Melt Oils and butters
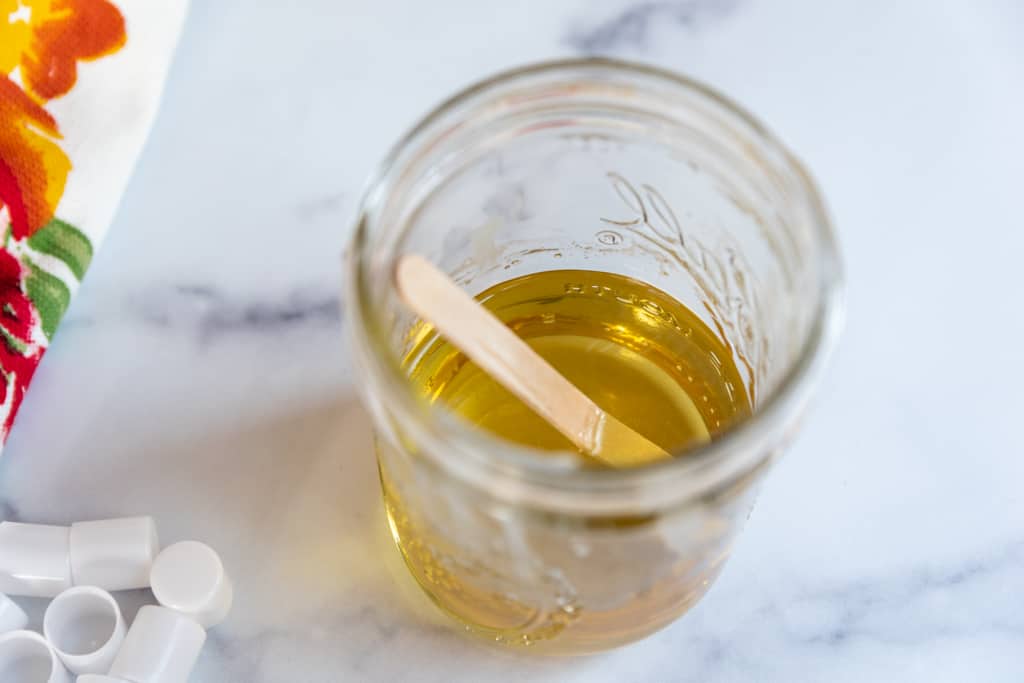
The best and most reliable way to gently melt all of the wax, oils, and butter is to place them in a heatproof wide-mouth glass jar in a double boiler. Check out my original post on lip balm to see how this process works. I have found it best to place beeswax and shea butter in the jar and allow them to melt completely before stirring in any oil. Wood popsicle sticks work very well for stirring.
Alternately, you can melt your ingredients in the microwave oven. To do this safely, microwave in 15-20 second increments, stirring the wax and oil mixture thoroughly after each warming. This has become my favorite way not only to melt but also to reheat the ingredients.
It is very important for beeswax to be completely melted. Any unmelted was will be noticable as small chunks in the final product.
FILLING THE LIP BALM TUBES
On my first go with filling tubes, I thought simply placing them in a glass container upright and closely together would do the trick. It didn’t. I wound up with a bunch of half empty tubes and a whole lot of balm in the bottom of the glass.
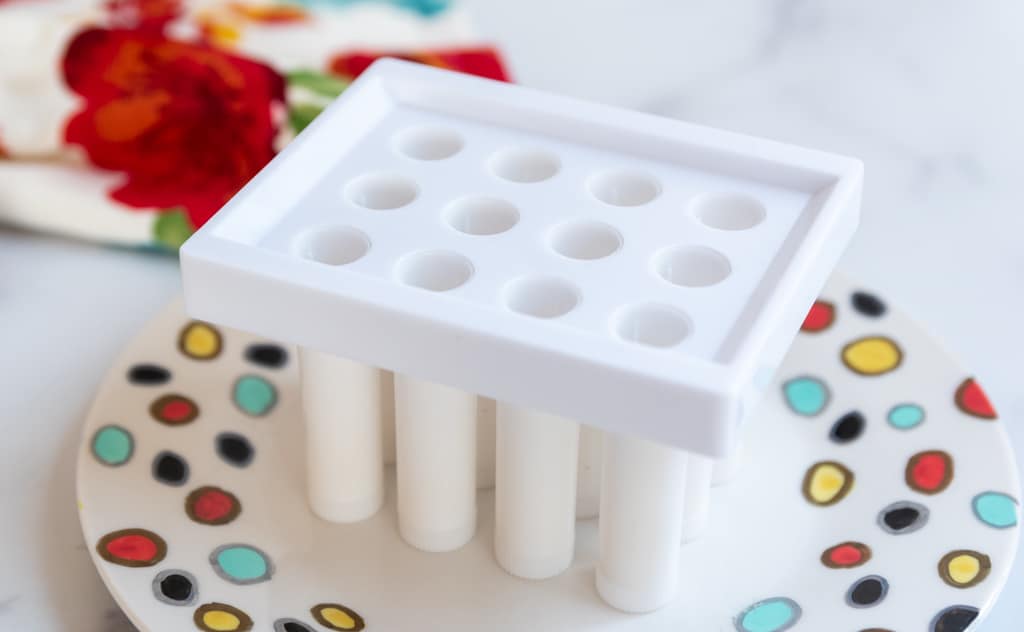
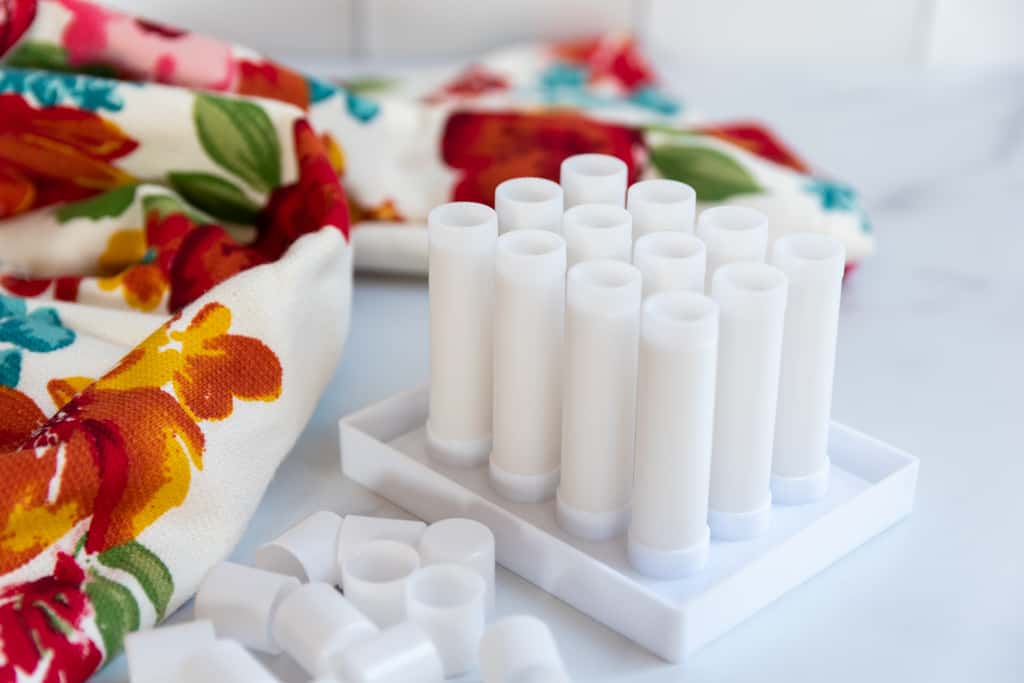
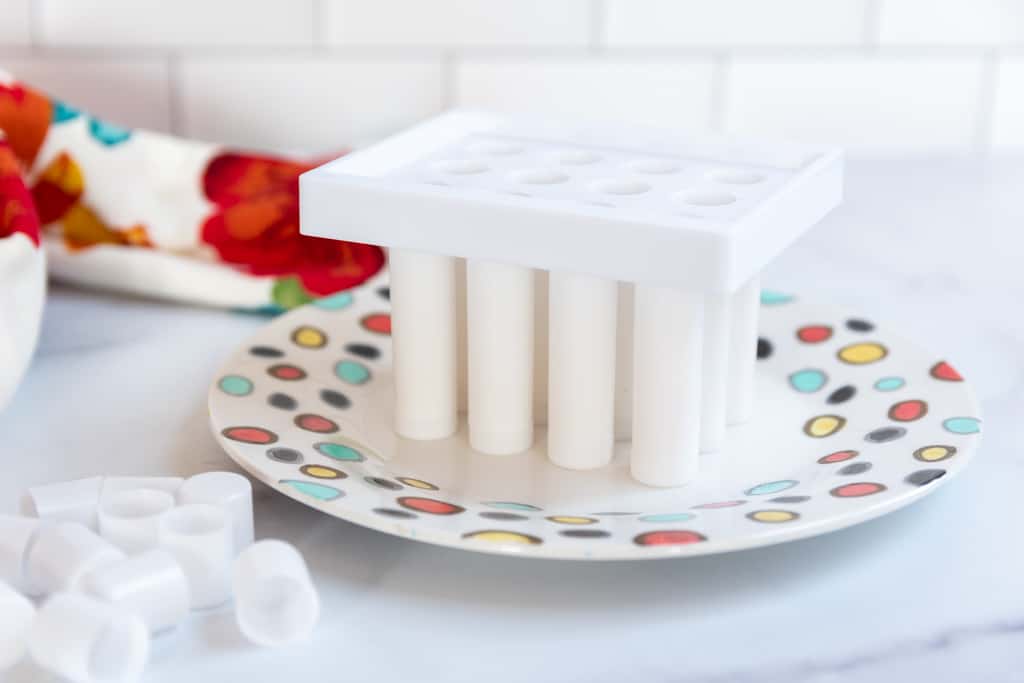
Lucky for you and me, tube holders are easy to find and inexpensive. They are generally made from either plastic or silicone. Either will work, but it is important that the tubes and holder fit together well. I opted for an inexpensive holder that accommodates 12 tubes at a time. Our family doesn’t need more than that and I don’t plan on selling my homemade lip balm.
Here is what is should look like all screwed down to the bottom prior to placing them in the holder to allow for proper filling.
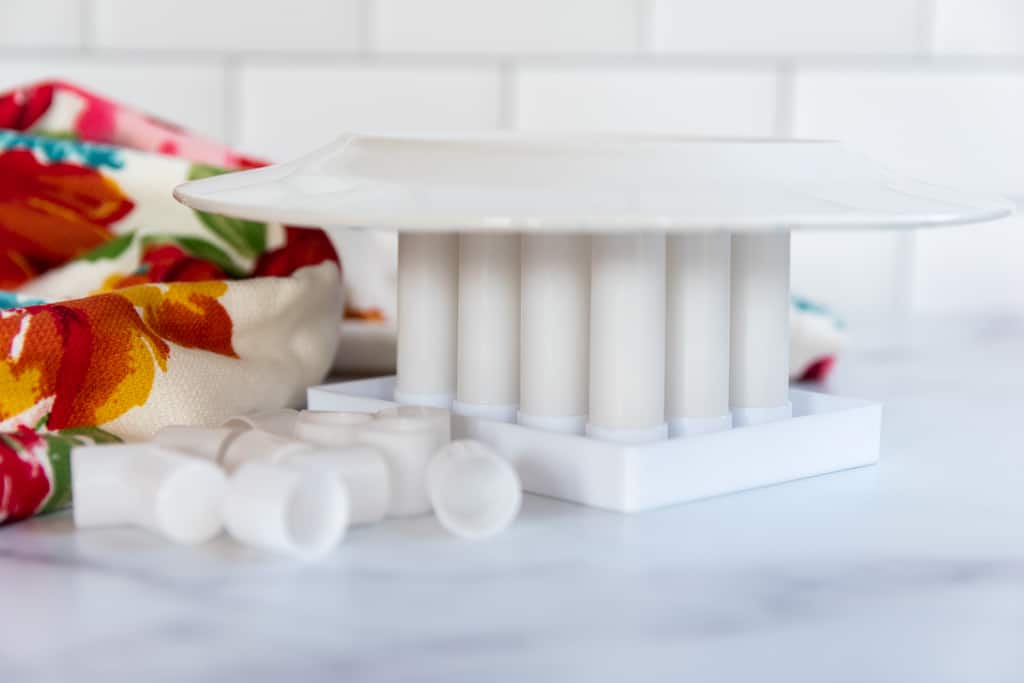
To contain any spills, set your holder and tubes on a microwave safe plate. It’s easiest to insert the tubes with the holder upside down, then place the plate on top and flip it over like this:
I have tried a few different filling methods but determined that what works best, in the end, is a steady hand. That is why a tube holder that catches any overflow comes in very handy. Carefully fill each tube to the top, reheat the oil and wax mixture if needed. A glass dropper will not work because the waxy mixture clogs it easily.
See tips below for creating several different types of lip balm in one batch.
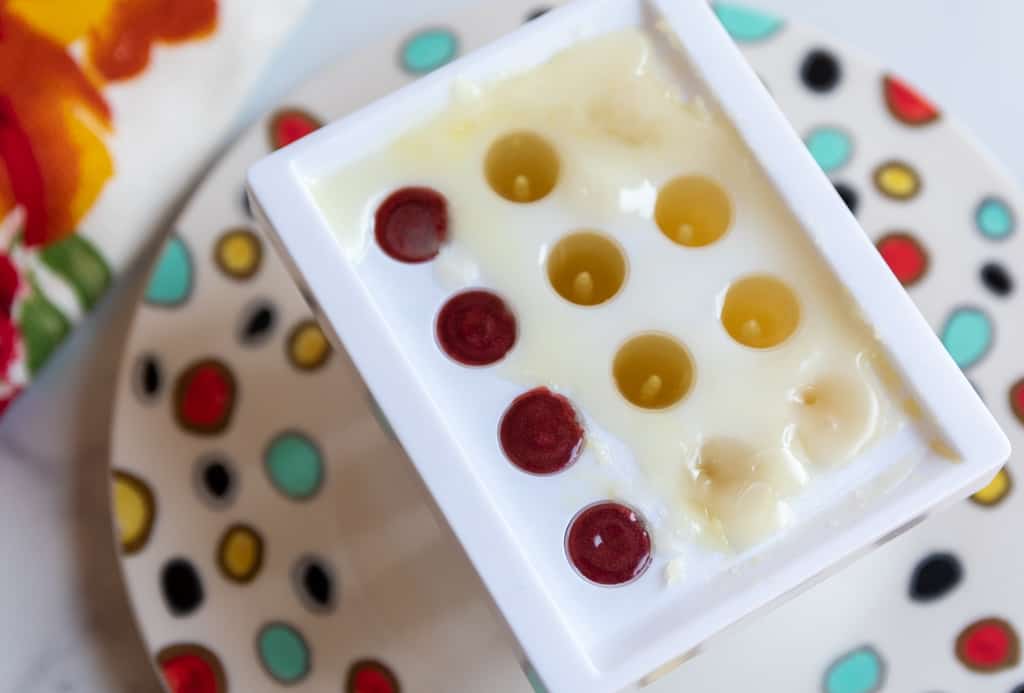
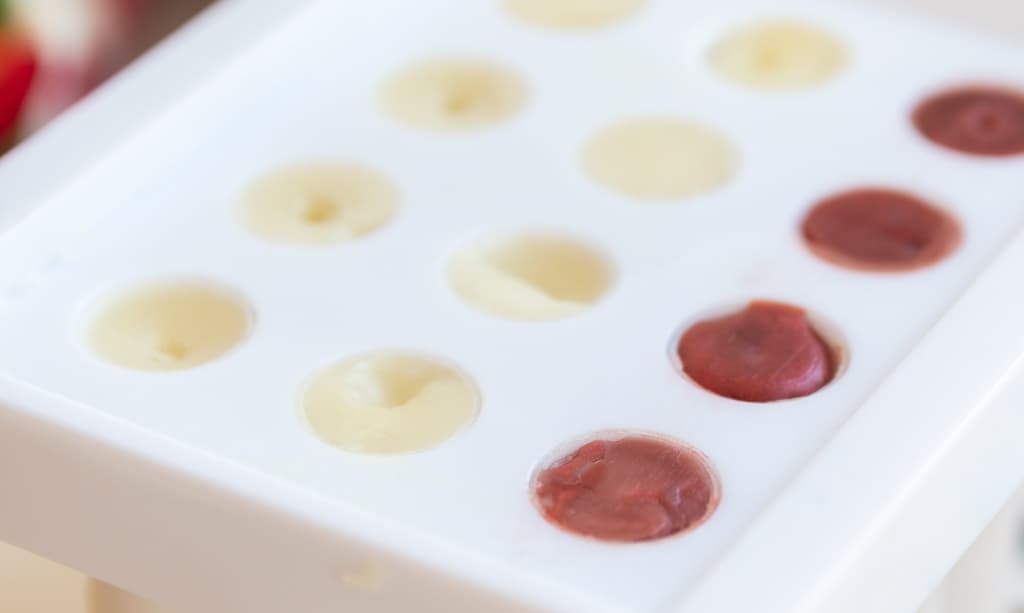
Let the tubes rest to set. You can place them in the refrigerator to speed up that process. In this batch I poured plain and colored lip balm on the same tray. While it worked okay, I would recommend pouring them separately or overing the plain tubes with a piece of parchment paper while you pour colored balm.
Finishing your lip balm
Once the lip balm mixture is completely set, scrape all excess from the top with a small spatula, remove tubes from the holder and wipe off any spills. It is normal for small dents to appear on the top of lip balm as the balm mixture cools. If you would like to top them off, you can remelt the mixture in the tubes by heating them gently in the microwave. Leave them in the plate and in the tube holder to do that. Reheat ingredients at the same time as described above and top off any tubes that need to be filled. Let cool again.
It doesn’t have to be perfect!
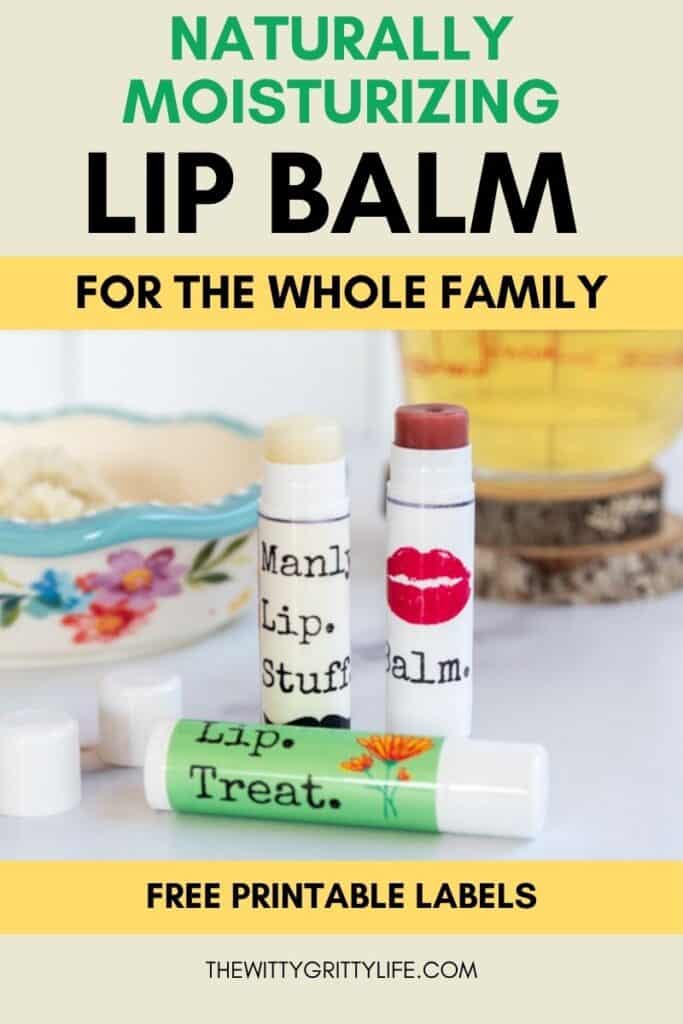
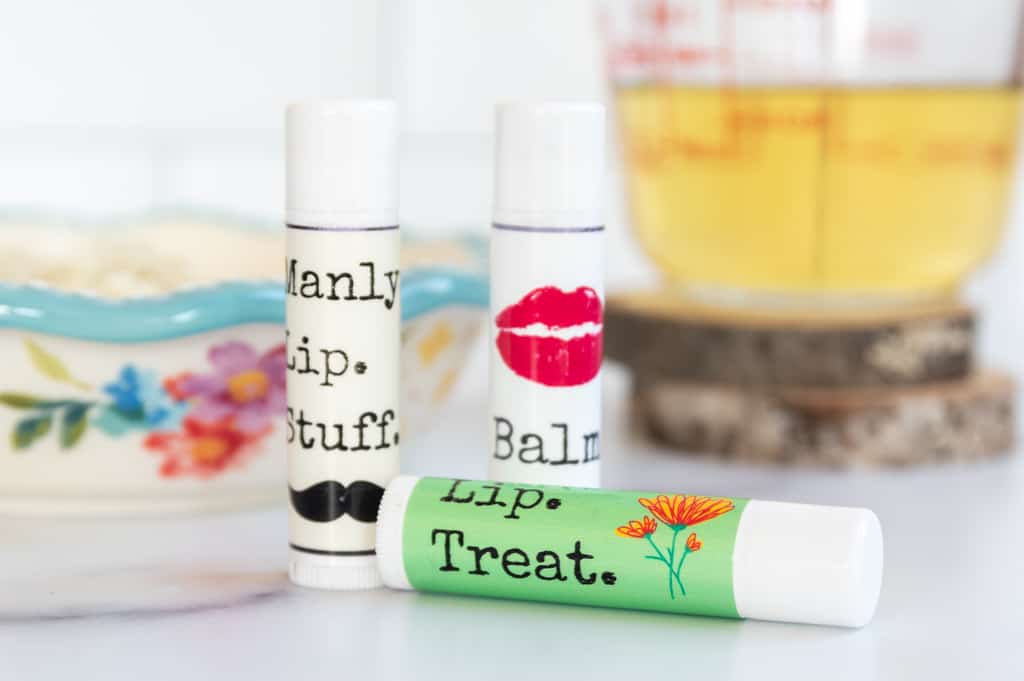
Once all tubes are wiped down, they are ready for use. To label, remove any oily waxy residue by wiping with an alcohol wipe to allow the label to stick well. You can find a free printable of the exact labels I used and several more styles as well as a printable version of this recipe in the Resource Library. I love this kind of glossy full sheet label paper for use in all of my homemade skin and body care because it can be cut to size.
ADDITIONAL TIPS AND SUGGESTIONS:
If you plan on making several different kinds of lip balm like unflavored, flavored, and colored, begin by pouring unflavored balm first. To make lip balm with essential oils, let the mixture cool slightly before adding the oils and stir well before pouring.
To add color to your lip balm mixture, add mica powder in the desired color to the oil and wax mixture. Stir well before pouring. Adding mica will result in a slightly tinted lip balm.
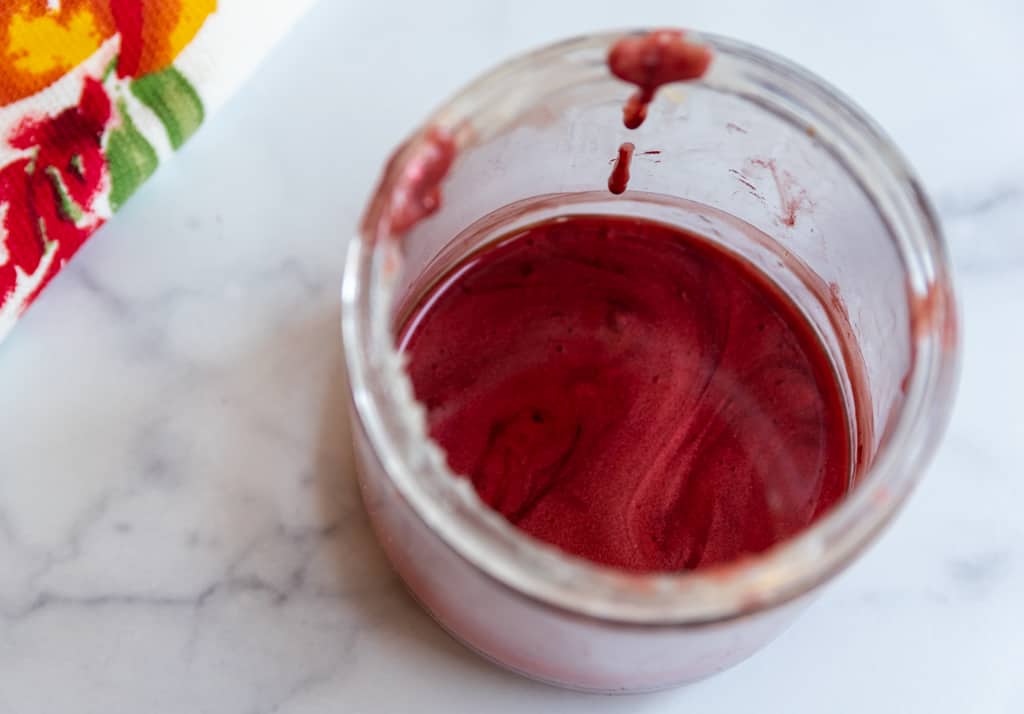
Keep any unused lip balm mixture in a jar with a lid. Alternately add a small amount of oil to use it as an emollient hand balm.
FOR MORE EASY SKIN AND BODY CARE CHECK OUT THESE POSTS!
LIQUID HAND SOAP YOUR HANDS WILL LOVE
EASY DIY DEODORANT – WITHOUT IRRITIATING BAKING SODA

Hi Karin, Thank you so much for your weekly posts…I look forward to them every Sunday! You come across as a most beautiful , caring and certainly most special person .I particularly like your simple and enviro.-friendly selfcare recipes. So KUDOS to you, keep safe and be well . Joan….
Thank you so much! That means a lot!