Thanks for the kind comments on the first installment of our slow-motion laundry room makeover! Today, I would like to tell you a little more about the planked wall behind the newly redone cabinet. Besides loving the look and wanting to add more interest to the wall, I needed to cover up a lot of dings and dents. Sure, I could have spackled, sanded, and painted, but before long I would have wound up with the same issue.
For this project, I decided to use inexpensive stick-on vinyl planks in a wood grain that resembles aged barn wood. Vinyl planks have come a long way as far as looks go! The cheaper version is actually preferred for this type of application because they are much thinner. And to be honest, this somewhat flimsy type of plank wouldn’t last a day on a floor at our house, but it’s ideal on the wall! And I love the fact that it A) hides dirt incredibly well and is B) easy to clean.
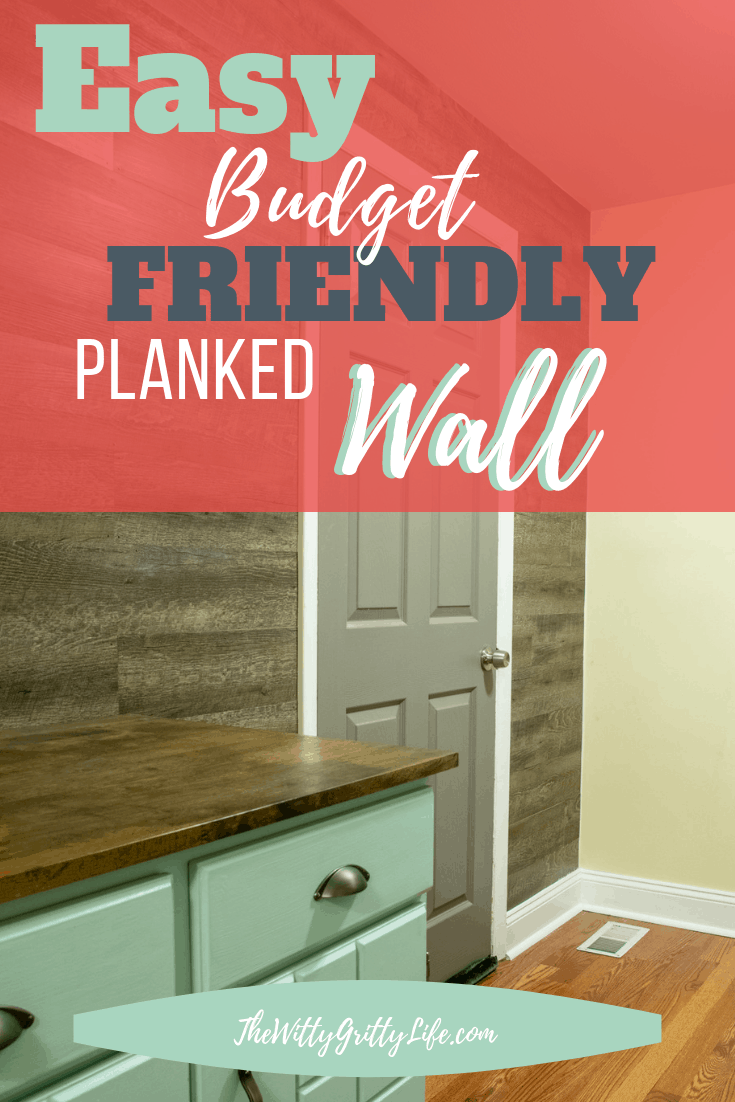
This project is completely achievable in a weekend or even a day provided you don’t make the same mistake I made, more on that later in this post!
The tools needed are also minimal and chances are you have most of them lying around the house already.
This post contains affiliate links. Read my affiliate link policy here.
Here is what I used to create my planked wall:
- measuring tape
- straight edge ruler (I actually used a plastic quilter’s ruler – you’ll see why in the pics)
- pencil
- utility knife with a fresh blade
- finishing nails
- painters tape
- white caulk
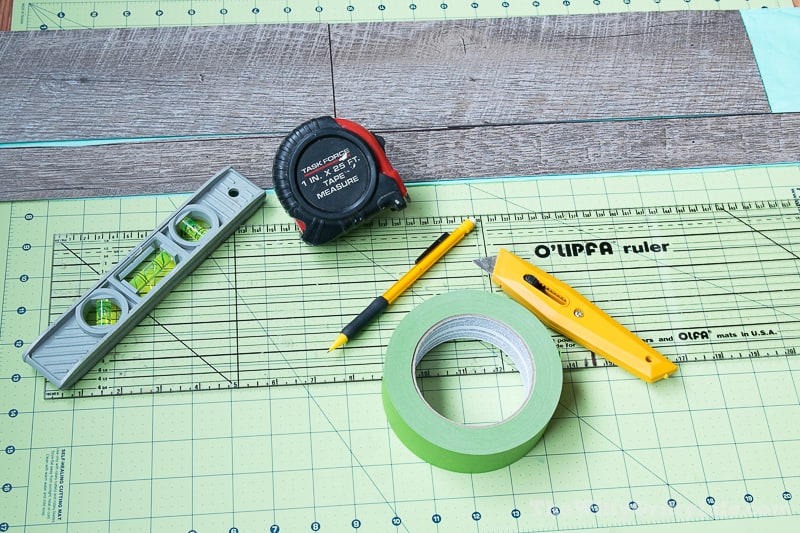
Not shown are a hammer, nails, and caulk.
Since I knew I would be placing the planks butting right up to each other, I opted not to paint the wall beforehand. That is fancy speak for: I was too lazy to paint. But if you are very picky about the wall peeking through, you might want to go ahead and paint the wall a darker color first.
Regardless of whether you paint first or not, make sure you fill in uneven spots, sand, and paint over them to ensure a smooth surface for the planks to adhere to.
My wall has a doorway and a cabinet on it. To get a ballpark idea of how many planks I would need, I measured the entire wall surface. Then I measured both the cabinet and the doorway and subtracted their combined square footage from the total square footage of the wall.
Measurements in hand I headed to our local Lowes store. Normally I am more of a Home Depot kind of girl, but they did not have the kind of flooring I was looking for.
For my project, I began adhering the planks in place, using the top of the cabinet as a guide. I generally prefer setting the large pieces first, then measuring and cutting the filler pieces. Do what makes the most sense to you here, but make sure you are level! A small mistake at the bottom will grow as you work your way up the wall!
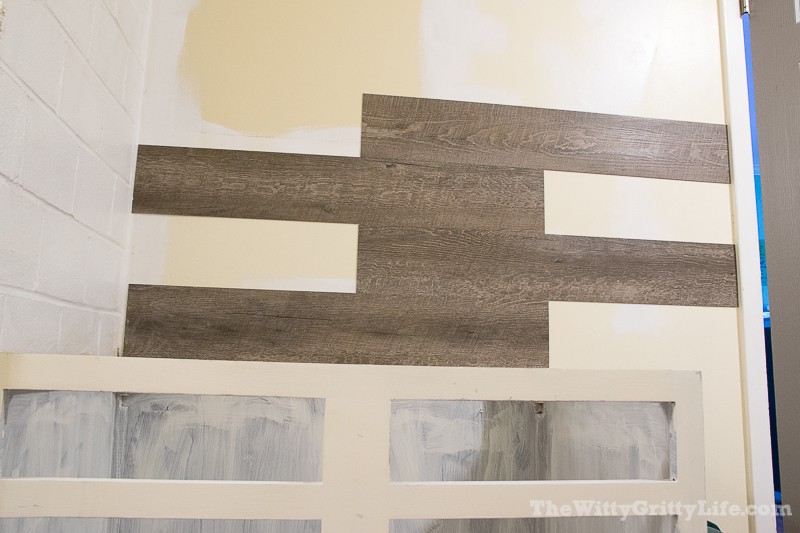
Staggering the planks will give your finished wall a more realistic look.
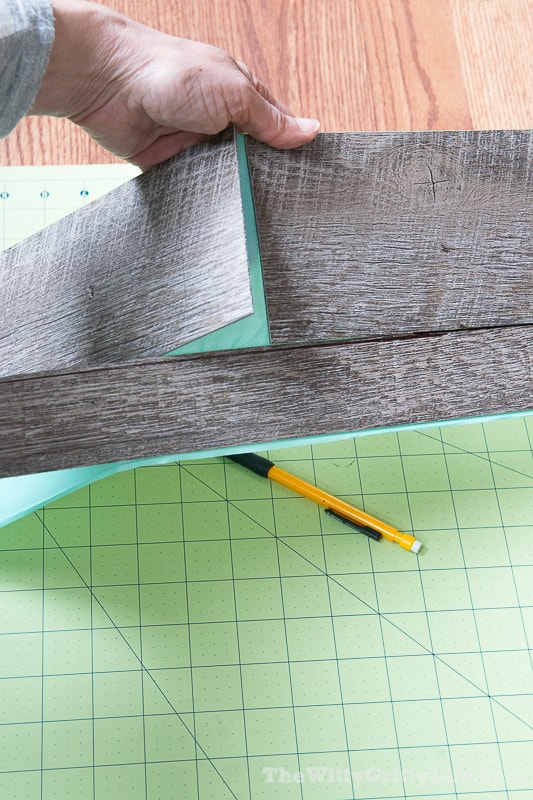
But this step basically just involves measuring and cutting. Leave the paper backing in place. To get the straightest cut possible, use a ruler that “hooks” to the edge, like a quilting ruler. You can also clamp down your ruler to hold it in place. A sharp blade and even pressure when cutting are important. Also, make sure to do this on a surface that can be scratched or as shown a self-healing cutting mat.
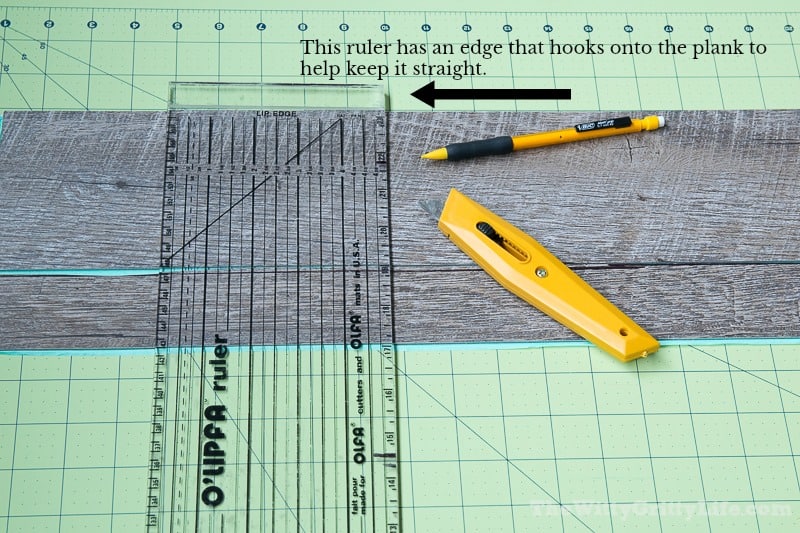
There is no need to cut through the plank. You just want to score it and it will snap cleanly along that line. Like this:
Now I will tell you about the awful mistake that cost me an entire day and yes, brought me to tears of frustration. Don’t be me.
What did I do that caused me to have to start the entire process basically from scratch, not to mention cost me a Sunday, that could have been spent with my guys?
I relied on the adhesive alone to hold everything in place. After proudly saying good night to my wonderful planked wall Saturday evening, I discovered nearly all of my handy work on the floor the next morning. Not a good start to the day, let me tell you. Yep, there were definitely tears of frustration. But I picked myself and all my wall planks back off the floor and went to work again. No pictures exist of this shame. This time each and every plank was nailed in place by several thin finishing nails. As much of a pain as it was, in the end, the nails gave the project a more authentic look.
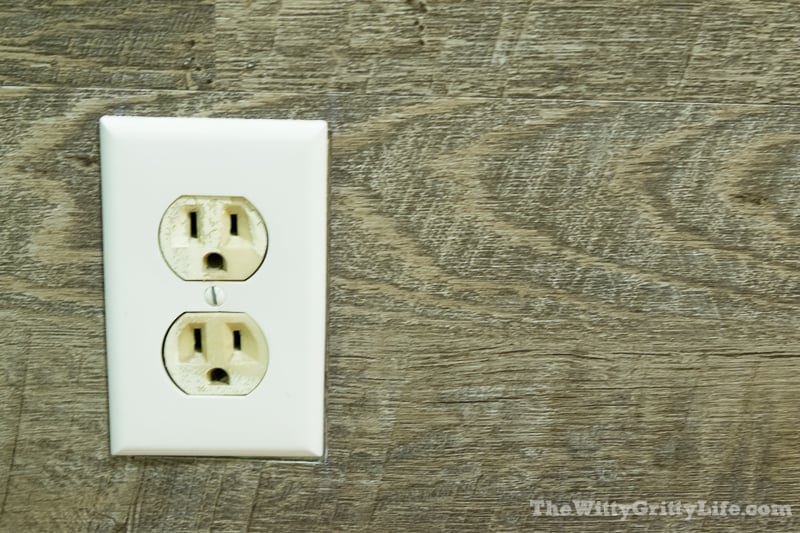
If you look closely you can spy a couple of nails right above my grody outlet. We will be switching all of the almond colored outlets to white as this project progresses.
So remember, nail the things to the wall, my friends!!! Are there planks with much stronger adhesive? I’m sure, but after my own experience I am a bit leery, you understand. Should you still want to go the stick on route, I can only suggest trying the strength of the adhesive by adhering a couple of your planks to the wall for at least 24 hours to see how they hold up.
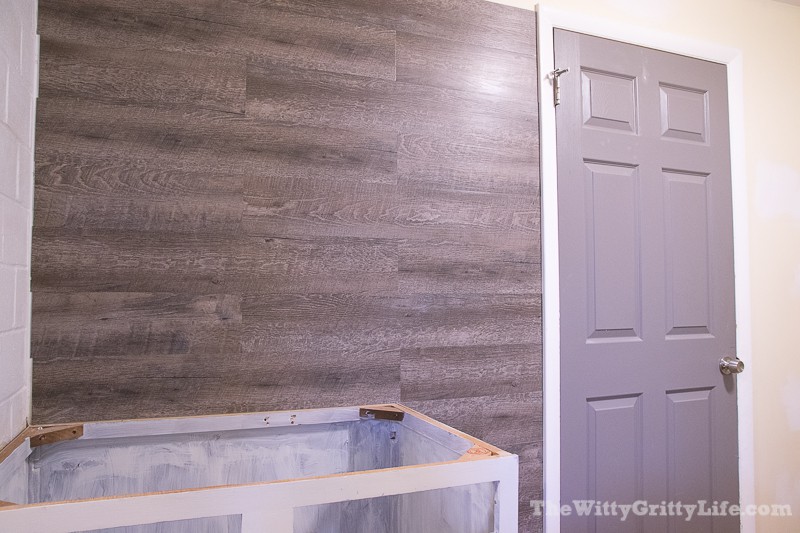
Almost there!
Once you have planked your entire wall you may want to caulk the edges for a more finished look. Caulking can be a messy business. That is where the painter’s tape comes in. I like to tape along the edge or even along both edges of the line that needs to be caulked. Once taped, apply the caulk in a thin ( but not too thin), even bead, smooth with your finger if needed, and pull off the tape gently. By removing the tape as soon as you are done caulking it’s less likely that the tape will pull caulk off.
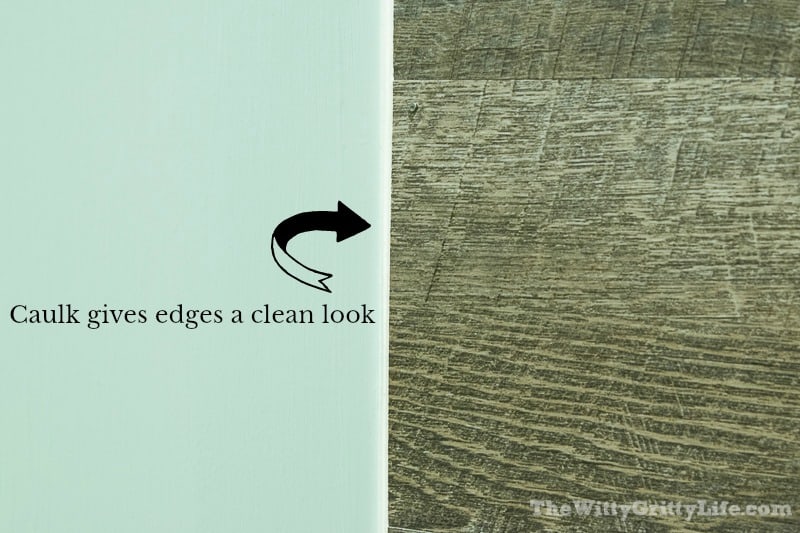
Now you may step back and admire your awesome planked wall!
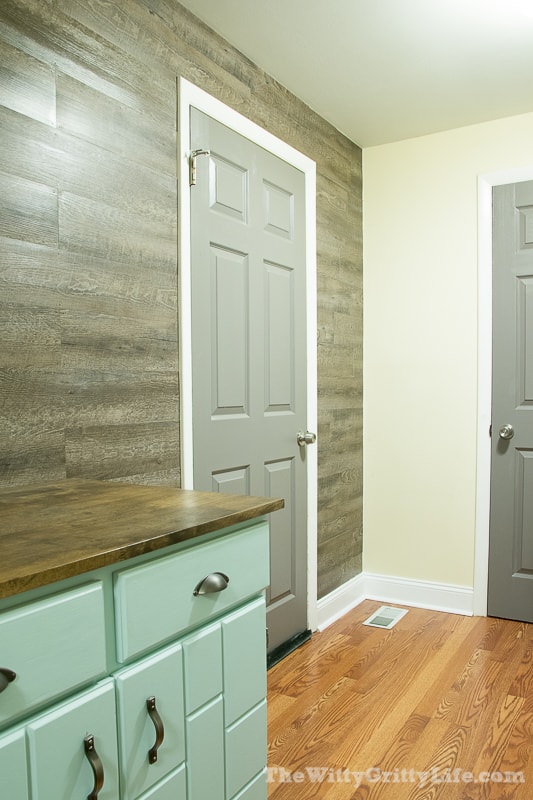
Not too shabby, right? I just wish it were a little easier to take good pics in this room.
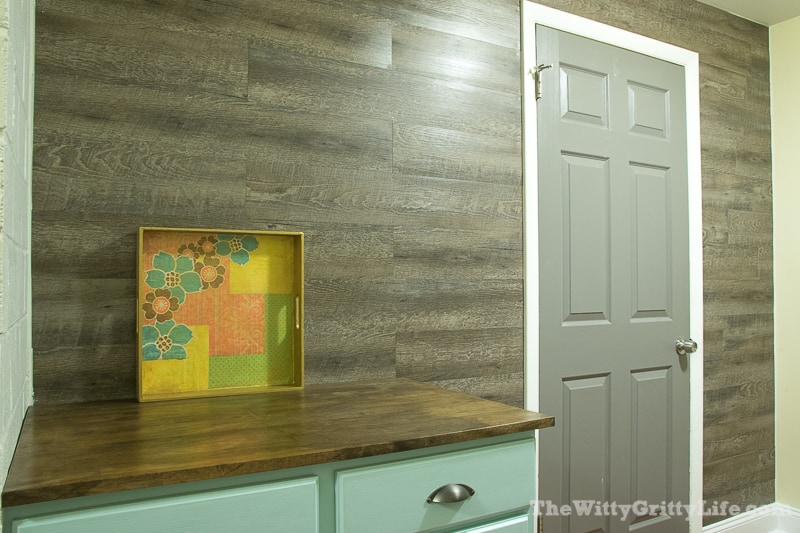
I hope this post has inspired you to give this a try. This project came in right around $60 and I call that a bargain. The wood plank look has added interest to what used to be a rather boring wall and I couldn’t be happier with it!
Check out this post to see how I made over the cabinet you see here.
