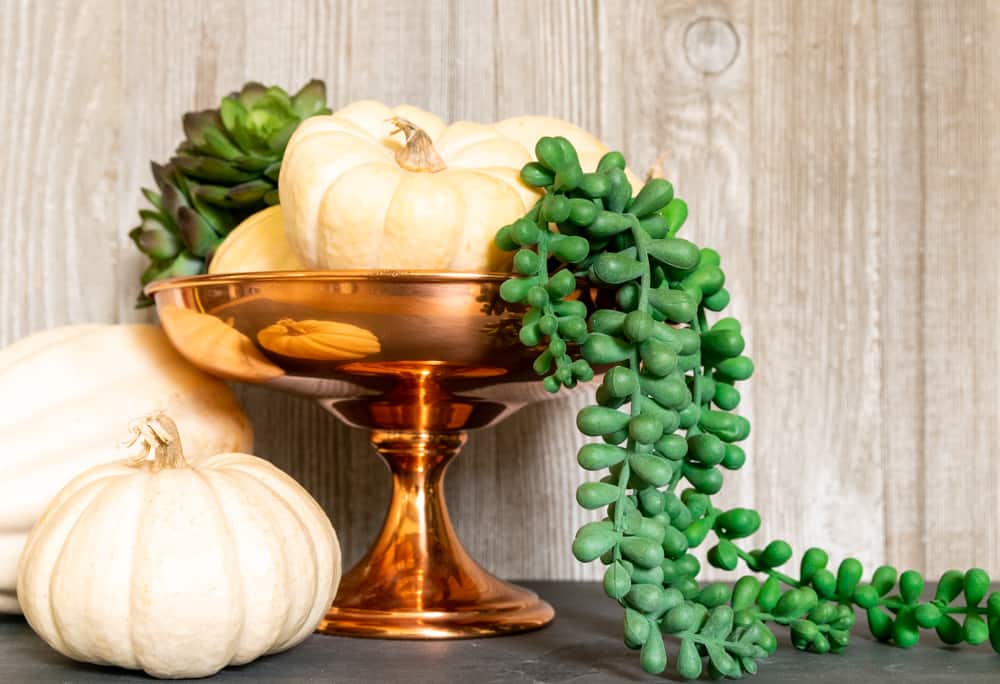
When it comes to decor, I generally focus on seasonal themes rather than specific holidays. Well, with the exception of Christmas. Fall, with its crisp nights and impossibly blue skies, has always been my favorite time of year.
And I adore Thanksgiving! So with the kids all grown up, our Halloween decor is pretty minimal. But that doesn’t mean that there won’t be pumpkins. They are, after all the icon of Fall, at least in this country.
They come in so many interesting colors and shapes and last a surprisingly long time! Perfect for decorating both indoors and out!
This year I couldn’t help but pick up a bunch of little white pumpkins. Their size and neutral color make them perfect for all kinds of decor. From colorful to rustic to neutral, they work with any style. There are endless ideas and possibilities and today I am going to showcase a few of them.
Whether or not you prefer a neutral color palette, traditional fall colors, or something fun and fresh, you’re sure to find an easy project to suit your taste. And the best part that all of these little projects are super budget-friendly! As a matter of fact, you may already have all the supplies you need! So let’s get started!
For more inspiration, tutorials, and lots of printable artwork be sure to check out the FREE Resource Library. Just sign up here and your password is on its way to your inbox!
This post contains affiliate links for your convenience. You can read my affiliate link policy here.
EASY DIY FALL PUMPKIN DECOR IDEAS
CREATE A SIMPLE GOLD-PAINTED SUCCULENT PLANTER
This one is super easy. And it combines my love for succulents with little glam pumpkins. That is all good in my book. You may already own most of the supplies needed, especially if you created the sharpie dishes from my last post. When it comes to craft supplies, well really anything, I prefer stuff that does double duty.
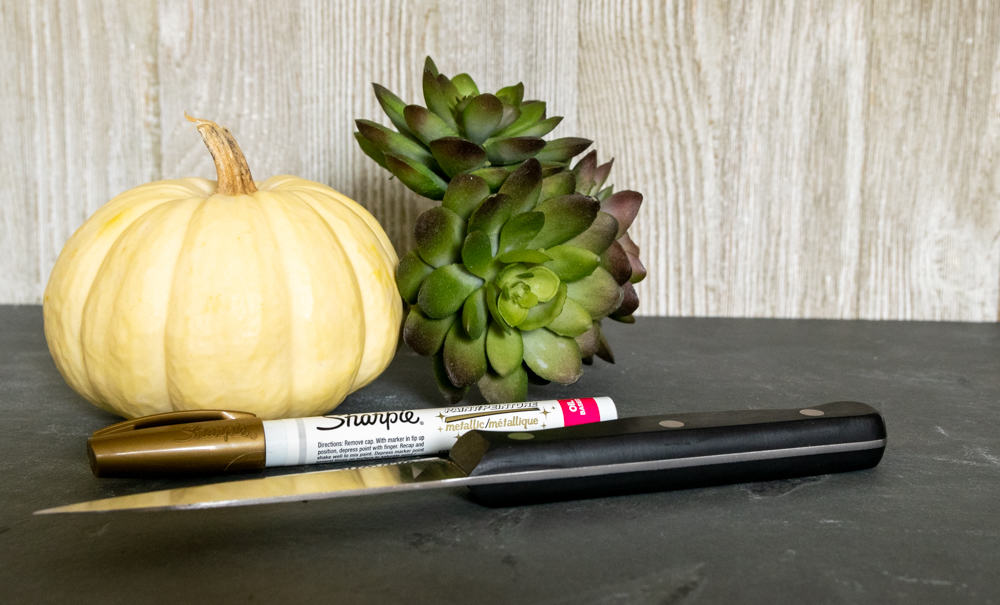
Don’t worry, I will list everything needed for each of the projects at the bottom of this post!
For this, you need some small to medium white pumpkins. You want them to be flat on the bottom. For my project, I used a faux succulent that I already had on hand. You can use a real one for this project, but the pumpkin will rot a lot faster unless you keep your little plant in the small plastic pot it came in. Just make sure the pumpkin you are using is large enough to hold the little planter.
Cut the top off the pumpkin like this:
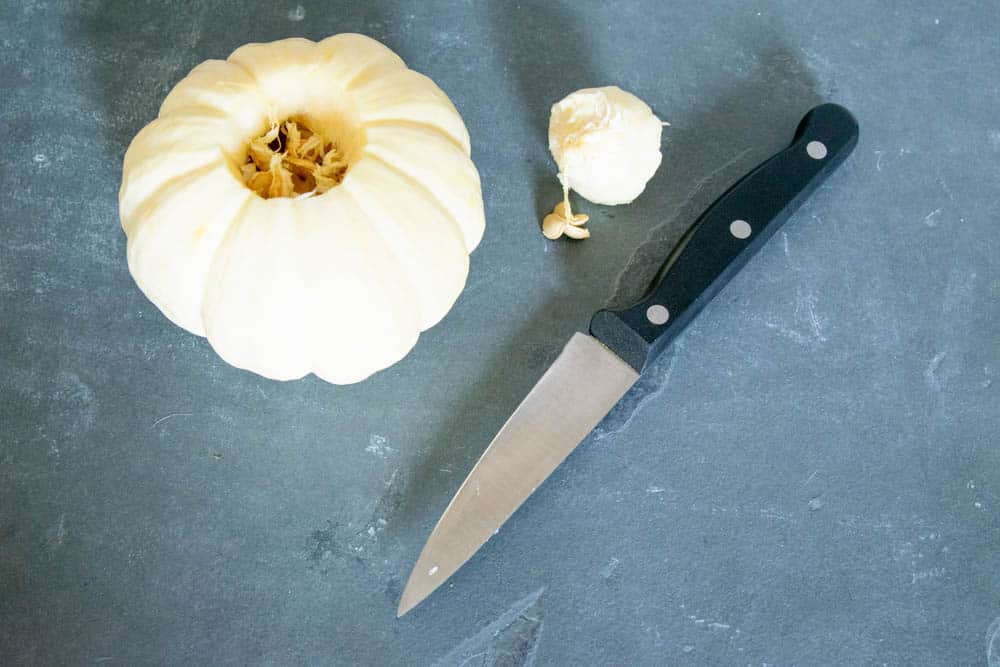
Next, clean out the mini pumpkin by scooping out all seeds and strings with a spoon.
After I cleaned out my pumpkin, I decorated it by painting polka dots on it with a gold oil-based sharpie and simply stuck the faux succulent in it. Bend the wire into a hook for more stability. I like the oil-based marker here because the paint stays opaque.
Then I drew some basic line designs on the remaining pumpkins. You can create any pattern you like. If you’re not sure, try it out on paper first.
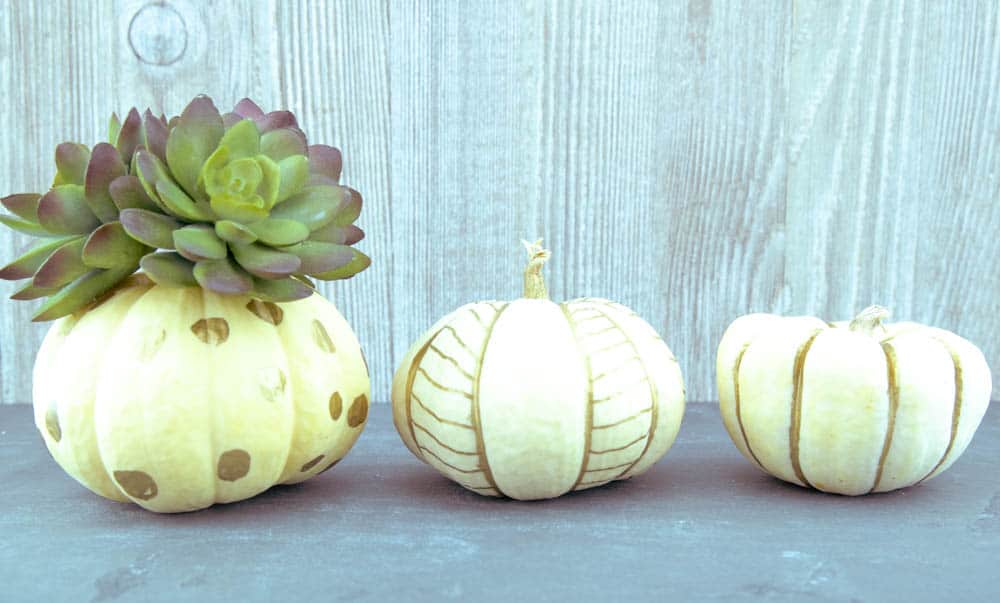
This lovely copper bowl completes the look. I scored this one at the thrift shop a while back, but Etsy has lots of similar ones. Just type “pedestal copper bowl” in their search bar.

Both succulents are fake, but look and feel like the real thing. Since the succulent I was using was on the large side, I opted for only one, but you could definitely use two or three for additional color and texture. I found this lovely assortment of faux succulents on Amazon. This is a very neutral arrangement with just a little gold accent. I can see this as a centerpiece or on a bookshelf.
ALL NATURAL PUMPKIN FLORAL ARRANGEMENT
For the next variation, I simply went out to the garden and used what Mother Nature had to offer. We happen to have a lot of autumn joy sedums (the red stuff) this time of year. It’s one of my favorite plants! The color is gorgeous and they add interest and texture all Summer before really coming into their own in Fall. Plus, they are pretty much impossible to kill. So if you have a real brown thumb, this is definitely the plant for you!
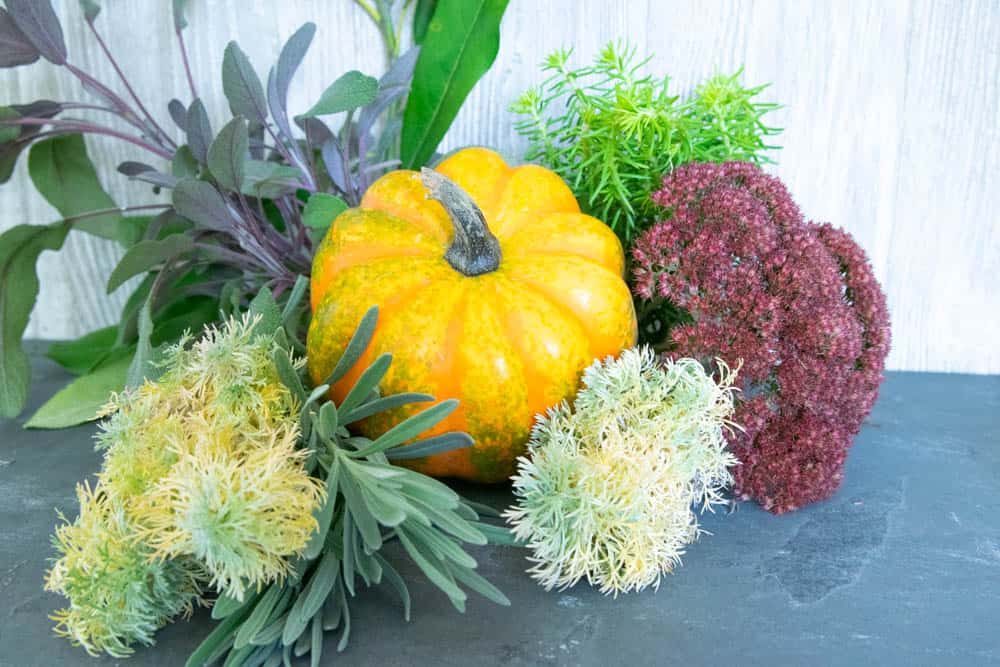
On this pic you can see some lavender stems, artemisia, sage and another light green succulent plant that grows in my yard like a weed. You can easily substitute other florals.
I went for different, complimentary textures and colors that would accent the little orange pumpkin nicely.
Cut the top off the pumpkin and clean the inside as with the other one above. Insert a small glass jar into the opening to act as a vase. I chose a small, shallow mason jar, but an inexpensive glass votive holder would work very well, too. Find those at the dollar store.
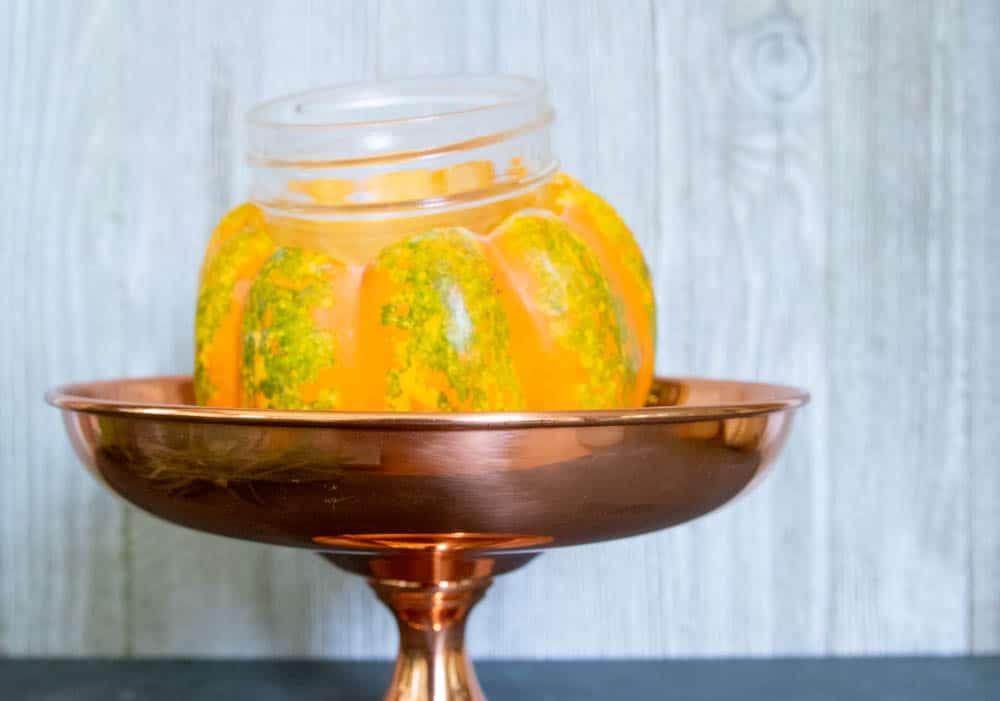
To hold the floral components in place, tape a grid over the opening of the glass jar if needed like this:
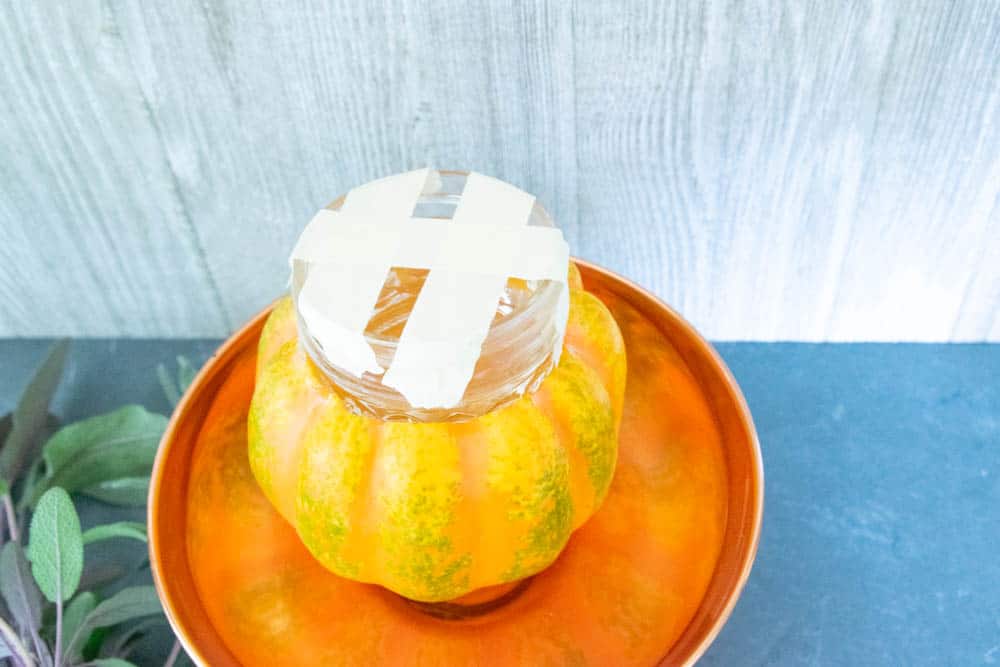
Carefully fill with a little water and arrange your floral elements. You could certainly use a little chunk of wet floral foam, but I didn’t have any on hand. I like something taller in the back, with some of the plants spilling over the sides for added interest.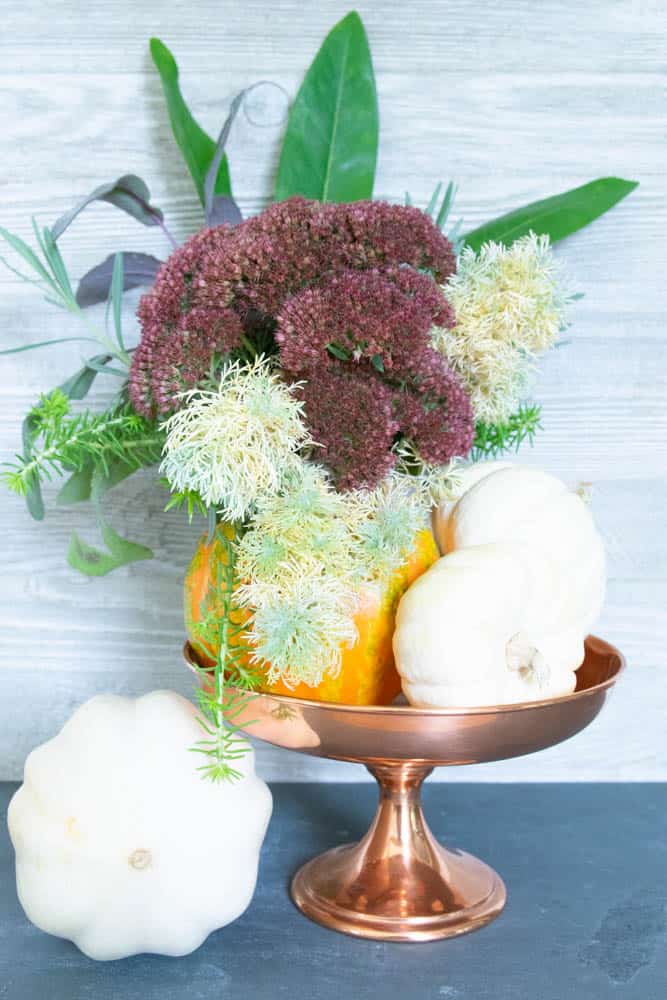
COLORFUL PATTERNED PUMPKINS
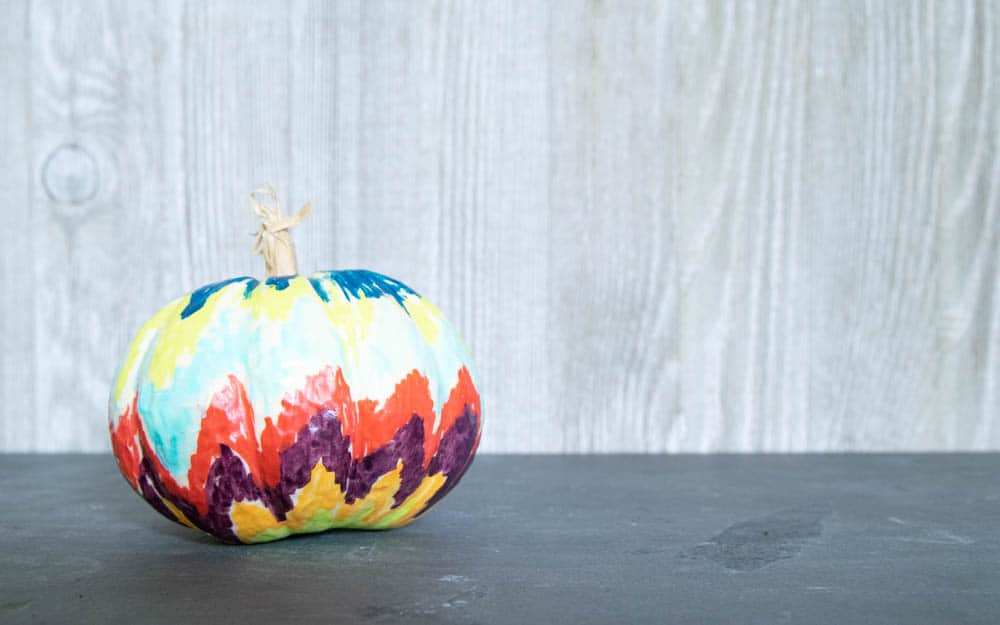
Now, this last one is really just having fun with colors. A fantastic project with kids! You can create any pattern you’d like! I just scribbled a zigzag pattern in whatever colors fell into my hands. The most important part here is to just have fun! Create just one and put it in a bowl with other, plain ones, or let loose and get your colors on! Of course, you could just choose some to go with your overall decorating scheme. For this project, regular sharpie style markers will work just fine.
HERE ARE THE SUPPLIES YOU WILL NEED:
GOLD PAINTED SUCCULENT PLANTER
- pumpkins, small to medium, white
- knife and spoon
- gold oil based sharpie pen
- faux succulent(s) – your choice
PUMPKIN FLORAL ARRANGEMENT
- small to medium pumpkin in the color of your choice
- small glass votive holder or mason jar
- knife and spoon
- masking tape or floral foam (wet)
- various floral elements
MULTICOLORED PAINTED PUMPKINS
- various white pumpkins (color shows best on white)
- multicolor sharpie pens
Don’t you just love a simple and cheap project like this? Looking for even more ideas?
Here are a few more links worth checking out!
Are you still in Fall decorating mode? Or are you getting started on your Christmas decor? Either way, I wish you warm and cozy evenings, curled up on the couch with a soft blanket! Enjoy the seasons as they pass by us at a rapid clip!


