Welcome back for the next installment of Saving Dixie the dresser. Paint! If you don’t know what the heck I’m talking about, go catch up here:)
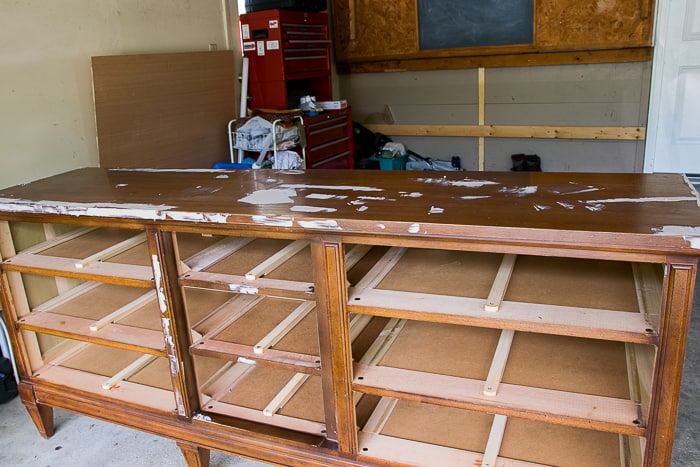
Now that the worst part is over (or is it?) it’s time for the fun stuff. Paint is where you get to see your vision come to life. Dixie was now sparkly clean, and had wood filler applied to her damaged areas. I hadn’t worked with this product in some time, but never thought it would take so incredibly long to set up. After more than 24 hours it still felt soft and gummy.
Was it time to try something different? A visit to my local Home Depot seemed in order. There I discovered what I had messed up. The wood filler that I had smeared on Dixie was, in fact, a two part compound. I had neglected to mix in the hardener! Womp womp.
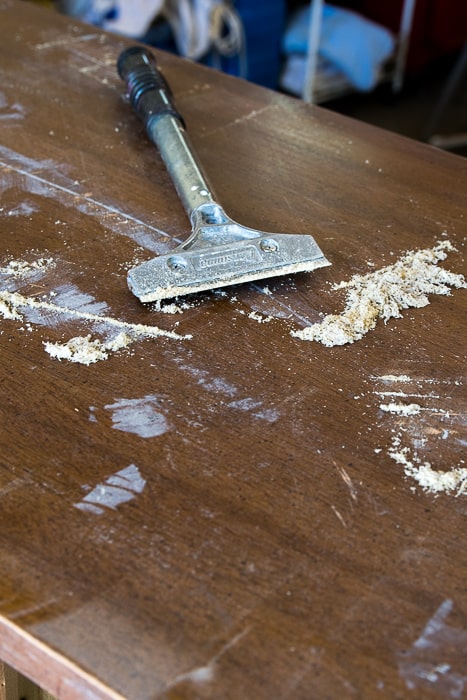
Needless to say, removing my mistake set me back in a big way. Getting sick during this project didn’t help, either, but trying to scrape the gummy mess off was the stuff of nightmares, no lie. After hours and of scraping, I was finally back to where I should have been in the first place.
Lesson 1: Always read the instructions – even if you think you know
Lesson 2: Sand first, then fill.
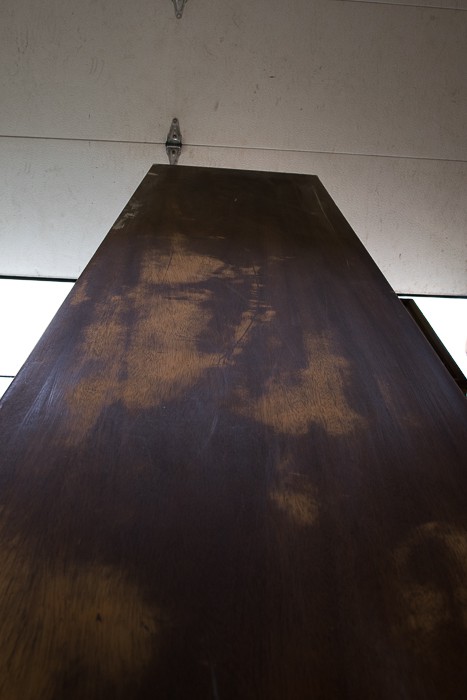
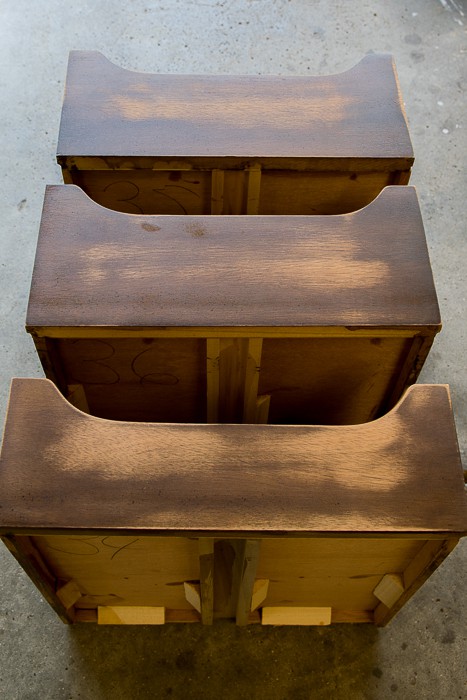
All of the residue finally gone, I could focus on would should have done first: sanding. The wood filler in its unhardened state cannot be sanded as it merely gums up on the sandpaper.
So don’t be me. Sand first, then fill in any remaining damage with wood filler (after reading the instructions), then sand a whole lot more. A sander sure makes this job a whole lot easier, not too mention faster. Since the wood filler does get quite hard = difficult to sand, I opted for spackling compound for shallow scratches and dents.
Now that we are at the fully prepped, smooth sanded stage, it’s time to move on to the fun stuff: paint.
One school of thought is to never use interior latex paint for furniture. I am here to tell you that you can, with proper prep and precautions.
If applied to a clean and well sanded surface, latex paint will give you a durable, long lasting finish. It is also the most reasonably priced option, especially if you already own the paint! Just be very sure to allow it to cure for the amount of time specified. Most interior latex paints will take 30 days to fully cure, so that is definitely something to keep in mind when planning a project like this.
This post includes affiliate links for your convenience. You my read more about affiliate links here.
Since I knew I had time, that is what I opted for. Other options include Annie Sloan chalk paint ($$$), your own chalk style paint ($) find recipes here, or hybrid paints like general finishes or black dog salvage , a personal fave of mine ($$). Just know that all of these choices need sealing with either wax or special polyurethane, which adds to the cost.
Here is my choice:
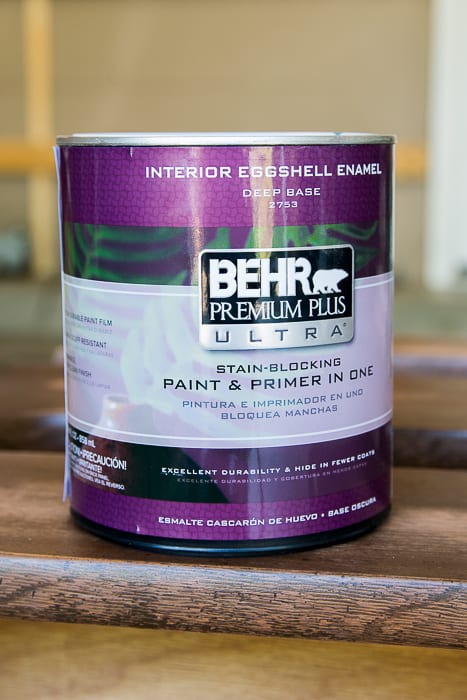
Through the years this has been my favorite interior latex paint from Home Depot. Living a mile from the Depot doesn’t hurt;) For this project, a quart will suffice with paint to spare.
While I am saving my allowance for a decent paint sprayer, I am using a high density foam roller and my favorite angled cut in brush. To get into Dixie’s weird grooves, I opted for a straight and narrow art brush. Protect your floor by setting each leg on a piece of cardboard or placing the dresser on a tarp before painting begins!
For a project like this I find it easiest to:
1. Slightly thin the paint with water or add floetrol. A product like floetrol will help reduce or eliminate visible brush strokes.
2. Use the angled cut in brush to paint all of the hard to reach corners and details and in this case the art brush to paint the grooves.
3. Fill in larger, smooth surfaces by painting them with the high density foam roller. Be sure the roller is completely, but not too saturated for this step. This is where thinning the paint comes in handy. For best and even coverage, roll paint lengthwise for one coat, side to side for the next.
4. Repeat above steps until desired coverage is achieved. For Dixie, this turned out to be three light coats with additional touch ups in some areas.

Looking good, eh?
Here is a list of supplies I used for this part of the project:
Wood filler/ spackling compound
Interior latex paint in eggshell finish or any paint specifically for furniture.
Small, narrow art brush (optional)
Paper towels
After finishing all of the painting, it’s time for some fun stuff. Join me next time to see how I brought Dixie’s tired looking hardware back to life!
Here is one more glimpse for you!

Have a wonderful weekend!

Pin it now so you won’t have to remember later!

Super cool
Wait until you see the full reveal later this week! I’m pretty proud of how it turned out! Thanks for reading and commenting!