Fixing mini disasters has kept us so busy that certain areas of the house ended up a bit on the neglected side.
One area of our home that has been a sore spot for me was our laundry room. This room also serves as entrance from our attached garage into the house, mudroom, coat closet, storage. For the longest time it was so badly neglected, that I pretty much put on my blinders just to walk through. Which wasn’t all that difficult to do.
This room has no natural light whatsoever and even the light bulbs in the puny ceiling lights keep dying, reducing illumination to a bare minimum. This time around I decided to approach the room makeover differently. Rather than putting myself under enormous stress going right into the holiday season and trying to tackle it all at once, I decided to move ahead a little at a time.
Today I would like to show you some of what I accomplished so far. I will keep you updated as I continue the process.
This is what I’m talking about. For years our first impression when we got home was this:
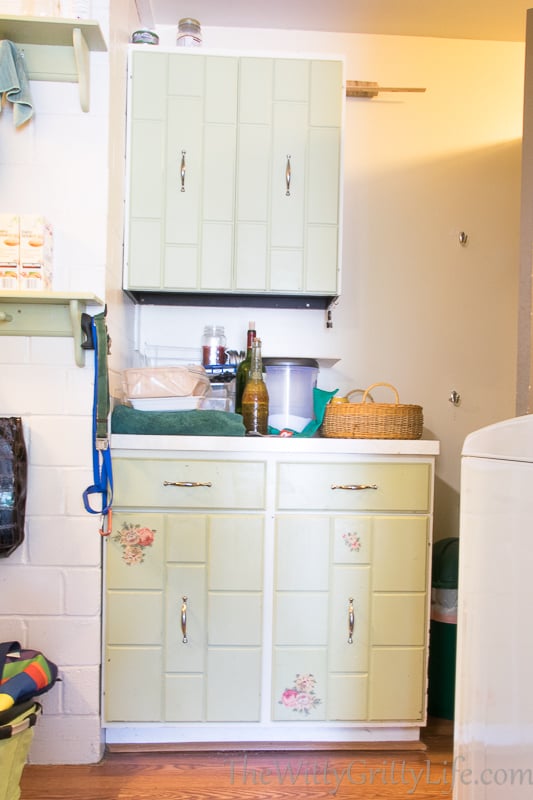
I don’t blame the light bulbs for giving up their ghost. I would do the same, were I stuck in such a sad excuse of a space. My friends, I can’t even… The only reason why I have worked up the guts to show you these pictures is the fact that this makeover story has a good ending! Well, a good start, because there is still quite a bit of work to be done.
Fair warning: The next few images won’t be any better, complicated even more by poor lighting. If you want to wash your eyes out with soap afterward, I don’t blame you one bit.
I decided to begin the project with a cabinet makeover. For me, it would eliminate the most obvious eyesore right off the bat. The light green paint that had been slopped on and the cutesy decoupaged flowers were not doing it for me. Nor was the bleak interior of the cabinet, a dark brown drag. The drawers were loose, the hardware cheap looking.
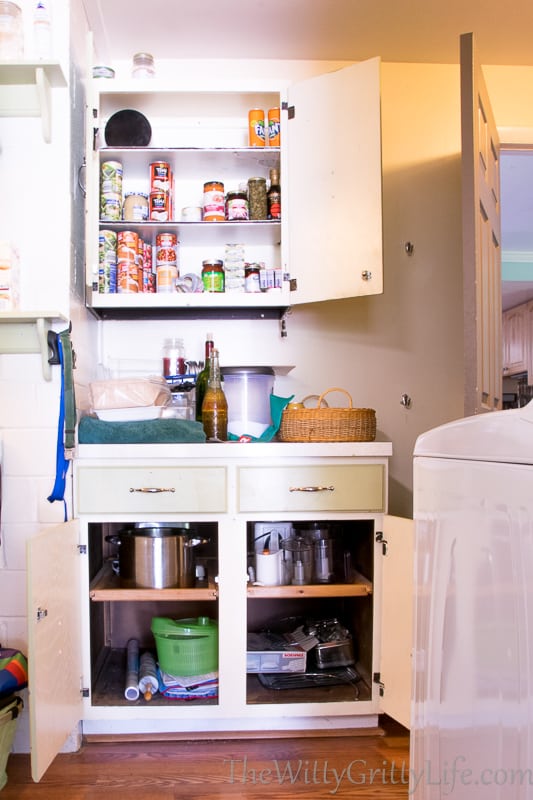
Here is the mess with the doors open!
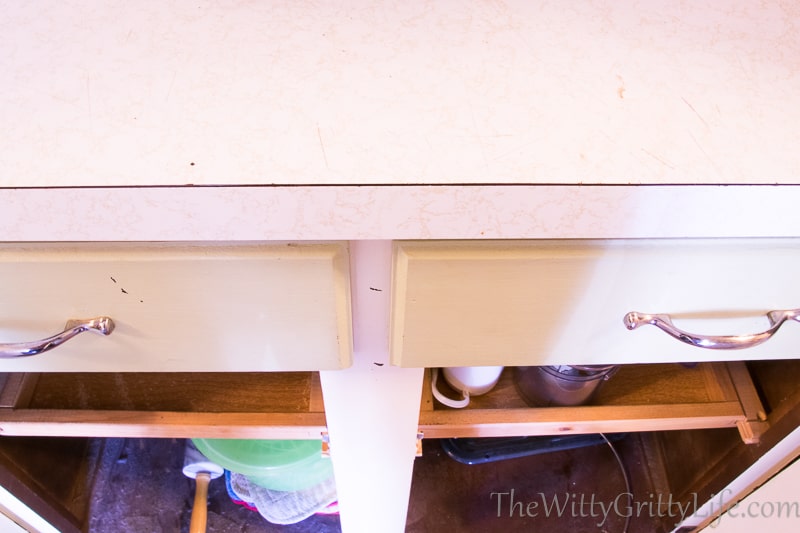
Don’t even get me started on the 70’s countertop with gold flecks and an entire edge missing, exposing its particleboard guts. The stuff of decorating horror movies. Is there such a thing? There really should be.
Still, the cabinet was in decent shape. It was a leftover from the original kitchen and I have always liked the mid-century modern style of the door panels. And you, know how I adore mid-century mod!
The inside of the cabinet actually features pull out drawers, but as is evident from the pics, I didn’t do more than toss stuff in without even opening my eyes!
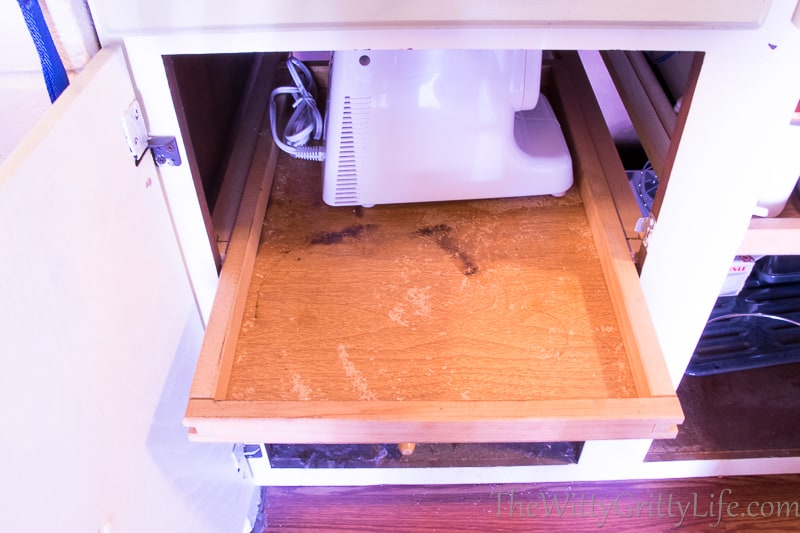
Yuck.
So, the plan was:
- Restore and paint cabinet
- Paint interior of cabinet white
- New hardware
- New countertop
All preferably on a dime.
This post contains affiliate links. You can read my affiliate link disclosure policy here.
Restore and Paint
The first step was to remove the drawers and doors as well as the hardware on them. I knew ahead of time that I would need to get a completely different set of door hinges. The ones on the cabinet were old and not worth restoring. But I was also aware that this particular type of hinge is no longer manufactured and that the holes they left required filling.
Here is a glimpse of one of the hinges.
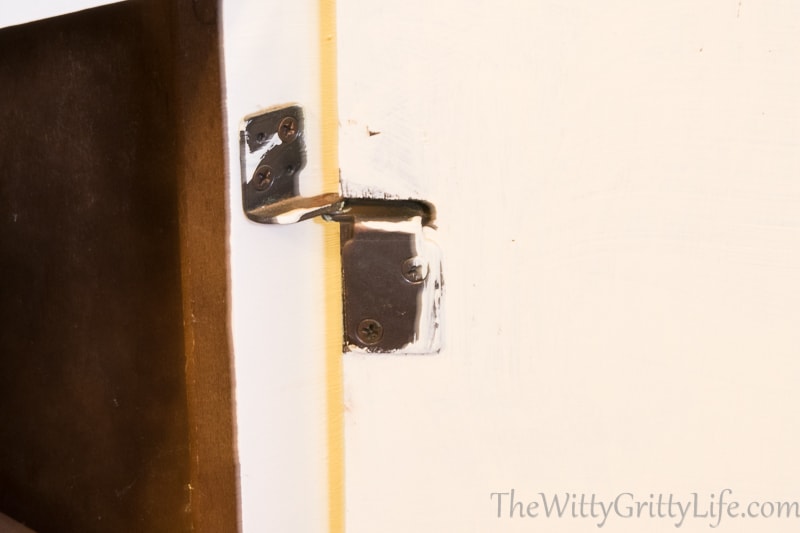
Again, sorry about the lighting.
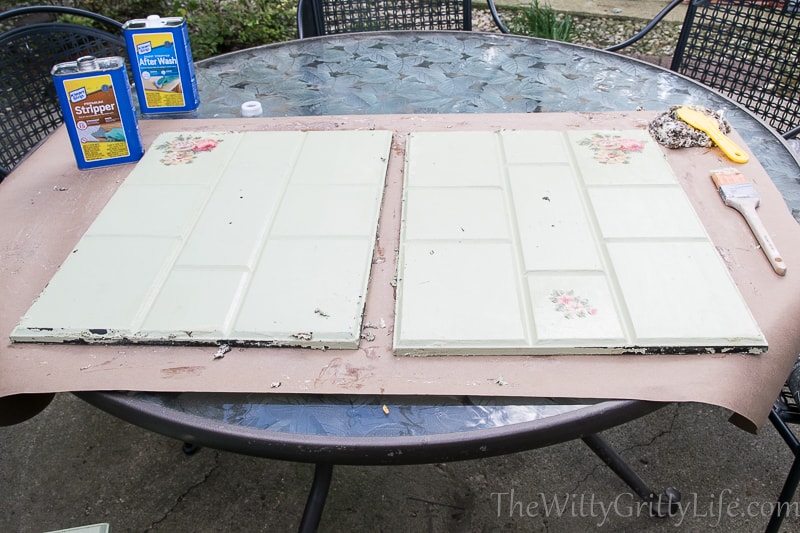
To achieve a smooth paint finish, I decided to strip the old paint. Thankfully the weather gods were on my side at this time. This is not a job I would recommend doing inside! I lined the surface under the door panels with craft paper, which also made cleanup a snap.
Here are some shots of the process. I am not necessarily fond of Klean Strip stripper, mainly due to some safety and environmental concerns, but I can vouch for how fast and how well it works. If I find something that works as well and is safer to use, I’ll let you know.
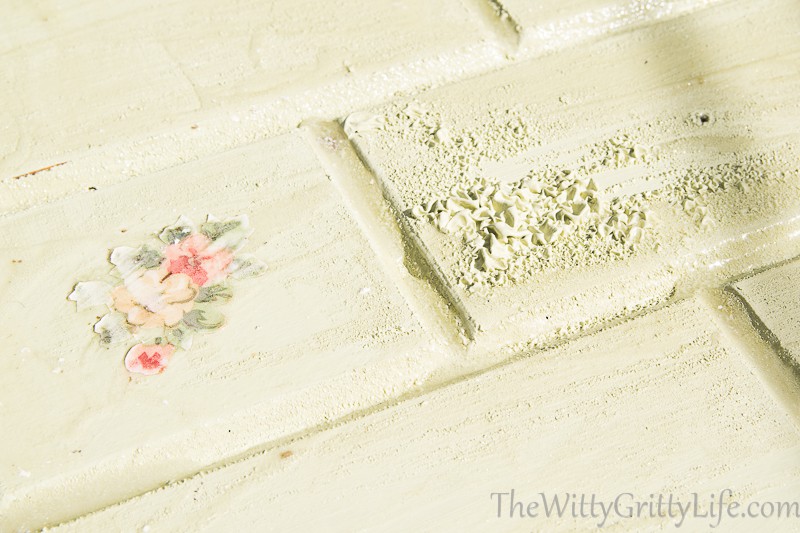
 The after strip wash works wonders and I highly recommend it!
See the cool design of the panels? And each has a thin oak veneer. But the grooves are painted particle board, which makes them a candidate for painting!
Paint interior of cabinet white
Next up was painting. For the outside, I chose a regular latex paint in a satin finish that was leftover from a previous project. I thought the soothing pale blue would work well. For the inside of the cabinet, I decided on Kilz primer to block the dark interior from bleeding through followed by white semi-gloss paint, also a remnant I already had on hand. Yes, you may use oil-based primer with latex paint.
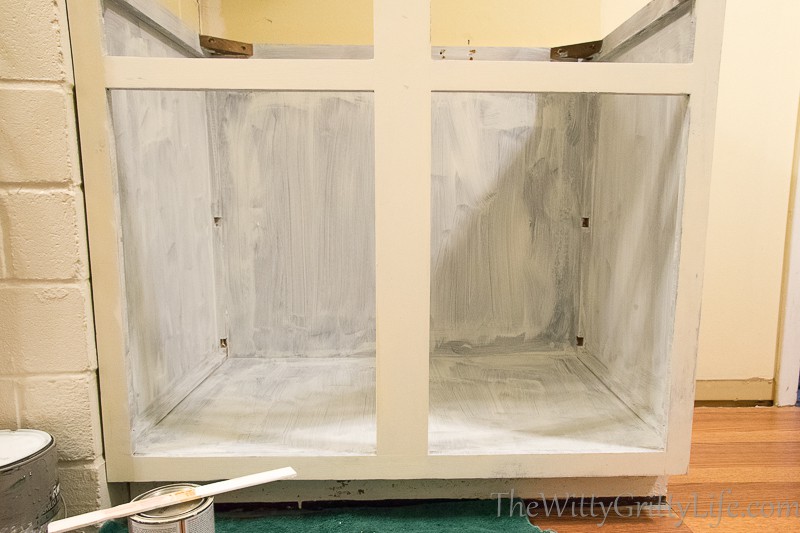
As you can see I opted to remove the (hideous) countertop and dismantled the inside before painting. I made sure to take detailed pics of the inside for reassembly later. Worked like a charm and made painting so much easier. You can see, the first coat didn’t cut it. I believe it took three.
As for the drawers, I knew they would need some added TLC. The holes had to be filled to allow for new hardware and the grain needed smoothing. All that was accomplished by applying and then sanding the spackling compound. I also glued the fronts onto the actual drawers, because they were quite loose and rattly.

The rest was straight forward painting. High-density foam rollers and my favorite cut in brush did the trick.
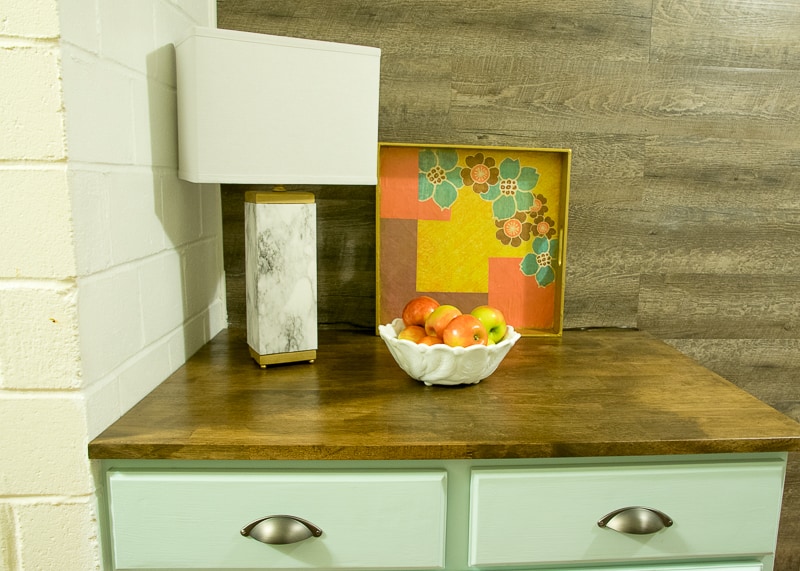
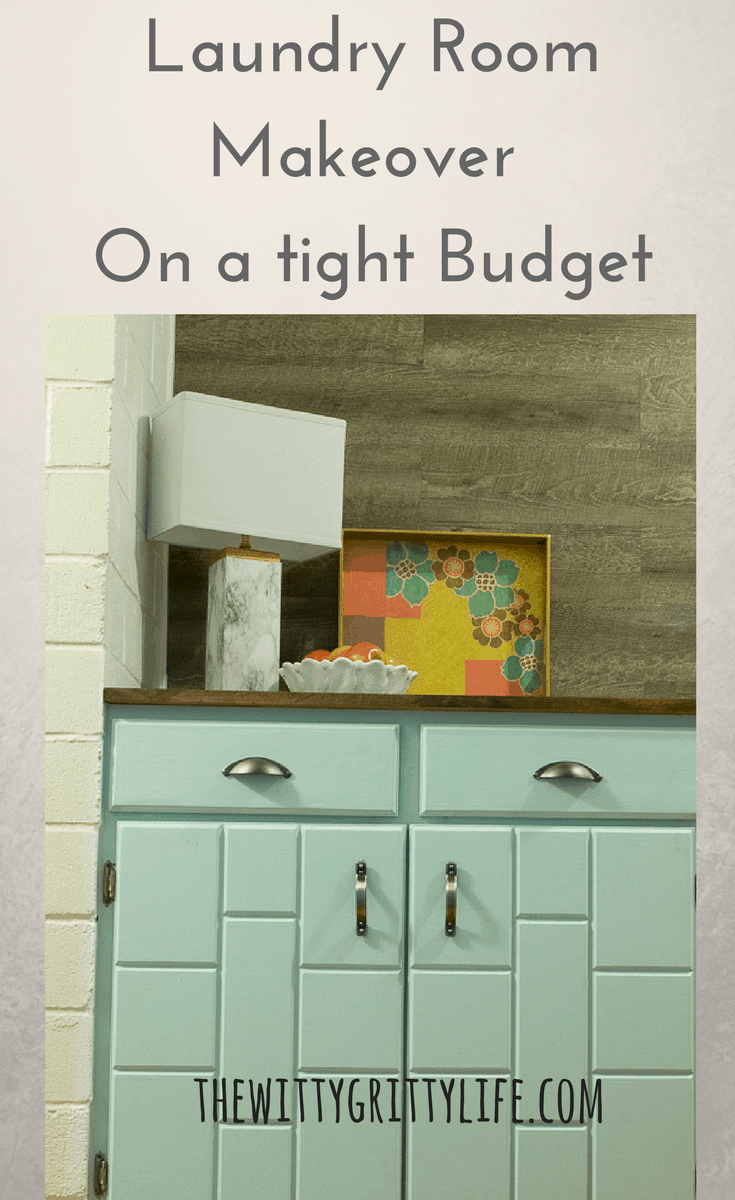
Do you want to see how it turned out? I kid, of course, you do! Why else would you have put up with the above snooze fest? Well, here she is!
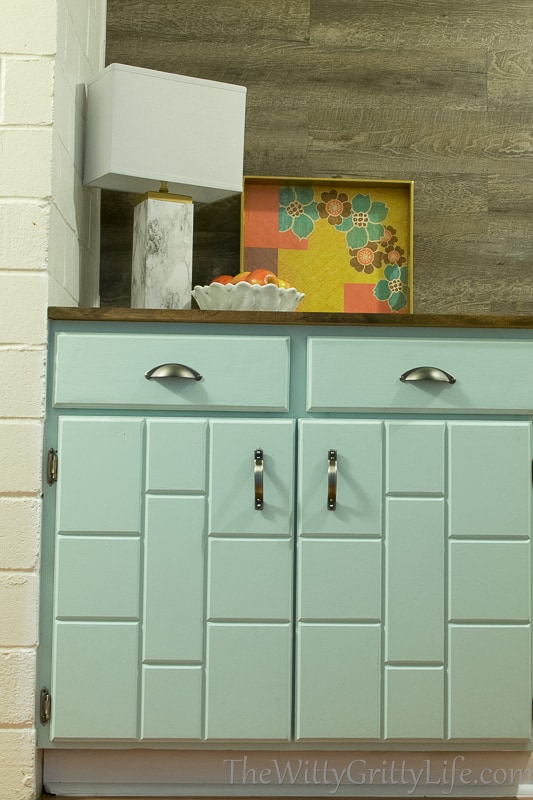
You may notice that I opted not to redo the upper cabinet. It was the wrong size and after moving everything it held to a different cabinet, it became obvious that we didn’t need it anyway. Makes the room feel instantly bigger!
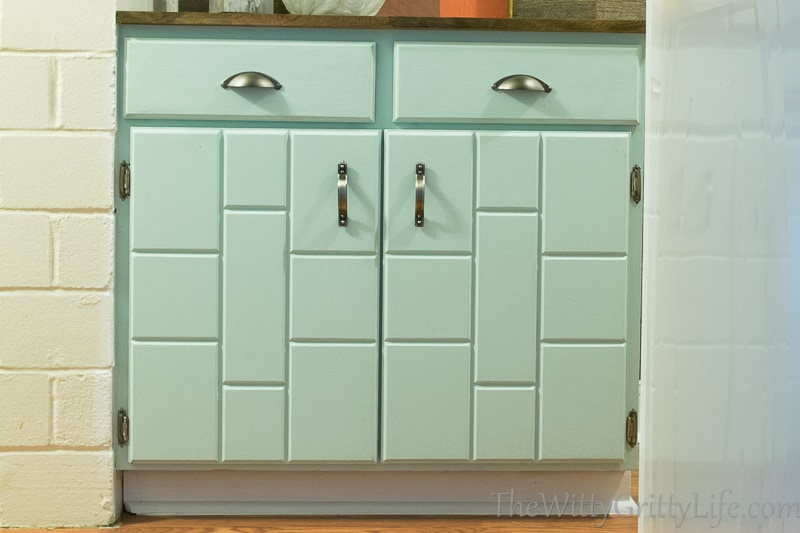
New Hard Ware
After filling in the holes from the old hardware and some diligent sanding before the final paint job, new hardware was a snap to install. The only minor snag was accidentally buying the wrong hinges. Make sure any hinges you purchase have the proper offset. I couldn’t be happier with the way it turned out!
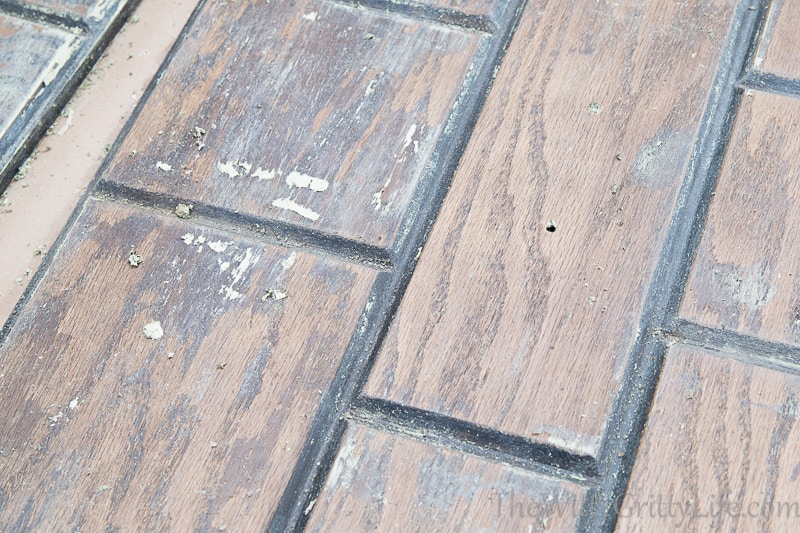
New Counter Top
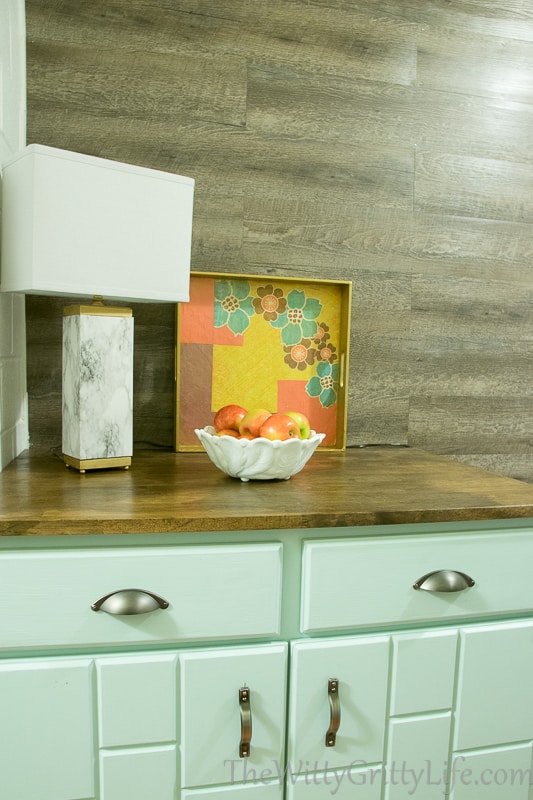
In reality, the countertop and planked wall are much closer in their wood tone. Would you believe it, this countertop used to be the top of a coffee table!
I had been looking for a budget-friendly solution for some time and in the end, it was right under my nose!
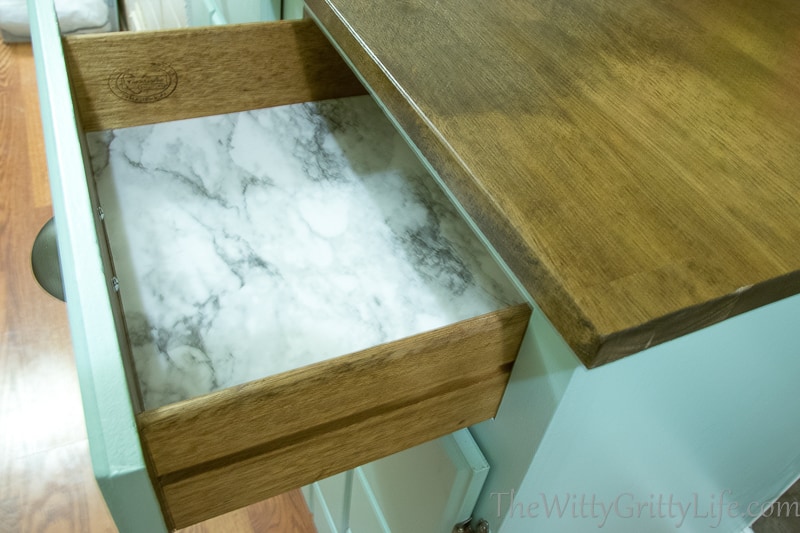
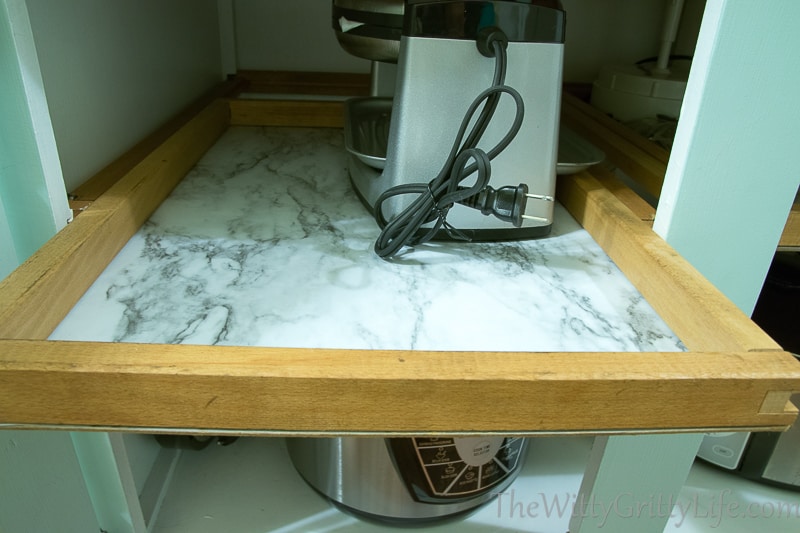
Last but not least, the inside. You can see how easy it is to create wipable, removable drawer liners in this post.
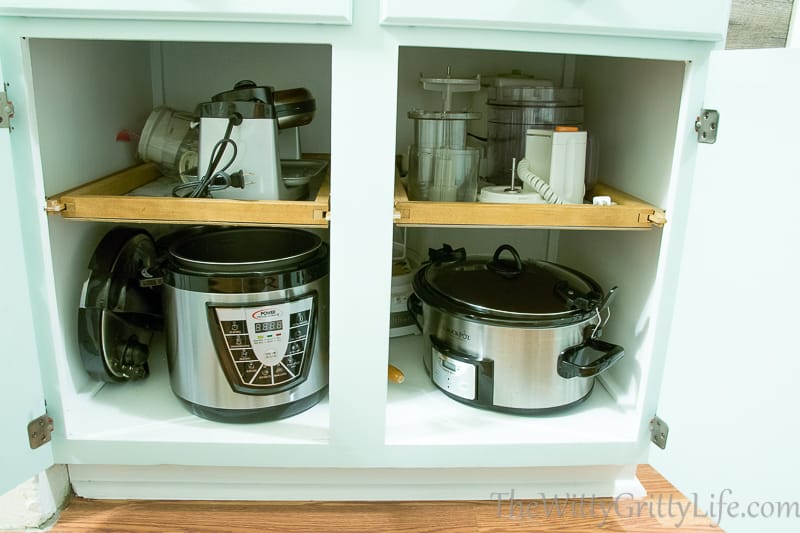
The interior of the cabinet looks like new, or dare I say better than new?
And the pull out drawers got new liners as well.
There is still a long way to go! In the coming weeks, I will keep you updated on my progress. So far everything is going well. Our decluttering project has played a big role in shaping how this room will function for us. I am completely happy with the planked wall and can’t wait to share with you what I learned when I installed it. But I can tell you right now, there were tears.
Is there an eyesore in your house that could stand a little TLC? Are you the kind of person who likes to tackle a big project all at once or do you prefer to pace yourself?
I’d love to hear your take on it!

Don’t forget to pin it!
It must be that time of year. I was invited to be part of a Declutter your house group via Facebook. Lord knows I am the queen of clutter even in the small areas we now call home. Ie camper or bedroom in my daughters home. As soon as I am done with doctors and hospitals etc I’m on it. Thanks for the inspiration. It looks awesome. ❤️
Can’t think of a better time! Now that it’s still cold and dreary. I look forward to having lots of projects done by the time it gets warm out.