Do you like the look of marble lamps? They have been on trend for some time now. Marble is a classic and neutral material that stands the test of time.
But did you know you can get the look without spending lots of cash by creating your own? It sounds more intimidating and complicated than it really is.
It’s the story of my champagne-taste-with-a-beer-wallet life! I find something I really love, but it’s way too expensive. That is exactly what happened recently with the marble lamp of my dreams.
Here is the object of my desire, a classic marble lamp. Just look at the price! Jaw-dropping, wouldn’t you say?
Granted, that was the “art” version, but at our house, there is no distinction between breaking something outrageously expensive or dirt cheap.
There are some other, less pricey options, but even those still hover around $150-$200 per lamp.
Since I needed two of them, that price point was still too steep. But I found a solution that is pretty simple, looks amazing, and costs a fraction of the inspiration piece!
This post contains affiliate links. That means if you click on one of those links and make a purchase, I may earn a small commission at absolutely no extra cost to you. You can read my full disclosure policy here.
Enter the amazingly realistic looking marble version of self-adhesive paper. Yes, the exact same kind I used in this fun and easy gold and marble Ikea table makeover!
What made this project so incredibly budget-friendly was that I already had the paper as well as my favorite gold spray paint on hand.
But even if you have to purchase both the paper and paint, you will still save a ton of money by creating your own lamps.
And speaking of creating things, be sure to check out the FREE Resource Library filled with useful tips, cleaning recipes, craft tutorials, and printable art. Sign up here and the password is on its way to your inbox!
A Basic Table lamp consists of three distinct parts:
- column/base
- wiring
- lampshade assembly
Here are the materials to create your DIY marble lamp
- 2 x 1 pieces of wood: pine (make sure it’s straight and doesn’t have knots) or MDF works well
- finishing nails, wood glue
- wood filler or drywall spackle
- sanding block or sandpaper
- white paint or primer
- gold spray paint
- small wood beads
- lamp wiring kit
- marble adhesive paper – I Duck brand paper in a honed finish at Walmart in the shelf liner isle
- rod or lamp “nipple” to thread through the column
- hammer, screwdriver, scissors, patience
- rectangular white shade – from At Home
Here is the shade I used to create my lamps:
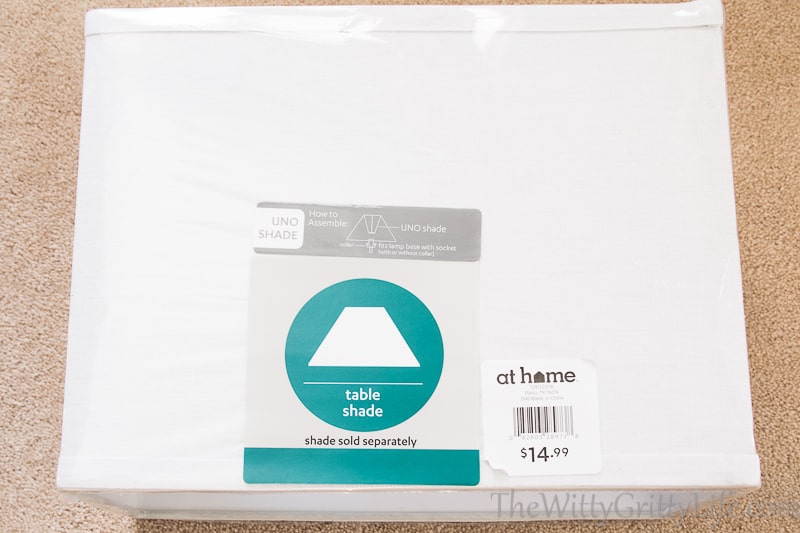
If you don’t have an AtHome store in your area, Target carries a very similar affordable shade as part of its Project62 line.
Wiring a lamp is one of those electrical projects that can be easily accomplished by a novice. Just read and follow the instructions and you are good as gold! I did it and I am terrified of anything electric!
The lamp kits I used required but did not include the “nipple” – a straight tube with screw windings which will allow you to properly and securely assemble your lamp in the final steps. I was lucky enough to have them on hand, salvaged from an old pair of lamps, but this piece is what you are looking for before cutting the wood pieces to their proper length. They are super important because they are what hold the lamps together in the end.
Since I had a pretty good idea of how I wanted my lamps to look, I set out to find the best way to create the columns that would be covered with the adhesive marble paper.
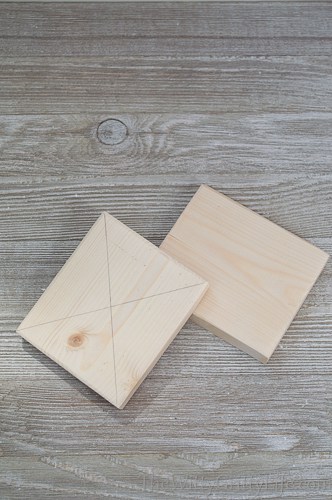
Here are the pine boards cut to size from the scrap woodpile in the garage.
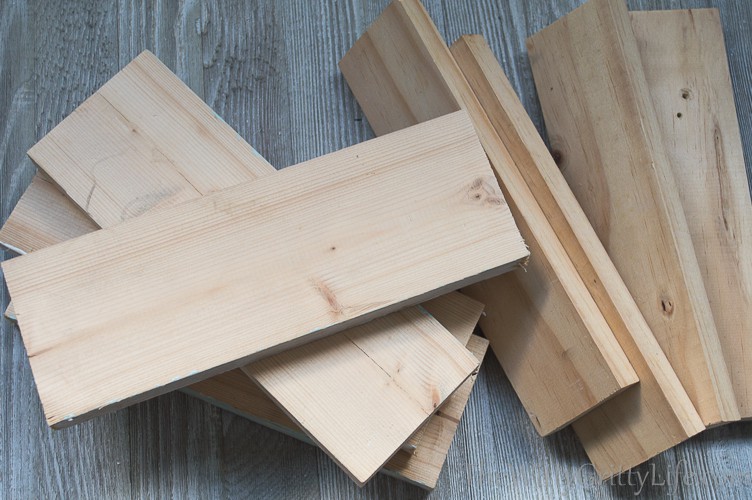
For my columns I cut the pieces to the following measurements:
4″ wide, 10″ long (total of 4 pieces for 2 lamps)
2″ wide, 10″ long (total of 4 pieces for 2 lamps)
4 pieces measuring 4″ x 3 1/2″ from the same wood. Those are the gold top and bottom pieces you see in the finished product.
After all of the pieces were cut, I glued and nailed them together to form a hollow column with the narrow pieces at a right angle to the wider ones. To make this easier I drilled pilot holes and pounded the finishing nails through like this:
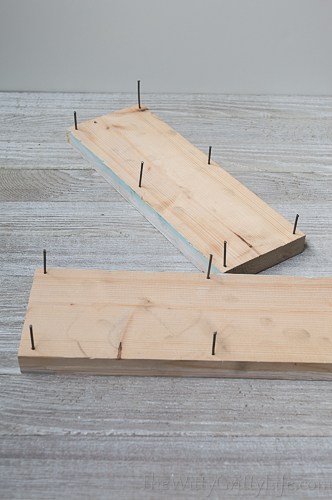
Doing this first will help you align the pieces much better for the finished columns.
See the nail poking out in the picture above? That won’t happen if you drill pilot holes. Don’t be me.
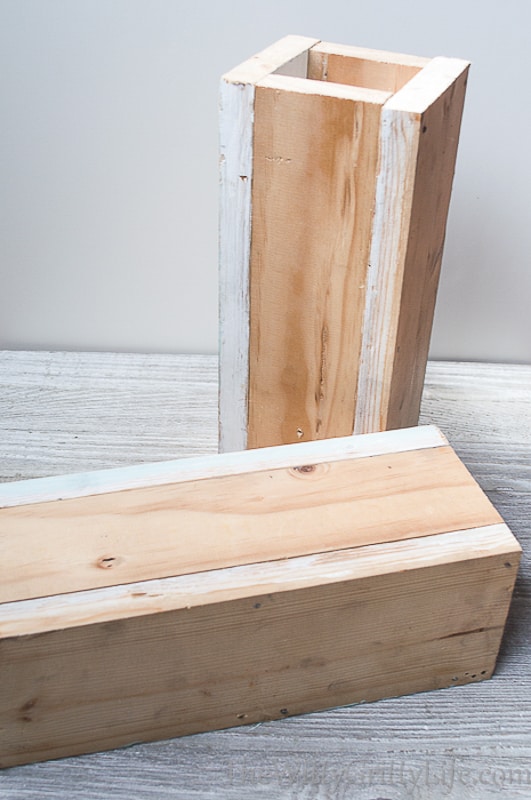
At this step, it is very important to make sure that the edges are as smooth as possible to avoid any kind of groove as well as dings and nail holes. Anything uneven will show through in the final product! The top and bottom should be even as well. You’ll save yourself a whole lot of sanding that way!
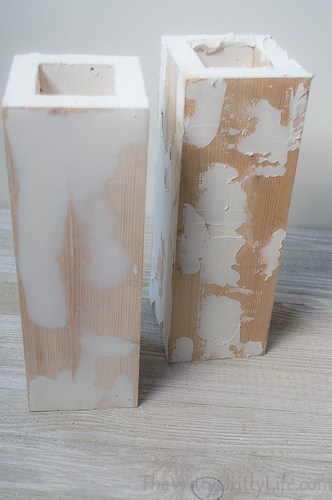
Once the columns are assembled, first sand, then fill in any gaps with either wood filler or spackle (my choice, because it sands and paints well). You can see that it looks quite messy at this stage.
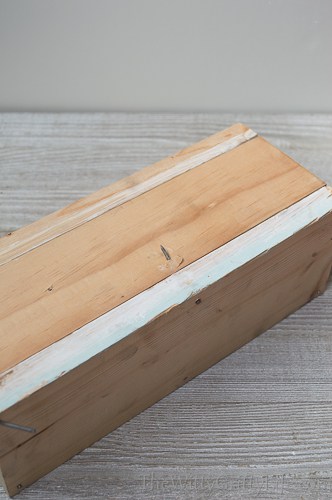
While the filler or spackle dries on the columns, drill a hole of about 1/2″ diameter through the center of each of the top and bottom pieces. Just draw a diagonal line from opposing corners to find the center – x marks the spot:).
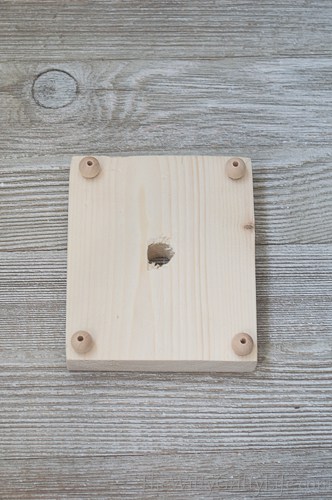
The drilled hole doesn’t need to be pretty as it won’t be visible in the finished project.
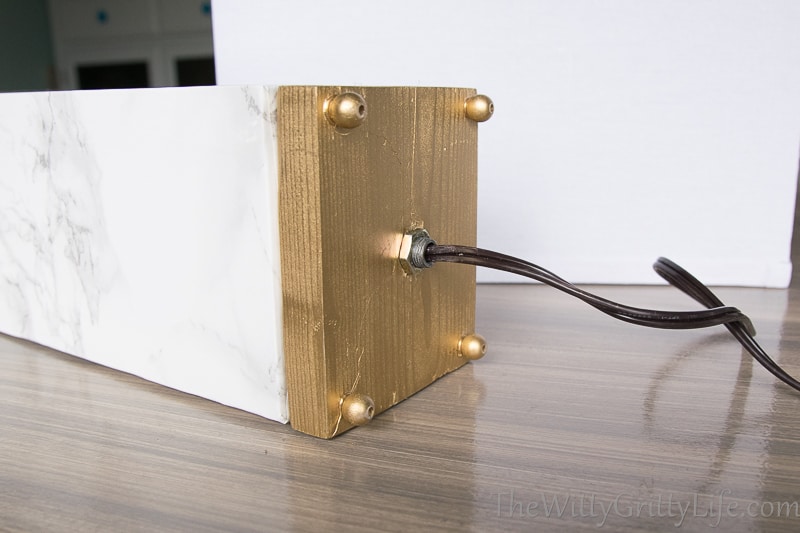
Sand each piece well. You may want to fill in the wood grain on the ends with the same filler or spackle for a smoother appearance once they are painted. I didn’t do that, but will probably go back and re-do it because it is kind of obvious. I also opted to hot glue little round wooden beads in each corner of the bottom pieces to allow for the lamp cord to come through.
When those pieces are ready, spray paint them – outside or in a well-ventilated garage, of course! This is my favorite gold spray paint, leftover from the table project!
Once the columns are dry, sand them well to make sure they are completely smooth, add more spackling compound if needed. This is the most important part of the process to ensure your marble columns look and feel realistic.
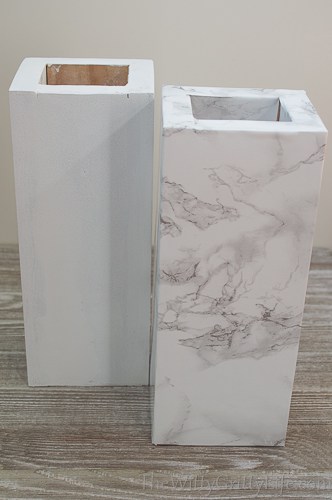
Now it’s time to give the columns a coat of white primer paint to make sure there won’t be any surprises shining through the marble paper later!
The next step is to cover the columns with marble adhesive paper. This is a fairly straight forward process. Be sure to cut the paper long enough, about 3 inches on the top and bottom to allow you to fold it over. Just work slowly by peeling a little of the backing at a time and smooth with an old credit card as you go to keep air bubbles at bay.
Here is what they look like painted and with the marble adhesive paper applied.
With the columns covered and the ends tucked in at the top and bottom, it’s now time for the final assembly.
Here I opted for not attaching the gold top and bottom pieces by nailing or gluing them down. Everything is held firmly in place by screws once the lamps are all put together.
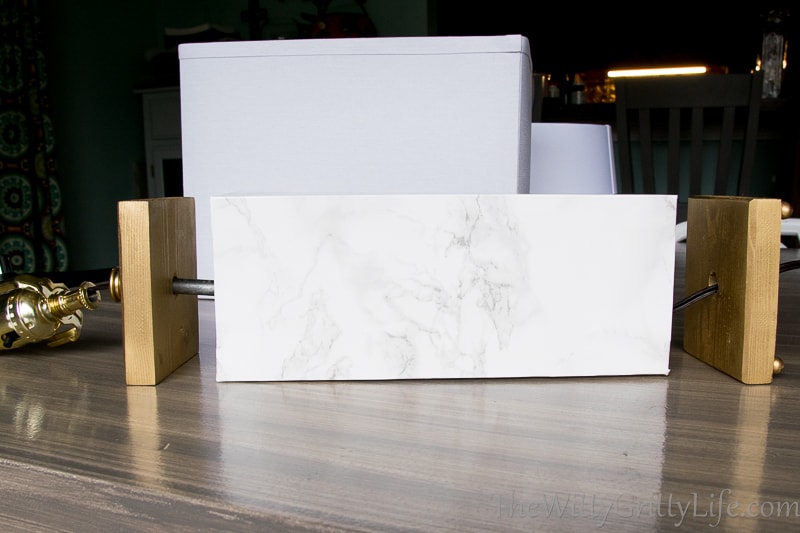
This is how it will look once all of the parts are threaded together. Here are some pictures to show you the top and bottom:
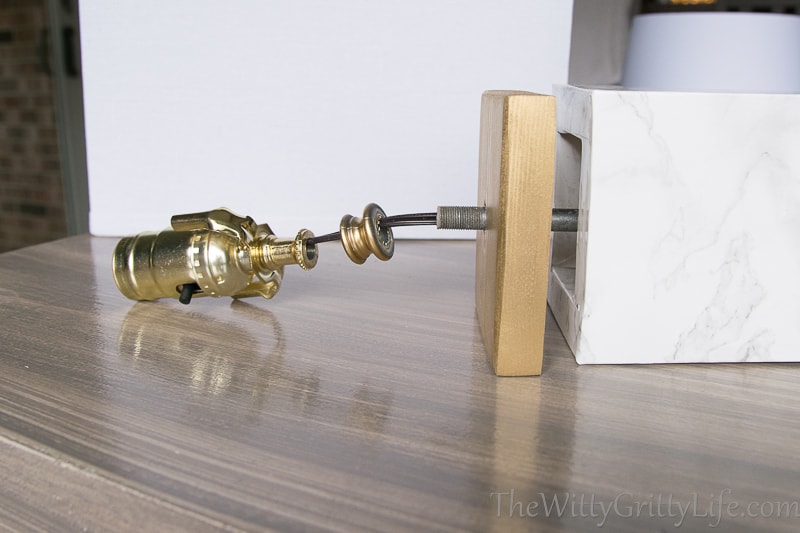
At the bottom you want to make sure that the threaded rod doesn’t protrude too far or the lamp will not be able to stand properly like this.

Once you have put all the pieces together, just add the shade and a bulb!
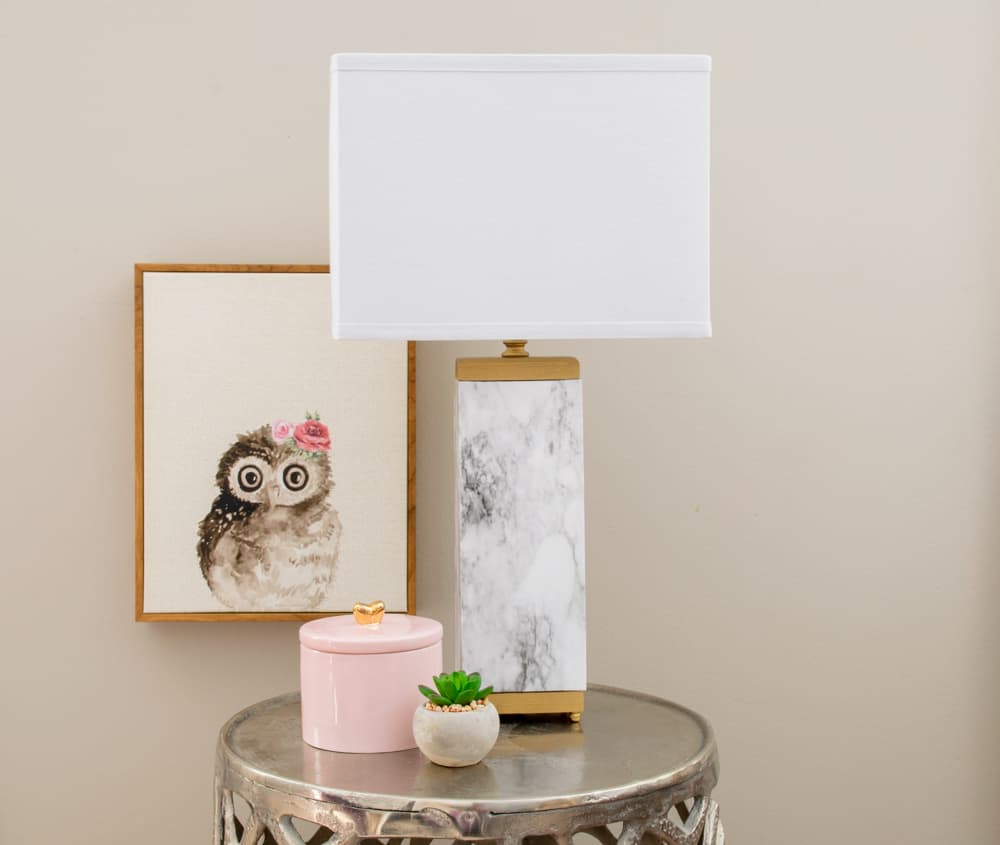
Are you ready to see the final result?
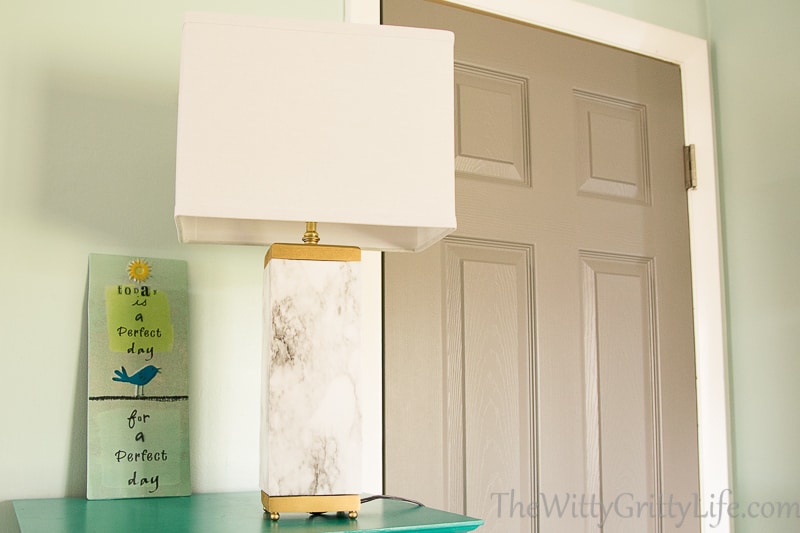
I think I’ve kept you waiting long enough! Here she is!
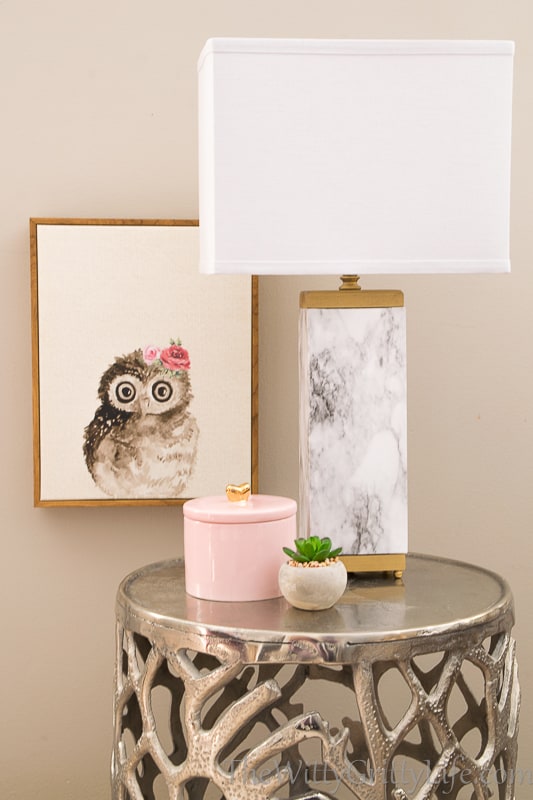
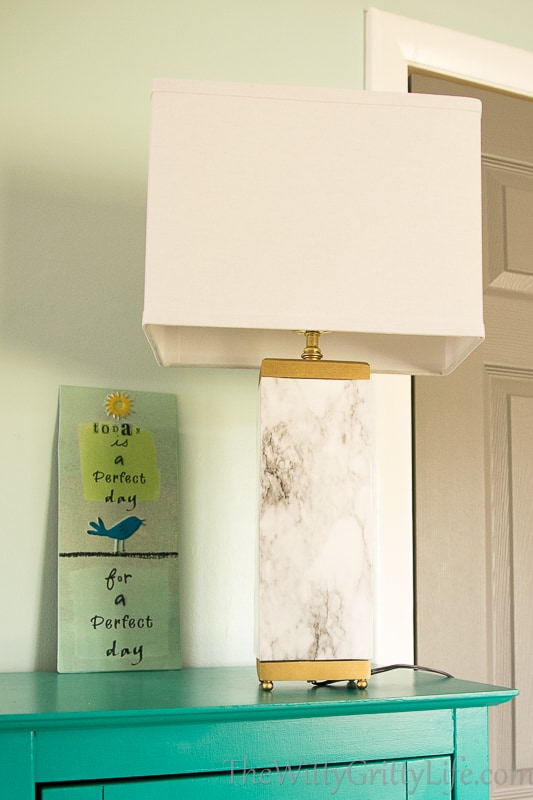
After adding it all up, each lamp came in around $40, including a lamp wiring kit and shade. Sure beats paying through the nose for those other pricey marble lamps.
I am completely happy with how this project turned out! As I mentioned before, I created a pair of these and they look amazing! Actually, this is the lamp you may have seen in my recent post about the laundry room makeover! Now you know how to create your very own marble lamp masterpiece!
Other projects using Marble Adhesive Paper
HOW TO ORGANIZE YOUR KITCHEN DRAWERS QUICKLY ON A DOLLAR STORE BUDGET
How to Make Over a Simple Ikea Table in 3 Easy Steps
How to Maximize Kitchen Storage with this Simple Project
One roll goes a long way!


Beautiful & so clever. Thanks for giving such clear directions. I think I might even be able to make one.
Thank you! I really appreciate your input about the directions. It really is a project that looks much more difficult than it is!
Way to go
Wow my first thought was marble shelving or backsplash was used.
Love it!
Thank you! The marble adhesive I love to use in all of my “marble” projects looks and feels incredibly real, just like honed marble. And everything I have created with it has worn very well – it looks like the day I made it. Highly recommend!